Startups are all the rage these days. From simple Socio-enterprise startups, to software startups of apps and service people from all walks of life are creating startups . Entrepreneurs are also provided with a myriad of ways to fund their projects. Finding investors and a potential audience has never been easier with the internet and social media helping to spread ideas and word quickly across the globe. This kind of funding is unparalleled in the history of Mankind. Granted that the benefits of these types of technology is widespread, there is always a negative side to everything and in this post we will be looking at the ugly side of crowdfunding.
Scam Startups??
When I say scam startups, what do I really mean? Well if you haven't been living under a rock, you would have seen the headline-making "revolutionary" products that are crowdfunding on Kickstarter. Some of those products are really good, but others are pure scams. Here's a list of just a few of them.
Part 1: Toaster
Part 2: Electronics
Part 3: Software
Part 4: Conclusion
In this penultimate installment to the reflow oven project, we will wrap up by quickly going through some basics of the final hardware assembly and the software.
Insulation
Insulation is a important concern when you are building a reflow oven. If poor attention is given to insulation, you might end up reflowing your control electronics along with the other board. I implemented insulation by putting all the sensitive electronics into a cardboard box.
![]()
Power
Another important concern is the power for the arduino and the processing board. I implemented that by hacking a 5V 2A power supply and converting 240AV to 5VDC in the toaster. This 5VDC can then be used to power the electronics.
Software
The software is critical to this project. Every reflow oven goes through 3 main phases. These phase
Part 1: Toaster
Part 2: Electronics
Part 3: Software
Part 4: Conclusion
In this second installment of the solder reflow oven series, I'll be going over the electronics that makes it work. The solder reflow oven can be split into 3 main sections.
Temperature Detection
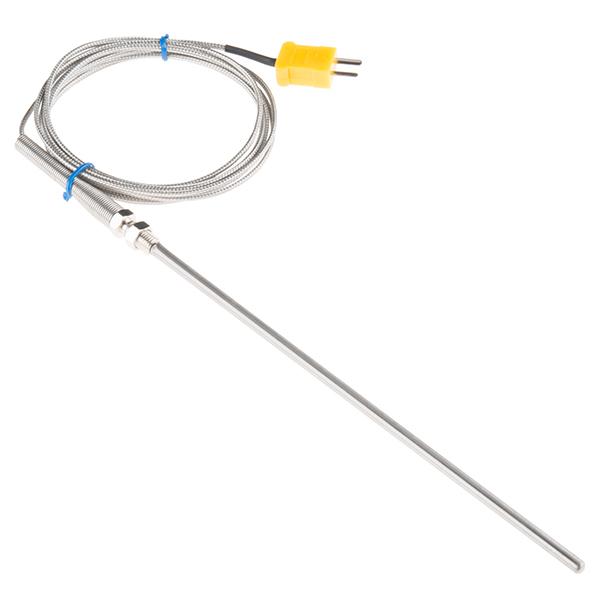
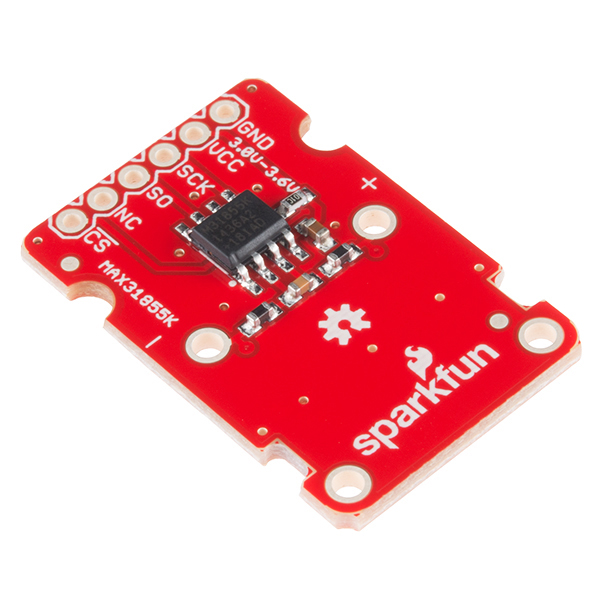
The first section is the temperature detection. The temperature detection at this kind of high temperatures (around 250°C) requires the use of a thermocouple to work. This is because a thermistor doesn't work at high temperatures. The thermocouple I obtained was from SparkFun and was a type K thermocouple. As a typical microcontroller cannot directly read the output of this thermocouple, it is necessary to have an external circuit to process the thermocouple voltages. Fortunately, SparkFun also sells a MAX31855K breakout board which I also grabbed.
Heating Element Control
The second section is the control method. To manipulate the temperature inside the oven, we need to toggle the power to the heating elements. For this,
This is it. It has finally been one year since the SentiBot's project launched. This project is older than the existence of MakerForce itself. Let's take a look at some memorable moments from the past year.
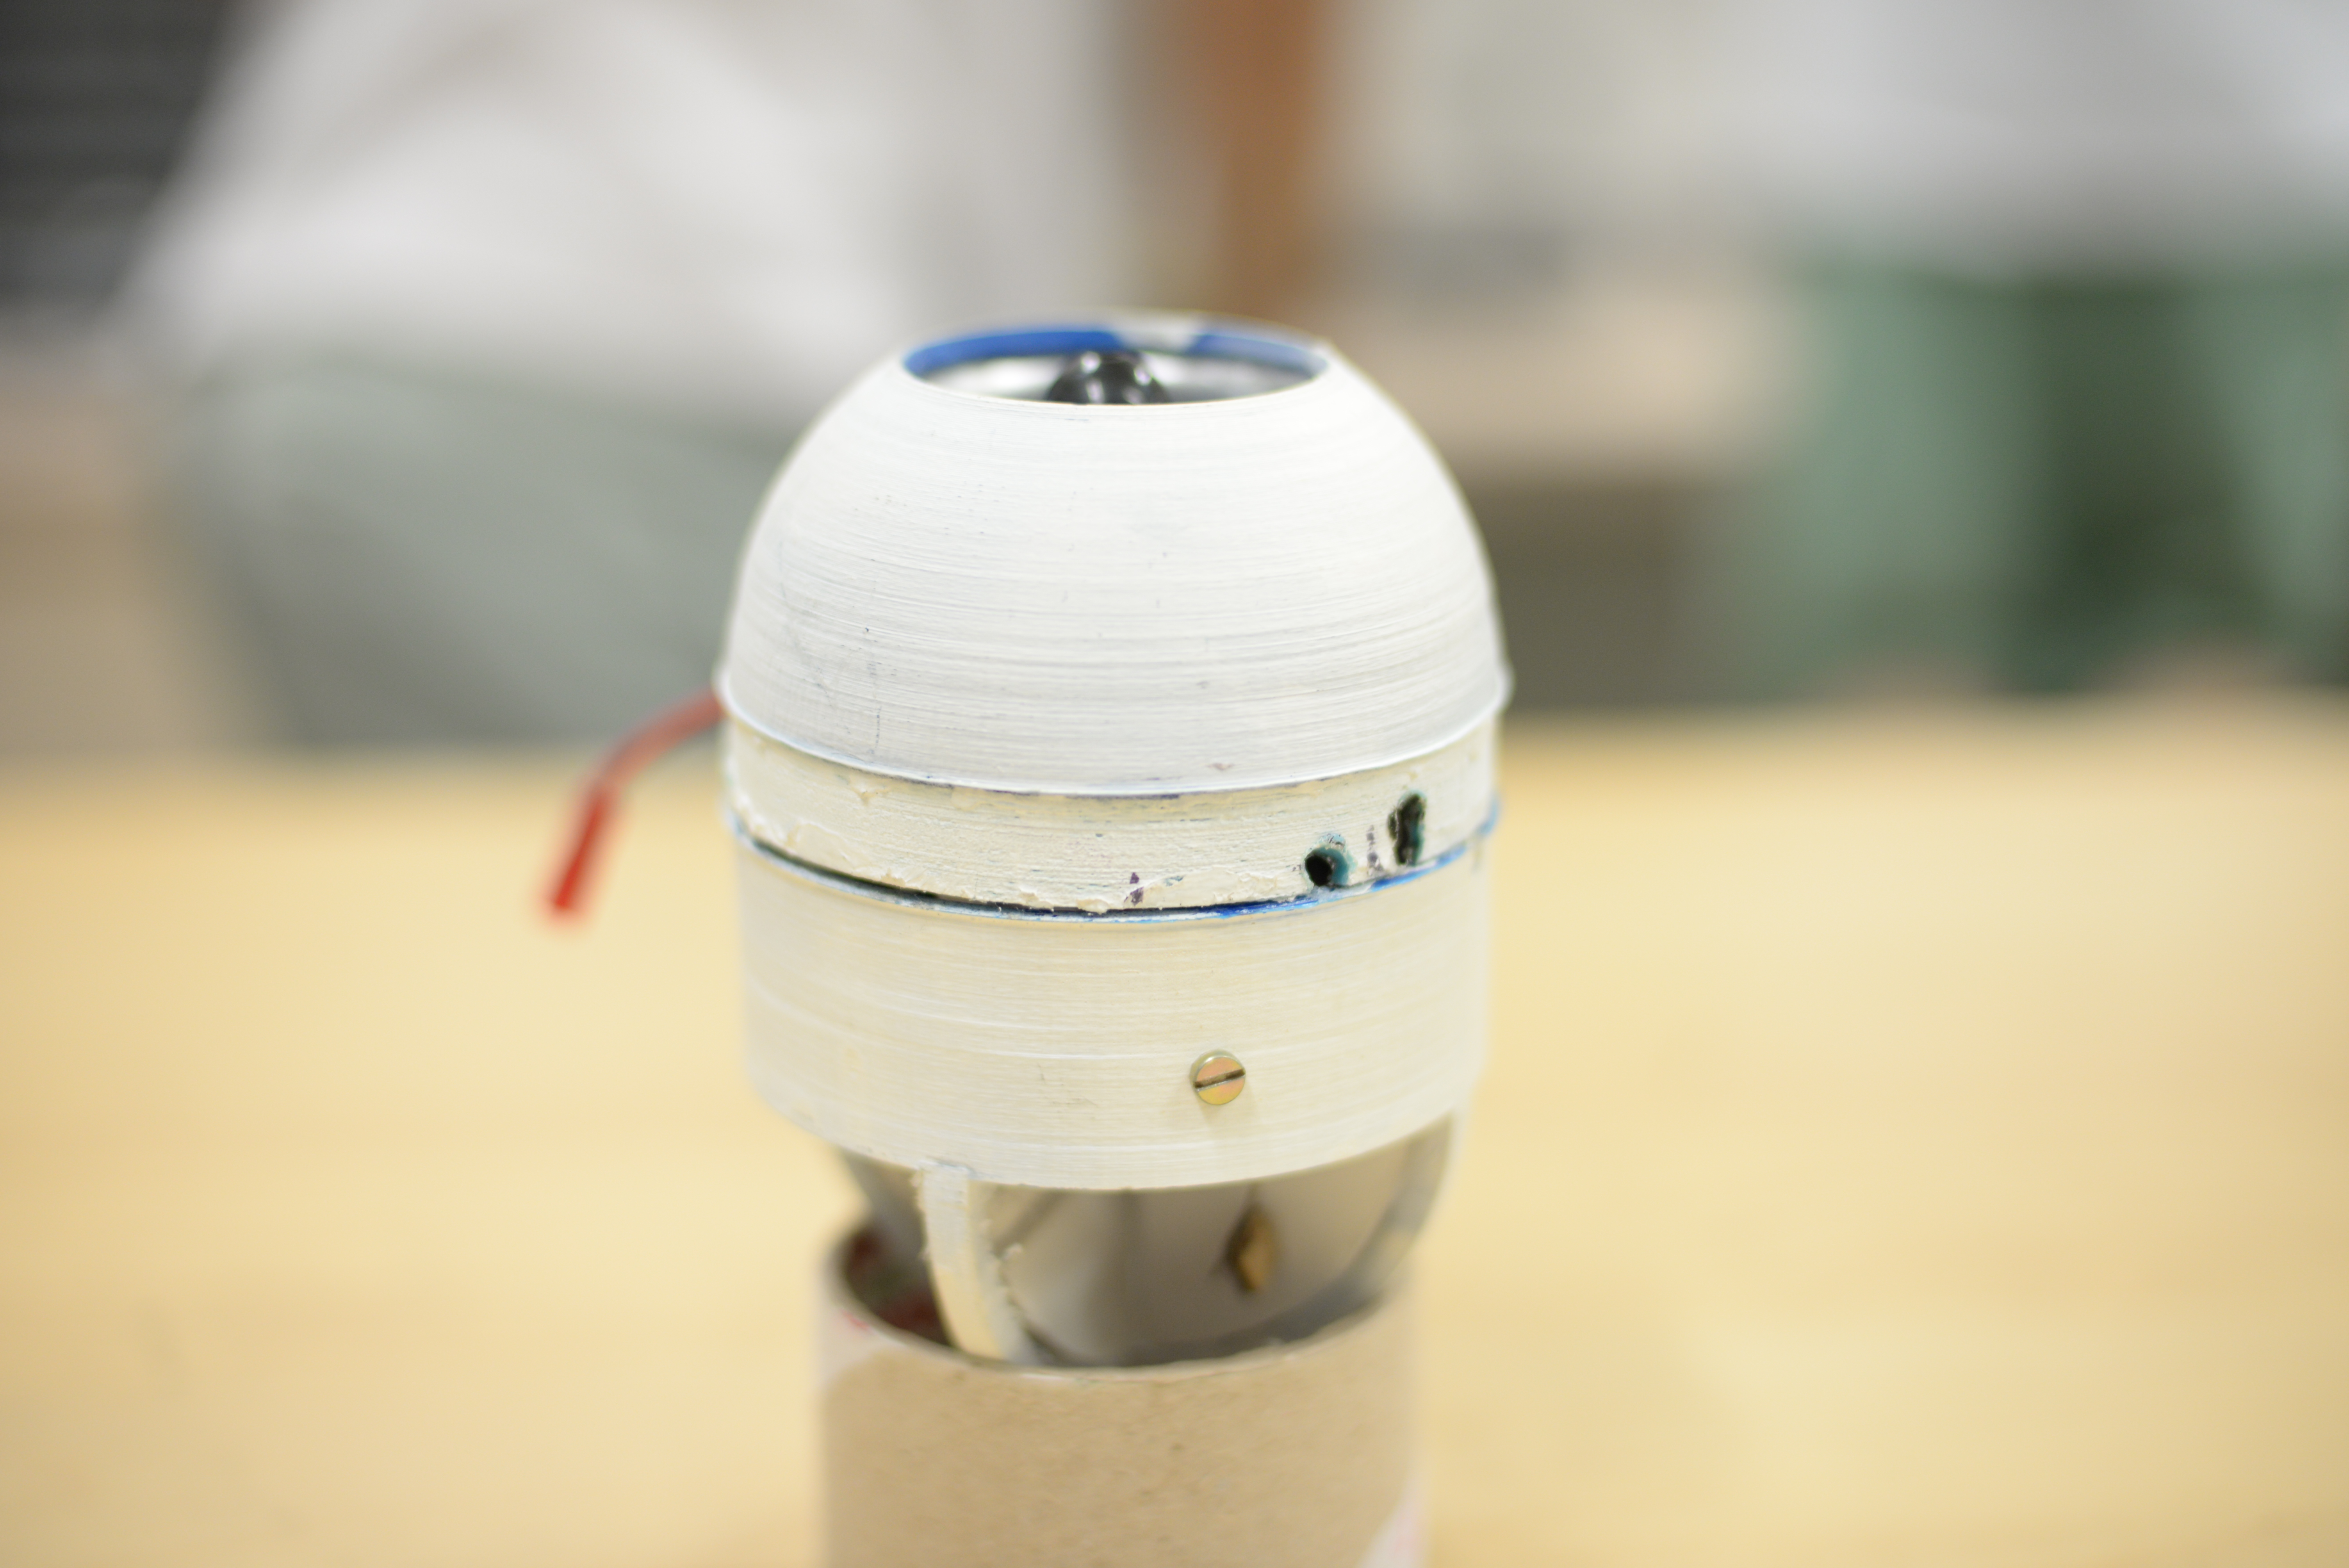
This was the first ever prototype model created of SentiBots. It has evolved into a completely different model today.
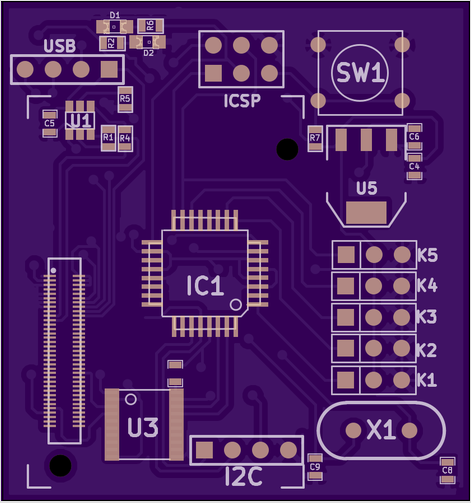
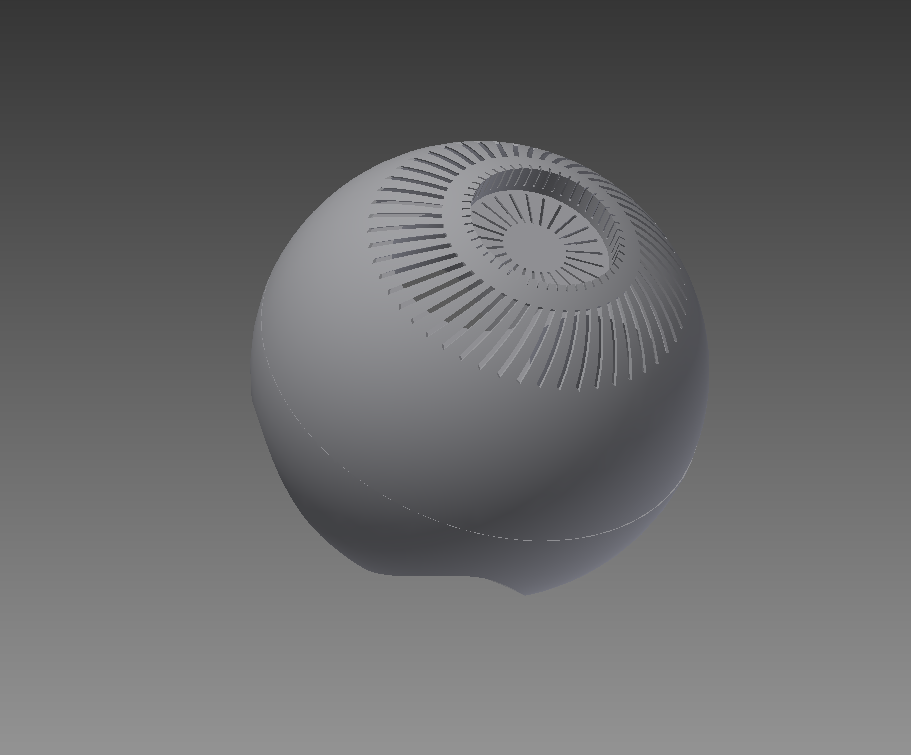
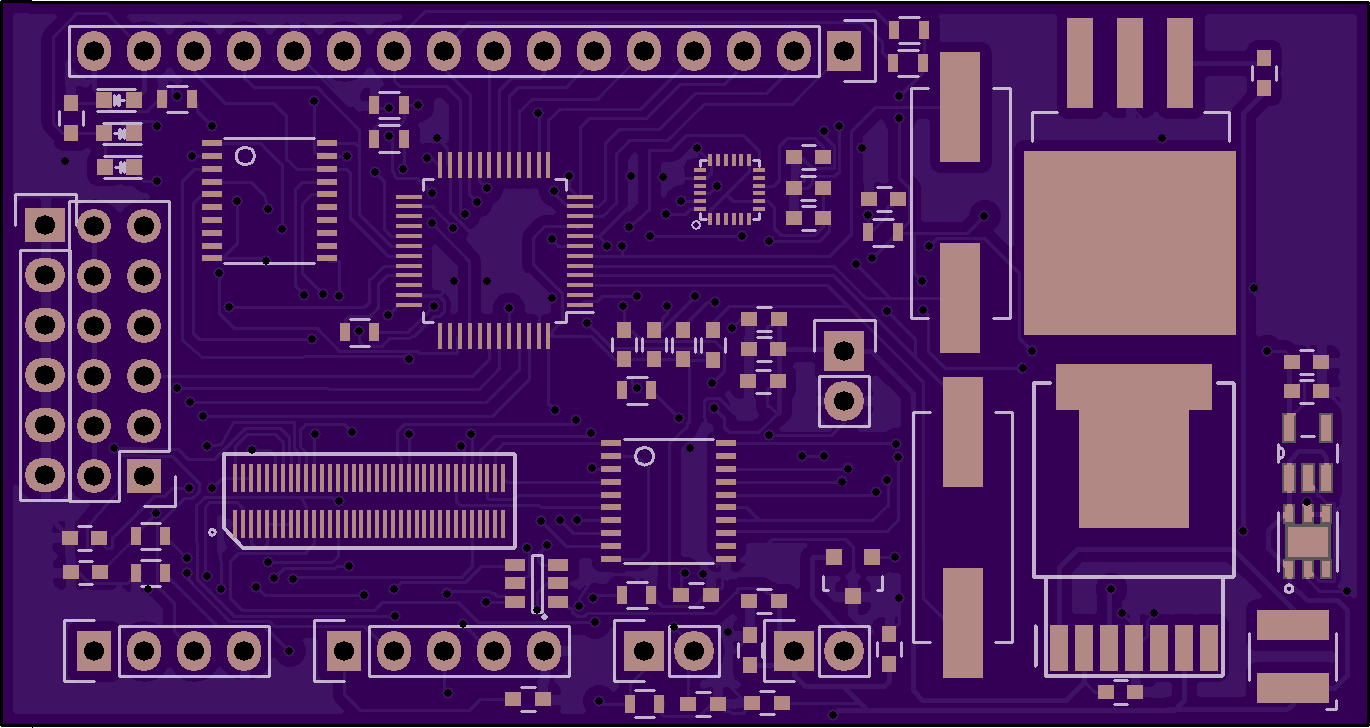
Here is an early snapshot of the EdiPlane PCB created last year. We very quickly realized that a spherical shape is just pointless and makes it hard to mount stuff inside.
Prototype 1- codename Prime.So naturally, we extended into a bean. Also beans are awesome. The battery mounting was still a bit iffy but its an improvement. This model did not fly.
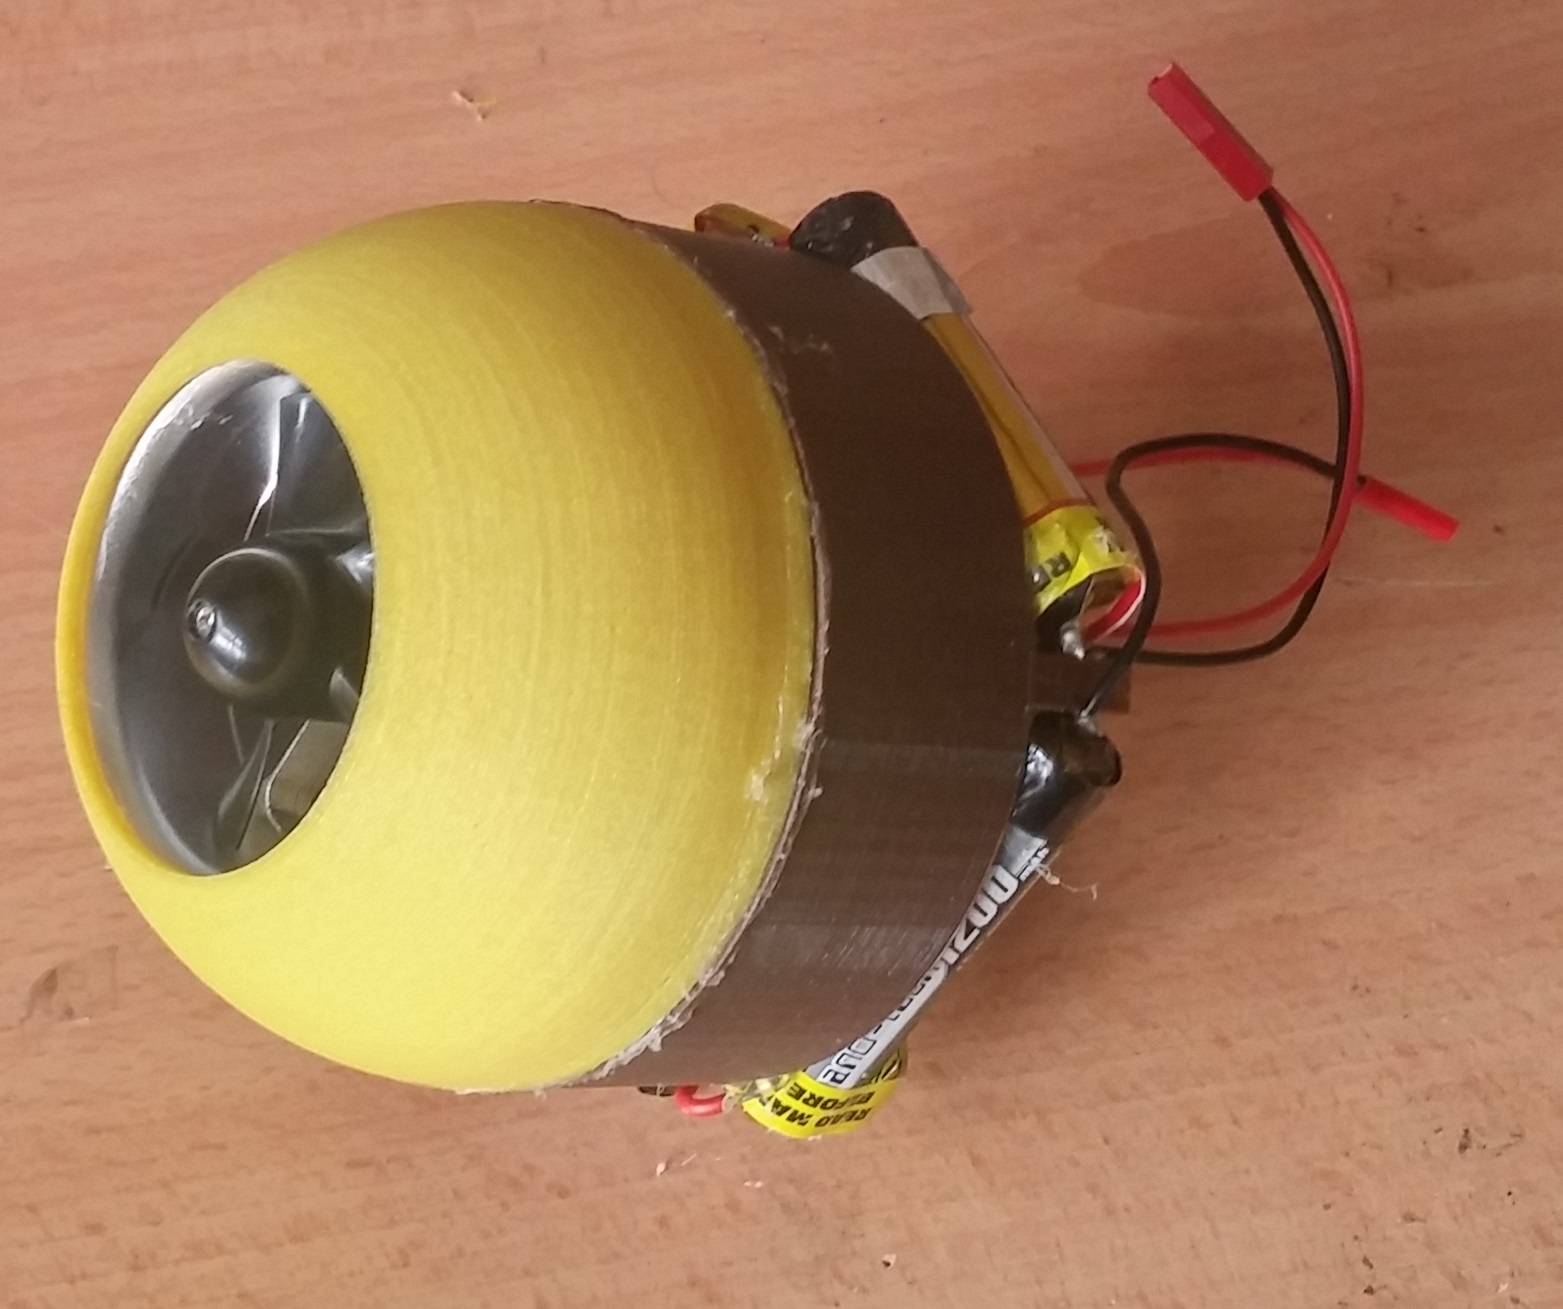
Prototype 2- codename Snow White. Snow white was a very interesting prototype as it is the only SentiBot created to have a nylon frame and its extraordinarily durable. This still uses the single EDF propulsion method.
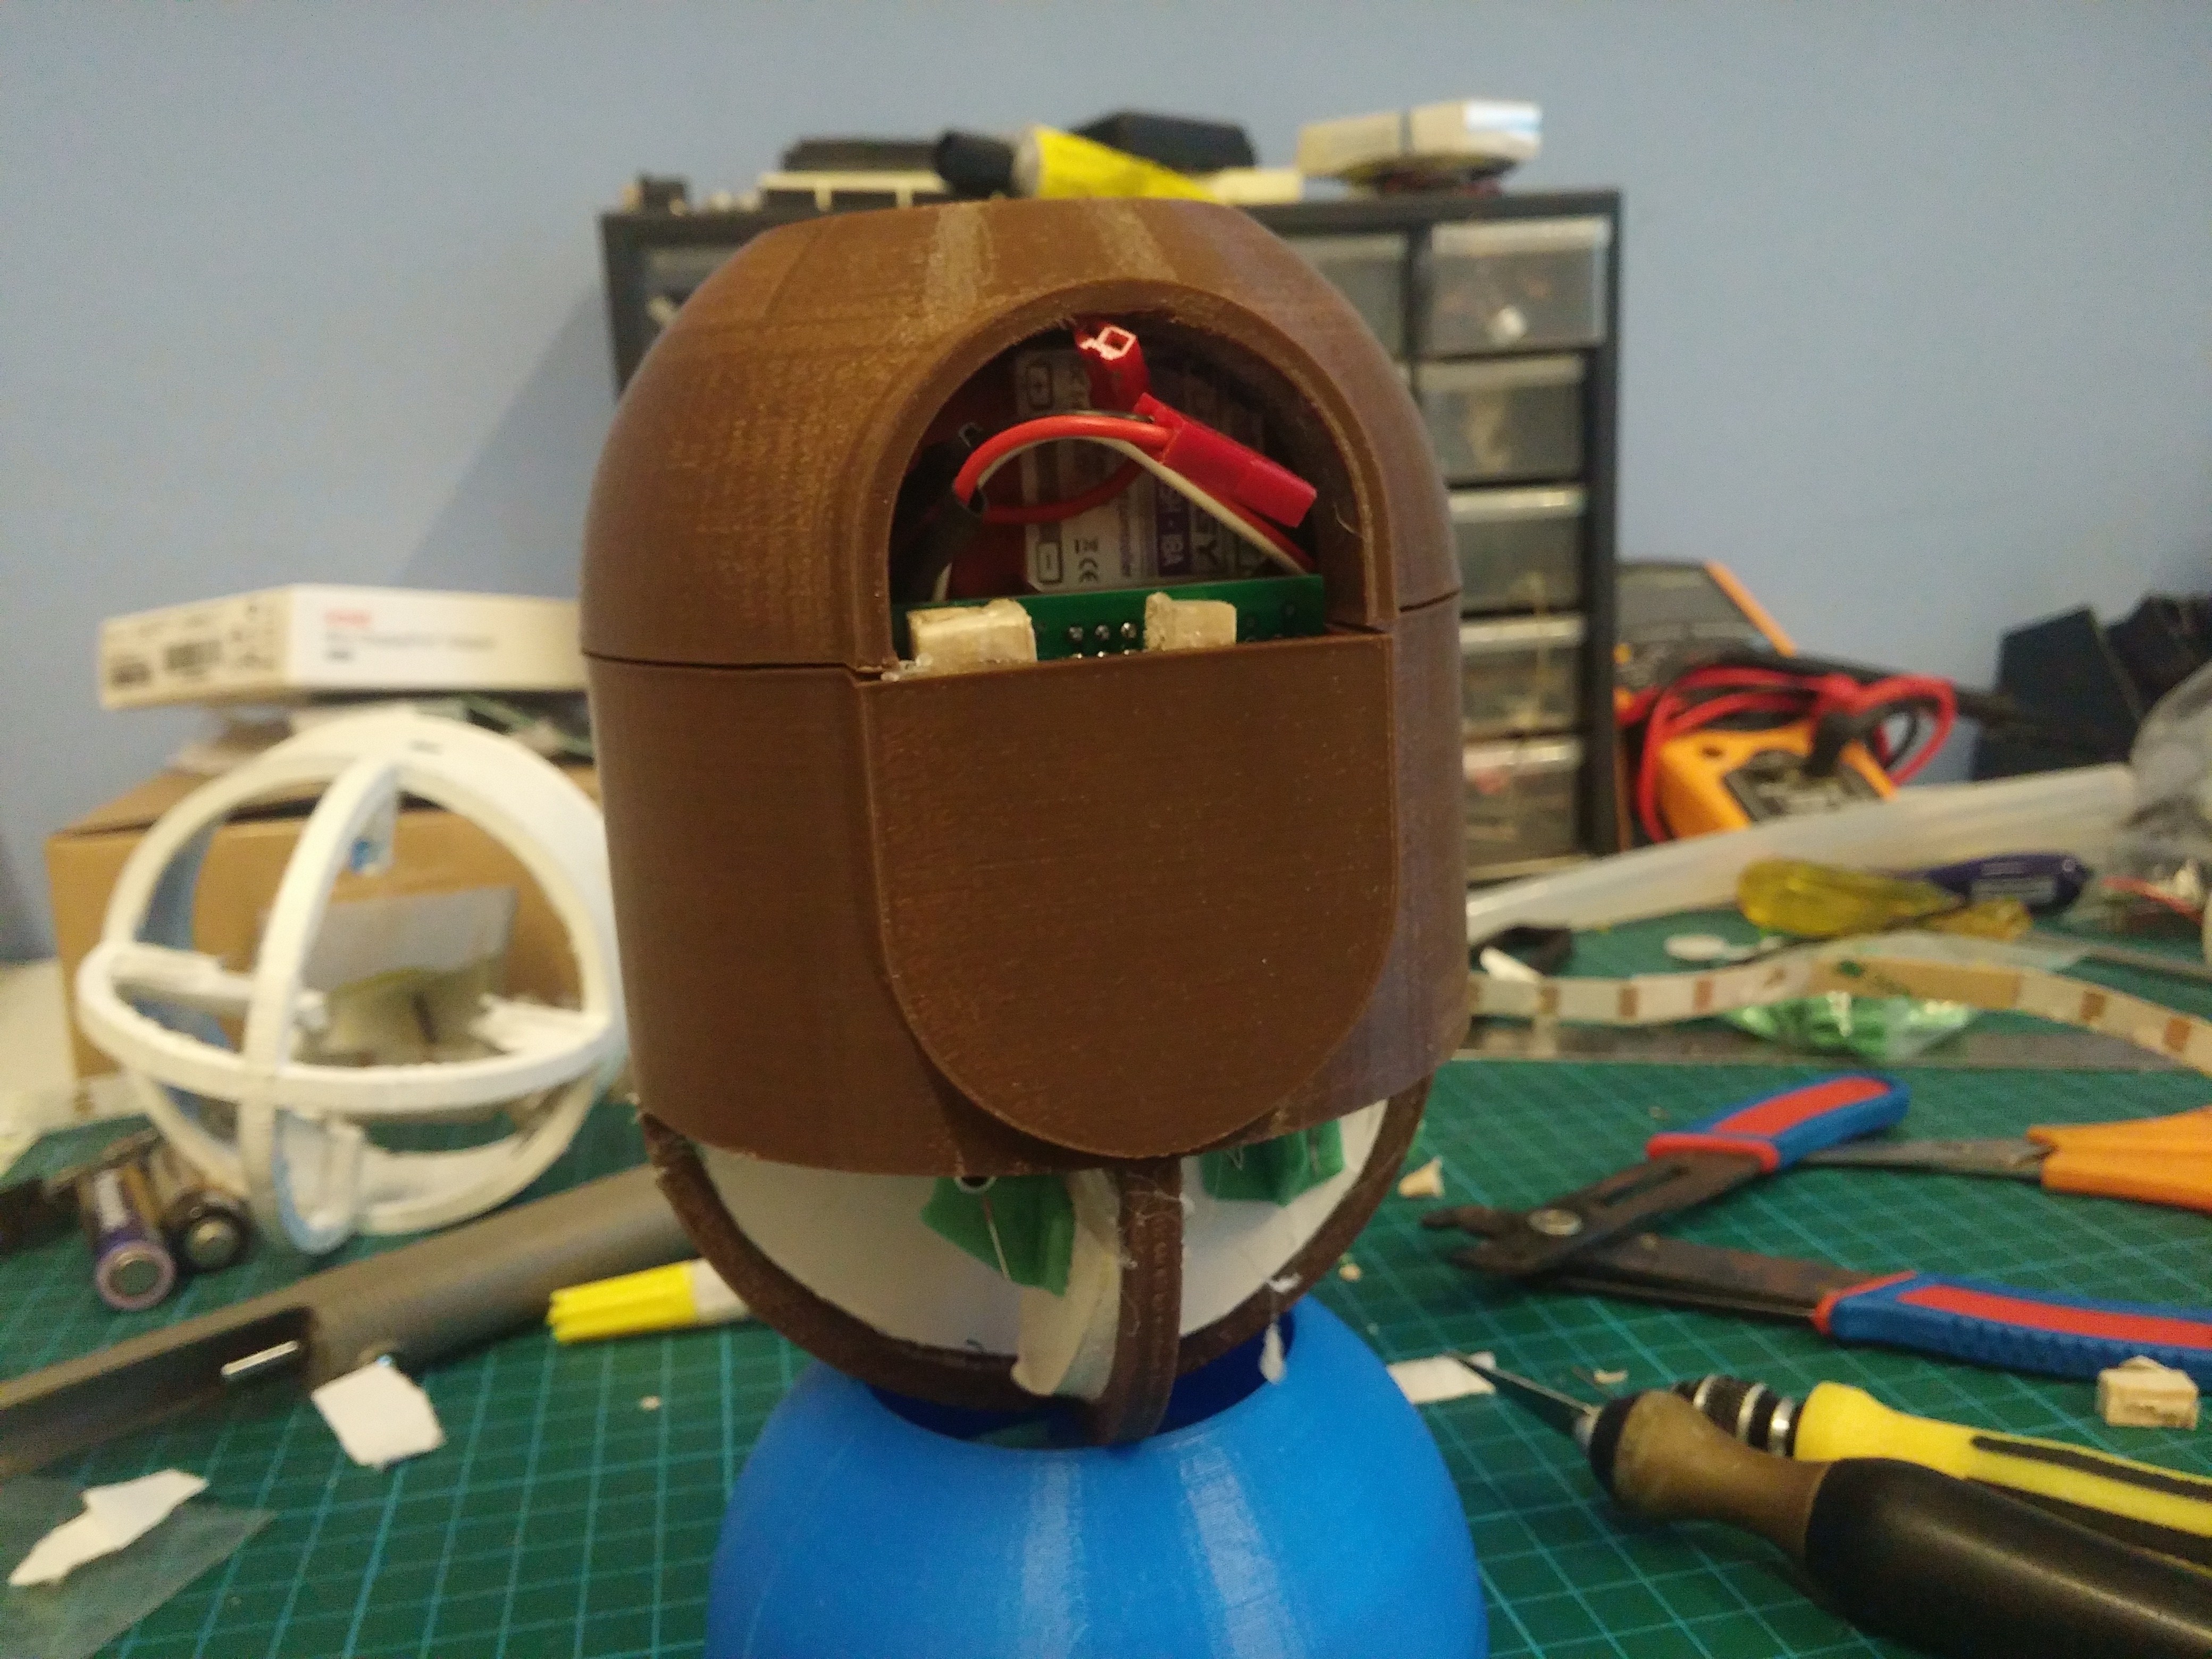
Prototype 3- codename Sentinel. This was the first SentiBot to have the hump to expand upon the spa
As the holidays roll around, students are starting to lose their purpose in life as they are bored by the lack of things to do. Therefore, naturally just like everyone else, here at MakerForce we are also hopelessly bored. However, instead of wallowing in boredom, we decided to write this small guide of random things to build when you are bored at home so that we could help some of you out.
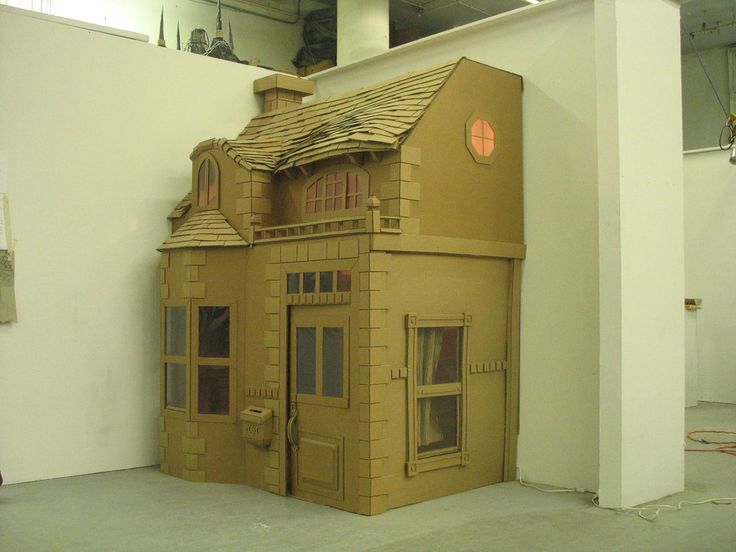
#1: Build a cardboard house
An essential part of every builder's dream is to build you own house with the necessary internal decor that you prefer. Of course, as fellow students, we know that students generally are quite broke so we settled for a cardboard on instead. You could go actual full size cardboard house or mini highly detailed variants. Whichever path you decide to strode on, you are sure to have plenty of fun. Check out this link for some inspiration.
#2: Build a car
A car. A a widely used tool for transport for both humans and items, its considered extremely useful tool in the 21st cent
So this will be the first post in a series of me making my own solder reflow oven. As you all know, the number of PCB related posts are increasing steadily with EdiCopter and our custom quadcopter boards on the way. I though that this would be the perfect time to get ourselves a solder reflow oven and maybe start small scale manufacture and went over to a nearby shop and grabbed myself the cheapest toaster money could buy.
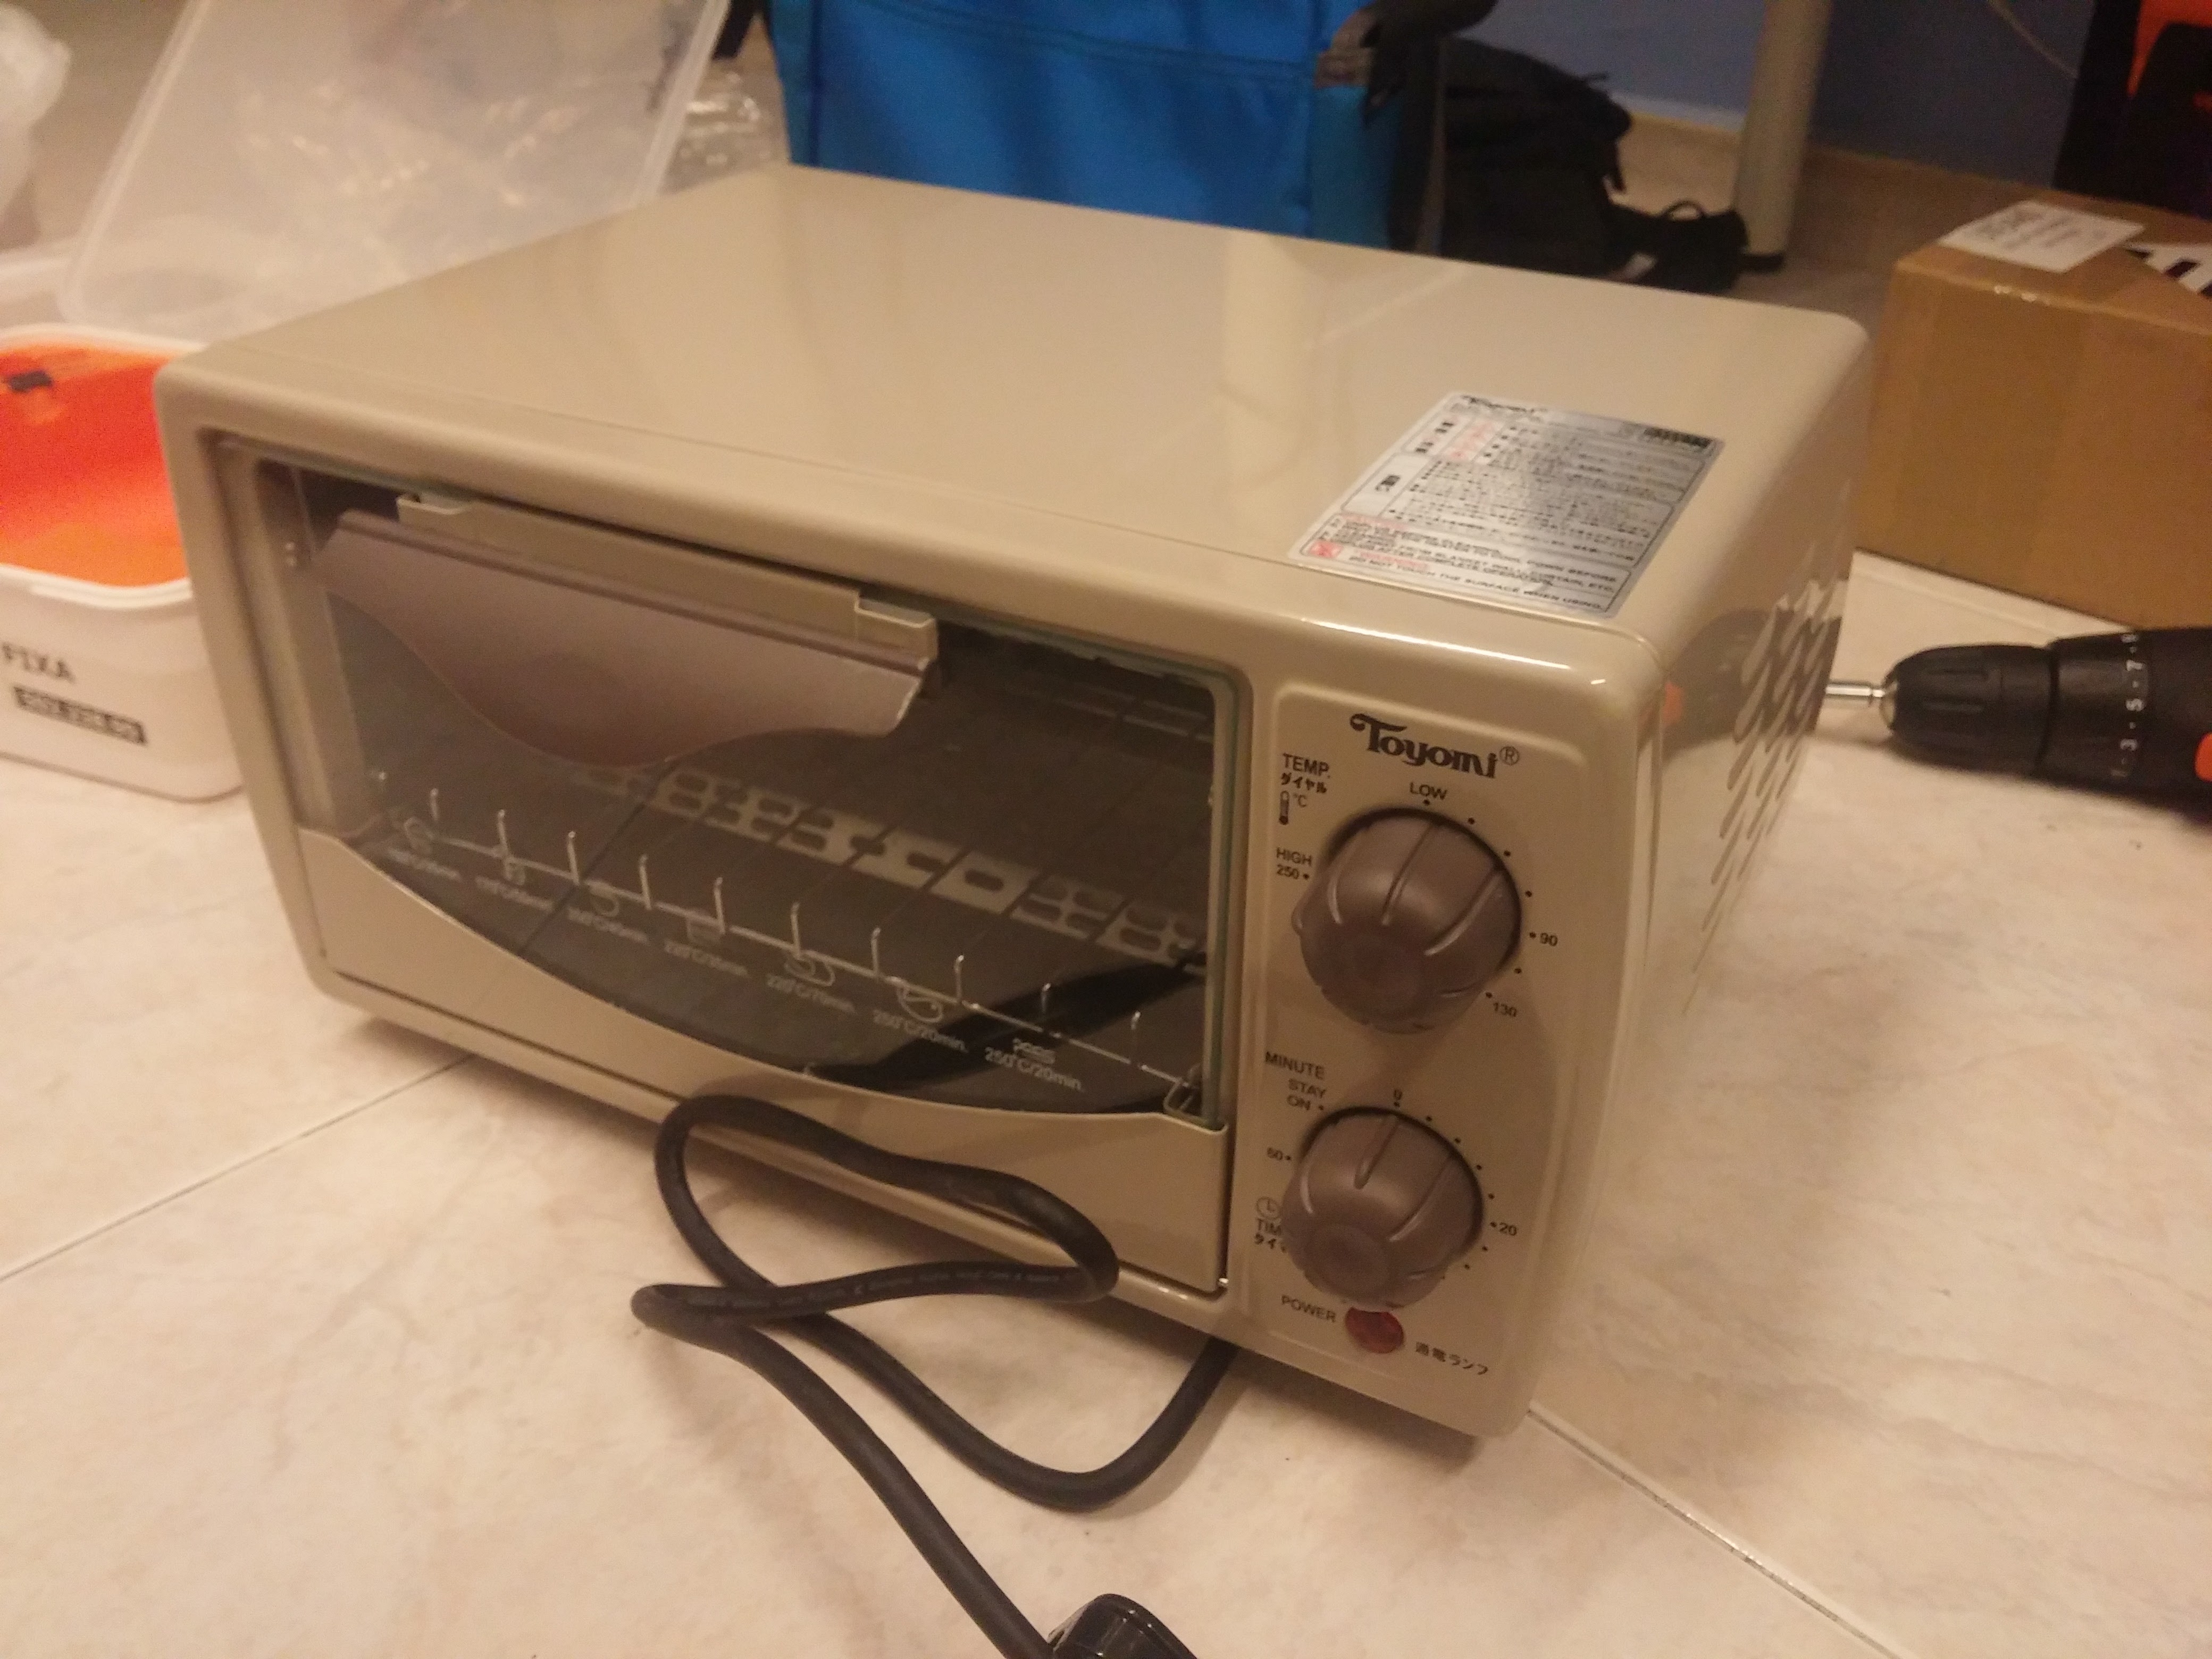
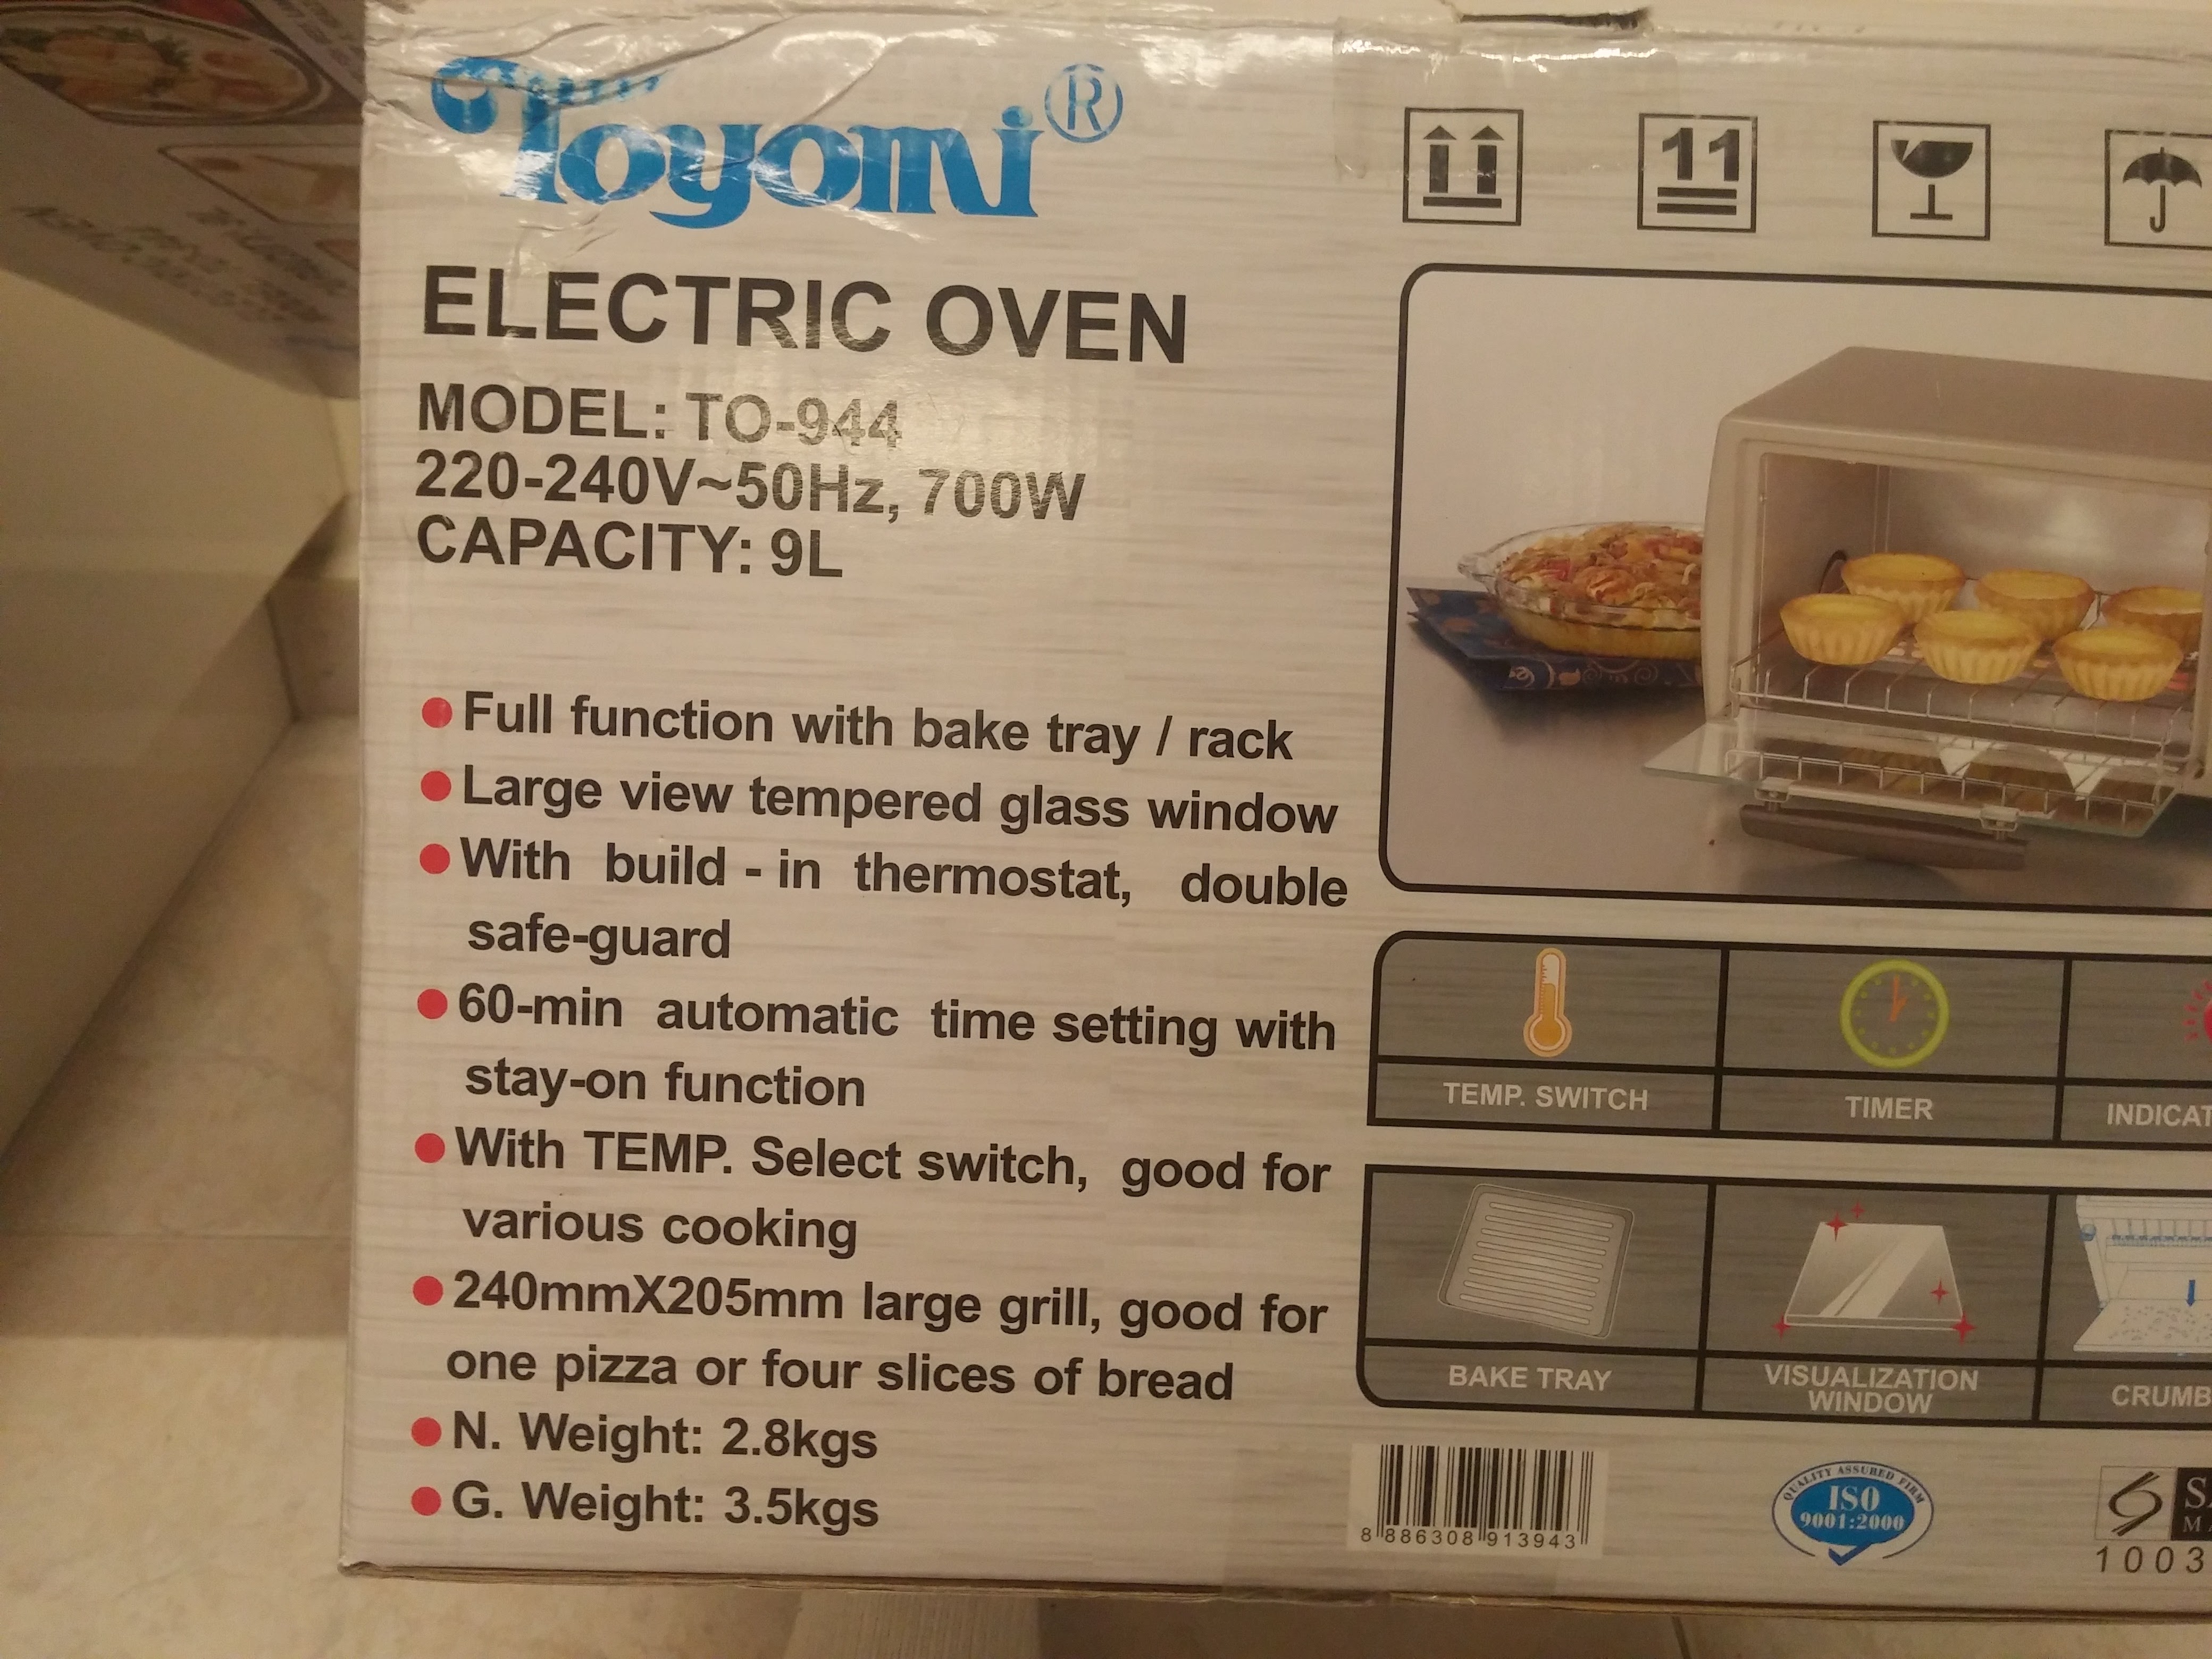
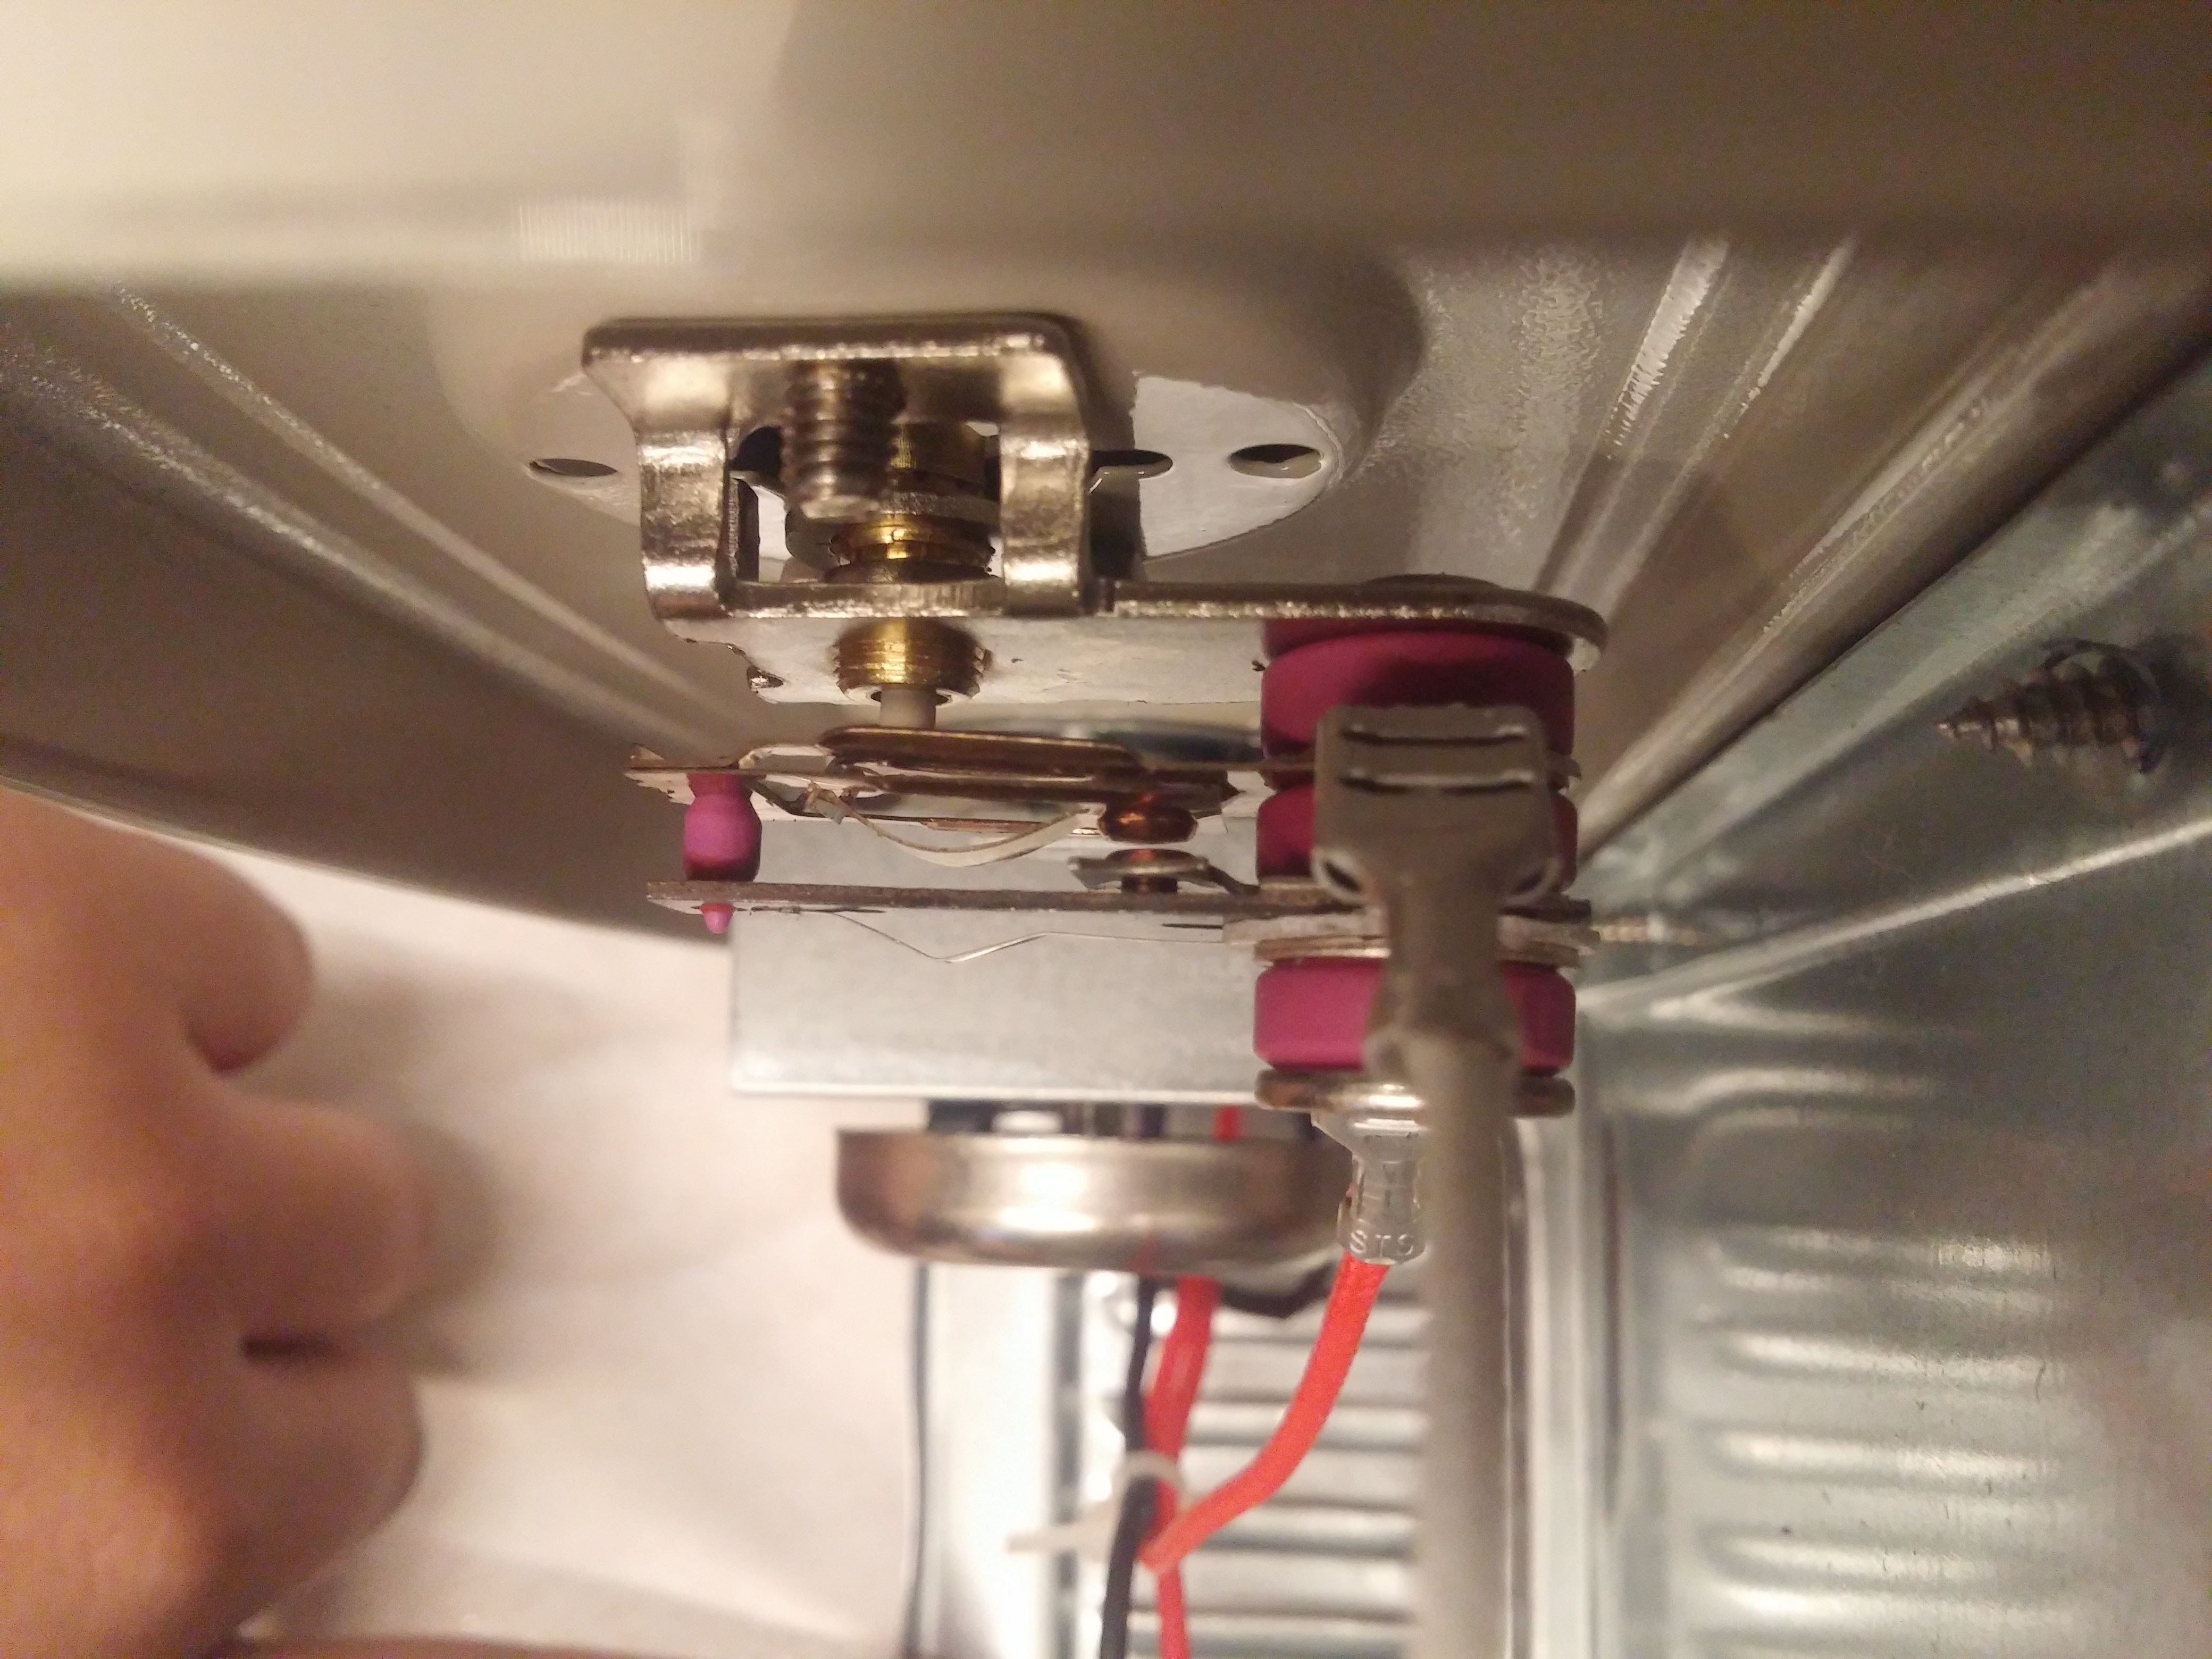
For its price, this toaster's not bad. It comes equipped with a bimetallic strip based thermostat design which is pretty commonplace in toasters these days. When the strip heats up to the right temperature, it bends away from the contact and disconnects the power to the heating element. Pretty neat low-cost mechanism.
It has a nice big cavity inside which will work wonderfully with our extra electronics inside. It looks like with the amount of space we have to work with, we could easily enclose everything within the frame itself making it look as stock as possible
Introduction
The Ediplane brought you a simple Intel Edison flight controller. Now, it is time to kick it up a notch. Meet EdiCopter, a full blown autonomous flight controller with many improvements and added features as compared to the EdiPlane Board.
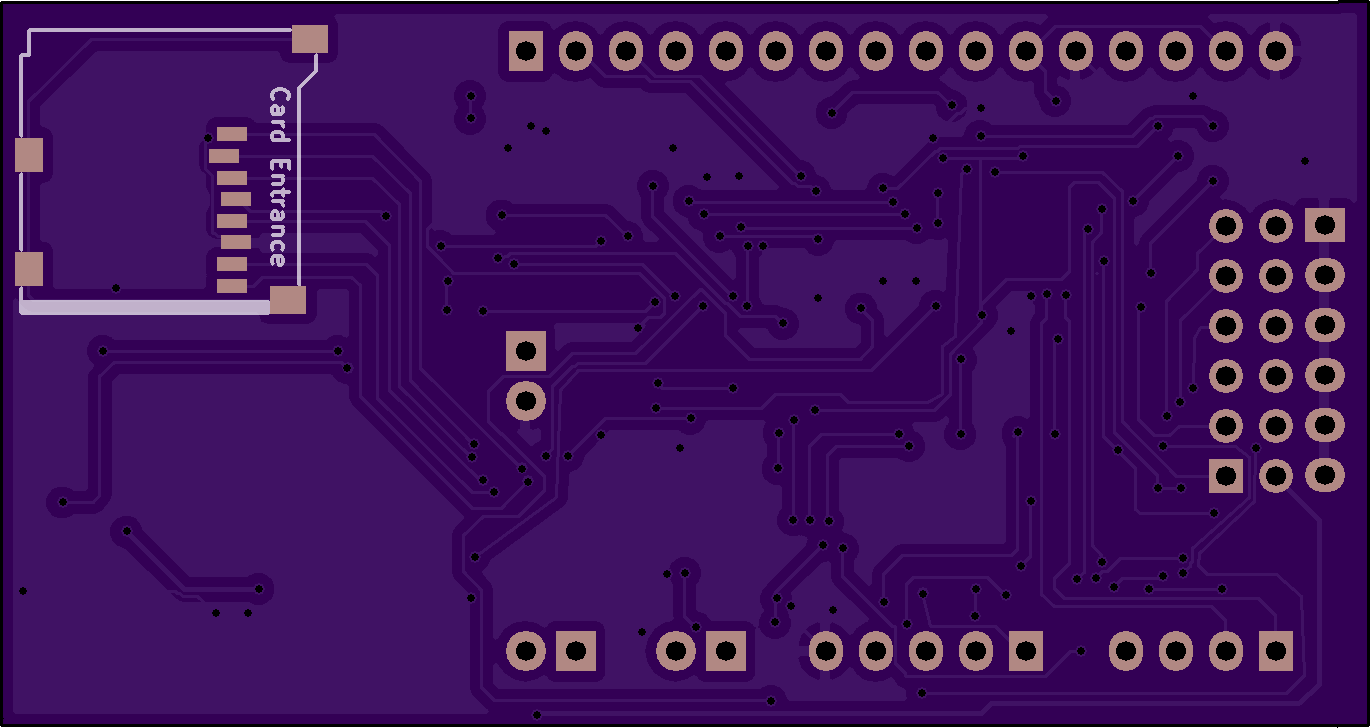
Improved feature list
- STM32uf103 microcontroller (32 bit)
- 6 PWM Outputs
- Onboard power distribution( takes 3S/4S)
- More GPIO out for convenience
- MicroSD Card for logging
- 70mm x 37mm
Documentation
We are proud to say that this is the first open-source Intel Edison based flight controller. We will release the schematics and kicad files soon once we confirm its functionality. We will post a follow up to this with testing results once we manage to assemble the board.
Potential applications
This board could be used as a autonomous drone controller which is its primary goal. However, the GPIO breakouts allow you to customize the firmware to act as a general single board computer which has a multitude of applications in all kinds of systems f
I've got to say, the life of a teenage engineer is quite hectic. Let me just give you a little taste of what it feels like. First thing in the morning of a weekday, I need to drag myself out of bed at around 4am to go to school. That's the easy part. Returning back home, I'll find myself drifting straight into my room for my fix of afternoon/evening tinkering. I'll either be working on one of my long term projects like SentiBots or more short term ones that come and go. At around 8pm, the sight of my bag sitting there unopened, jolts me from my focus on the project and most likely I'd remember that undone physics assignment that was due 2 weeks ago.
Of course, there are things I find more productive to work on than homework, but unfortunately the progress of human civilization has left me in this world of homework and studying. On top of the stress of school on an ordinary teenager, I have pressing world engineering problems like the world energy crisis to solve in my free time and the
They say that the best weapon is the one you never have to fire. I respectfully disagree. I prefer the weapon you only have to fire once.
- Tony Stark, Iron Man (2008)
For once, I actually disagree with Tony Stark. In this ever developing age of computing and cyber warfare, most weapons are not really fired. Rather, most warfare occurs rather passively with spy missions or other reconnaissance missions being used to get military secrets from other countries. UAV's like drones and quadcopters are now becoming commonplace in a country's military arsenal and this is becoming a much larger part of military operations than actual invasion and the active act of war. Stealing IP of a country proves to be as effective as the active act of war.
Introduction
This year the Tan Kah Kee Young Inventor's Award (TKKYIA) 2016 launched and as usual we participated in the Defense Science section of it. Defense Science is quite important as we need to equip the country with the required tools and equip
Introduction
The quadcopter industry has been booming recently and along with that has come a surge of new flight controllers. Along with the popular APM and Naza platforms, flight controllers like the Naze 32 are also taking front stage. Recently, I decided to build an autonomous quad from scratch and I found myself stuck. I simply could not find a capable flight platform for a fully autonomous flight platform with a vision system. All the flight controllers today required some form of seperate computer like the Raspberry Pi to carry out vision robotics. So, I decided to do myself a favor and go make a fully autonomous quad platform.
The EdiPlane board
The EdiPlane board is Edison-Arduino integrated board which is intended for use in a fully autonomous drone/rover platform. It takes the ATMEL ATMEGA 328 chip and combines it with the computing power of the Intel Edison to get a perfect combination of computing power and I/O pins.

How it works
The EdiPlane is simply a board which allow
PCB making in Singapore is a topic I've seen not many people talk about. Being one of the bustling cities in South East Asia one would expect to receive quality PCB making services locally in Singapore. On contrary, PCB making in my experience has not exactly been a honeymoon experience one would hope for. In this post, I will share my experience with making PCB's in Singapore and talk about the pros and cons of making PCB's locally.
Experience
I was trying to make a PCB for a school research project last year. More specifically, I was trying to make a Intel Edison based flight controller for a custom drone. Another post will be done detailing the PCB itself. Anyway, because along with the normal SMD connectors the Intel Edison connector cannot be soldered by hand, I required assembly services along with the conventional fabrication requirements.
Because of this limitation, I needed to build it locally to avoid incurring shipping costs and complications of sending the components overse
This is the first installment in a series of posts which documents my journey into room automation. We have come up with a basic plan and bought essential materials which I will be outlining in this post. In the next post, I will be talking about the installation of the system, in the third post I will talking about the software be the project and in the last post I will conclude with a study on its feasibility and usefulness.
The Plan
My room is an average sized room with the normal functionality. I have 1 light, 1 fan and an air-conditioning unit which needs to be remotely controlled. I do have a desktop PC in my room which can potentially used as the controller unit. I also need a passcode lock security system to be implemented as my projects and expensive equipment are going to be stored in my room.
The current plan is to use the PC as the main controller and the Arduino Pro mini as the micro controller. The PC can send serial commands over wifi to the Pro Mini which is connected t