Now that we have nginx, HHVM and MariaDB installed, we can get into installing Wordpress! Wordpress is a comprehensive blogging platform and content management system (CMS) written in PHP. (This blog runs on Ghost, which is good if you're only blogging.) If you're building a content-driven website, Wordpress is something to consider.
As mentioned in the previous posts, HHVM and nginx gives us a faster-performing PHP webserver, as compared to a default LAMP installation. With some more effort, HHVM and nginx can be tuned even further for better performance, but that's an article for another day.
Wordpress is known for it's ease of installation. First, let's download Wordpress:
cd ~  # Enter into our home directory
wget https://wordpress.org/latest.zip  # Download the file at the URL
Now, let's unzip the archive.
user@hostname:~$ unzip latest.zip
The program 'unzip' is currently not installed. You can install it by typing:
sudo apt install unzip
In this blog post we will be installing MariaDB, continuing off the previous blog post where we installed HHVM and nginx. MariaDB is a fork of MySQL dedicated to keep MariaDB open. It is fully compatible with MySQL, except for the introduction of extra features.
MariaDB, like HHVM, is available in an external repository.
As mentioned in the previous article, this imports public keys that are used to sign the packages published in the repository, and then adds the repository to the list of repositories for Ubuntu to look up.
sudo apt update
sudo apt install mariadb-server
During the installation, the command will prompt you to set the password for the root database user. Set one and remember it. DigitalOcean has an article on changing it if you lost access as the root use
In this blog post I'll guide you through installing HHVM (HipHop VM) to run Hack/PHP on a web server. I'll be using Nignx and Debian/Ubuntu. HHVM requires a 64-bit operating system, so be sure to download the 64-bit edition of Ubuntu.
Firstly, install nignx. nginx is a high-performance web server and load balancer. You will be using the load balancing feature in a future article, but for now, nginx will help to serve your static files (typically CSS and JS) and pass your dynamic files (PHP files, in this case) to HHVM to process.
sudo apt install nginx
Here, you are using Ubuntu's package manager apt to install the package nginx. You can search for packages on the command line by doing apt search <query>.
To ensure nginx starts on bootup, you need to enable it.
In this blog post, I'll guide you through setting up a Git remote repository in a Linux server. This guide assumes that you have SSH set up, and understand the basics of Git.
Git remotes are just minimal Git repositories without the working tree. The working tree enables you to edit the files within the repository, while the actual revision history is hidden in the .git folder. Minimal Git repositories, formally called bare repositories, are created as so:
mkdir ~/magician.git
cd ~/magician.git
git init --bare
You can have a look at the contents of the bare repository:
user@hostname:~/magician.git$ ls
HEAD        description info        refs
config      hooks       objects
Bare repositories are useless on their own. You have to clone them to make them useful:
cd ~
git clone ~/magician.git
cd magician
Now you can make changes to your repository. For now let's just create the file hello-world.txt:
In this blog post I'll go through the basics of using SSH.
SSH stands for Secure Shell. It is a "cryptographic network protocol for operating network services securely over an unsecured network." Wikipedia It is modernly used to connect to Linux servers for management and occasionally used by programs for secure connections between machines.
SSH is a service that runs on Linux. Most Linux distributions don't come with SSH installed by default. You can install it in Ubuntu with the following command:
Now that SSH is up, we can try SSHing into our Linux system from another machine on the same network. If the machine is a physical one, you need to obtain the local IP address of the machine. If it's virtual, you can either port forward it or obtain the local IP address of the virtual interface.
Windows
The most common SSH client for windows is PuTTY. You can get it by visit
In this blog post, I'll guide you through port-forwarding services in VirtualBox to access services like SSH and Nginx from your host. It's pretty simple.
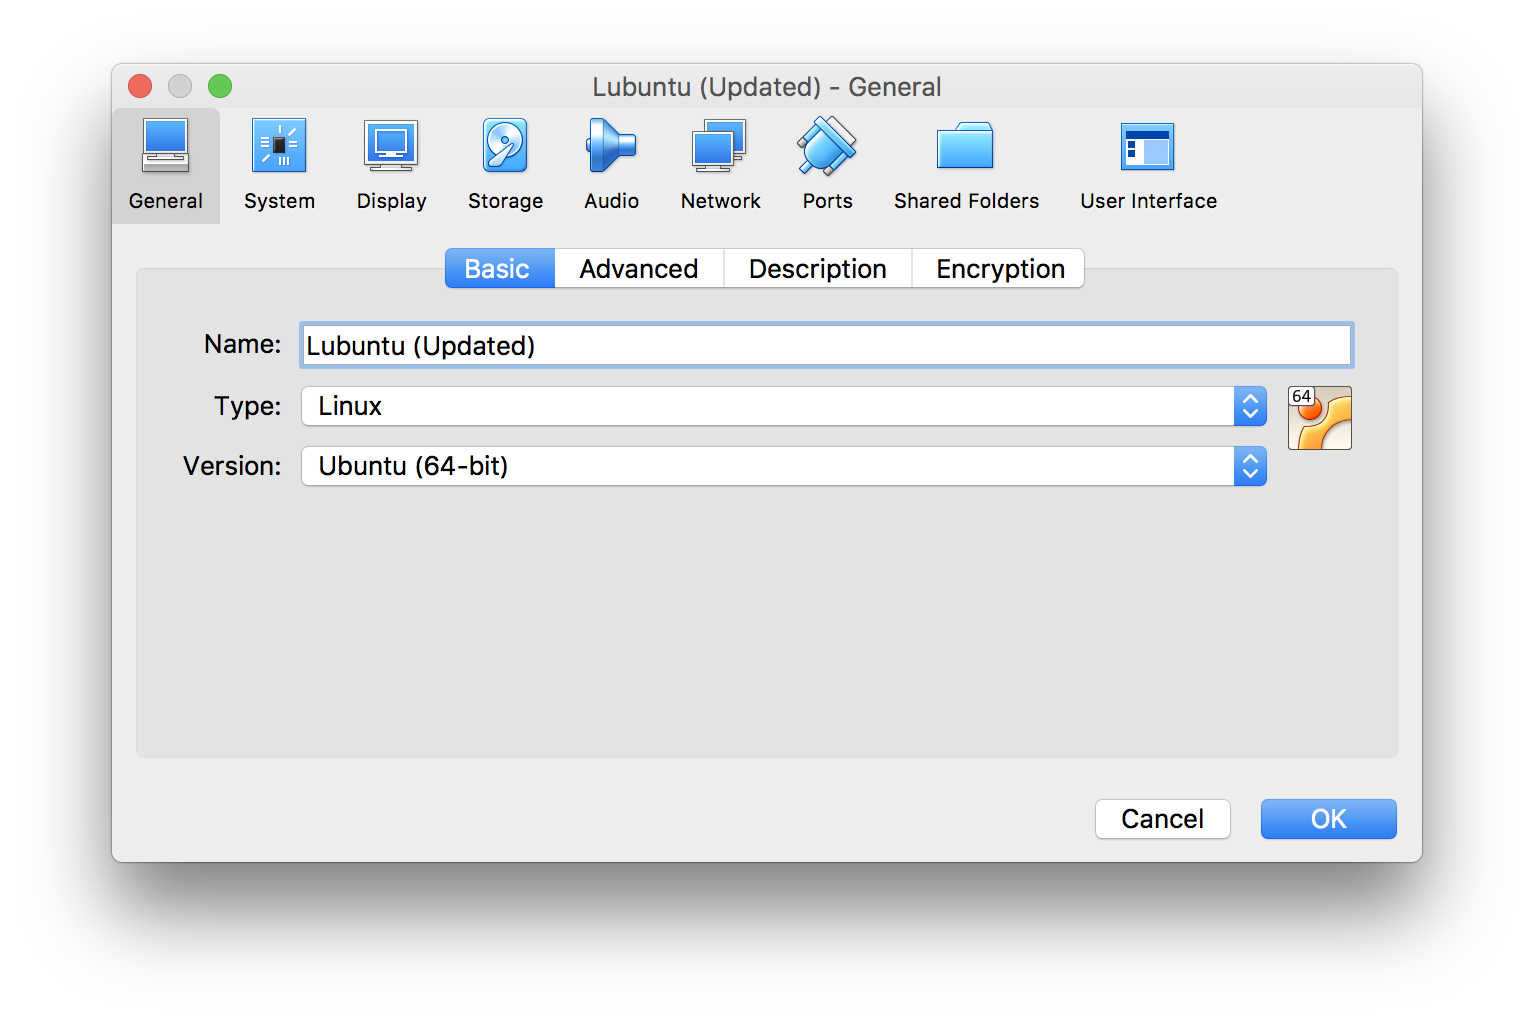
Open up the settings to your virtual machine.
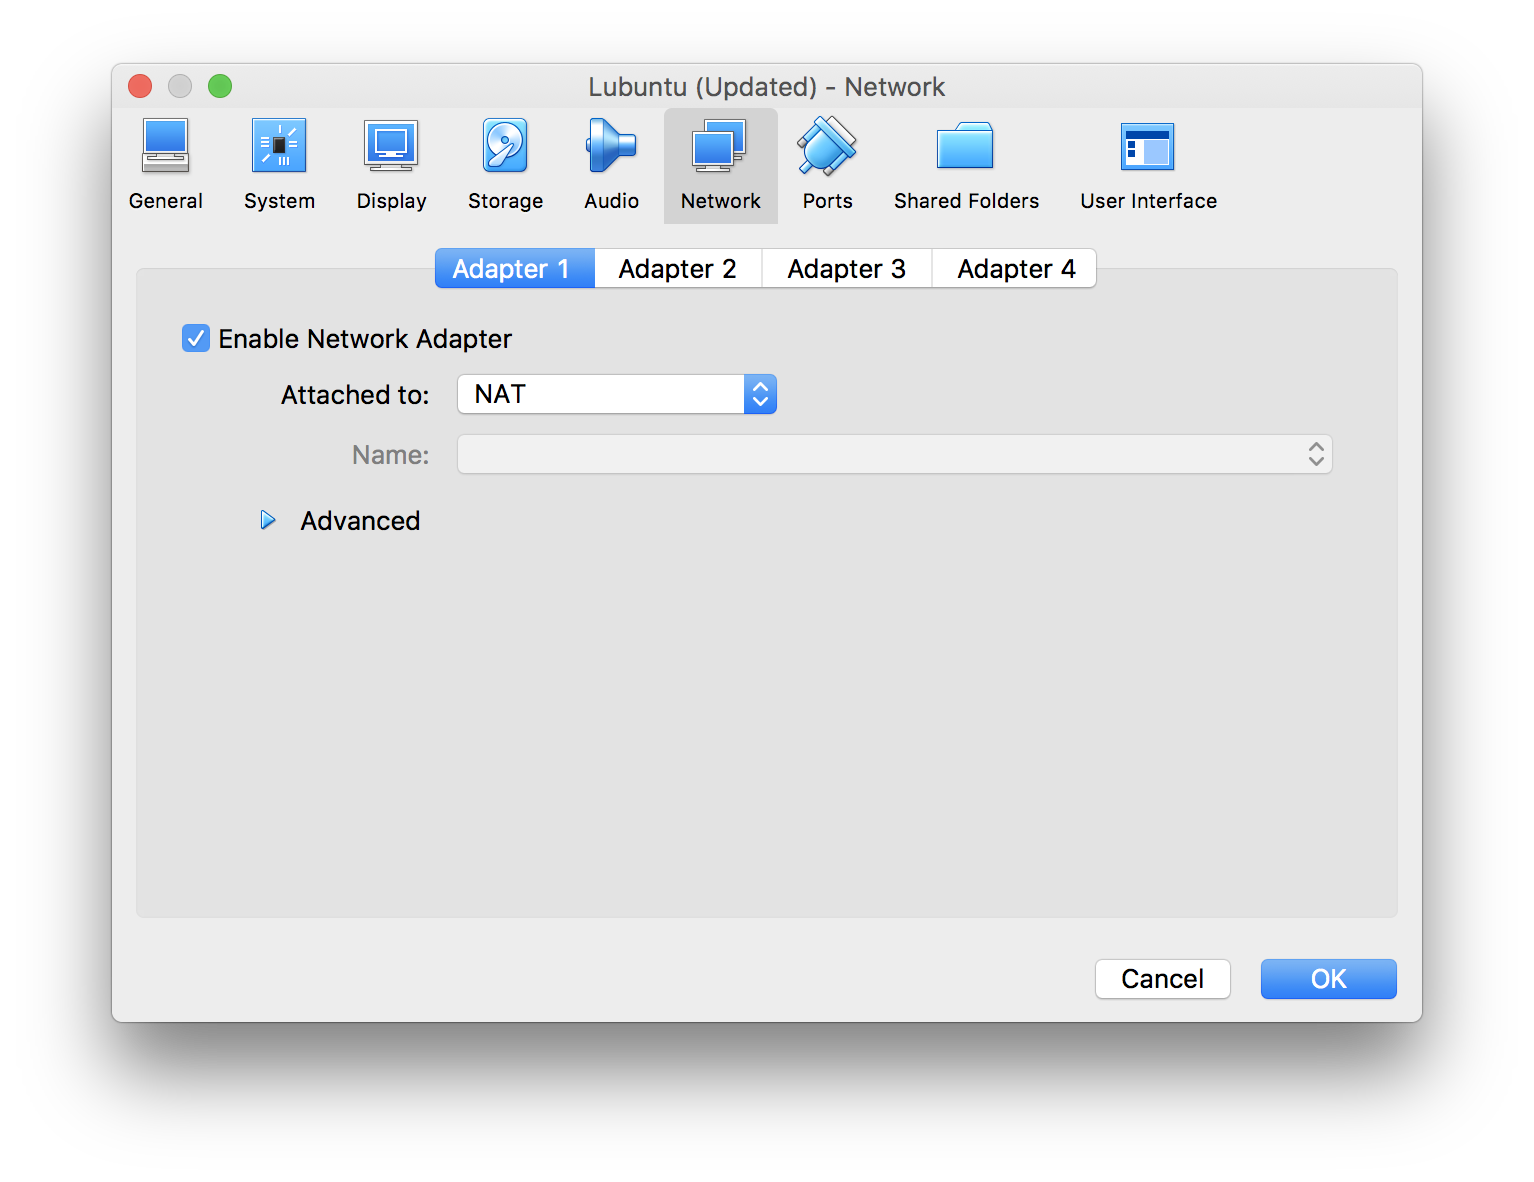
Go to "Network".
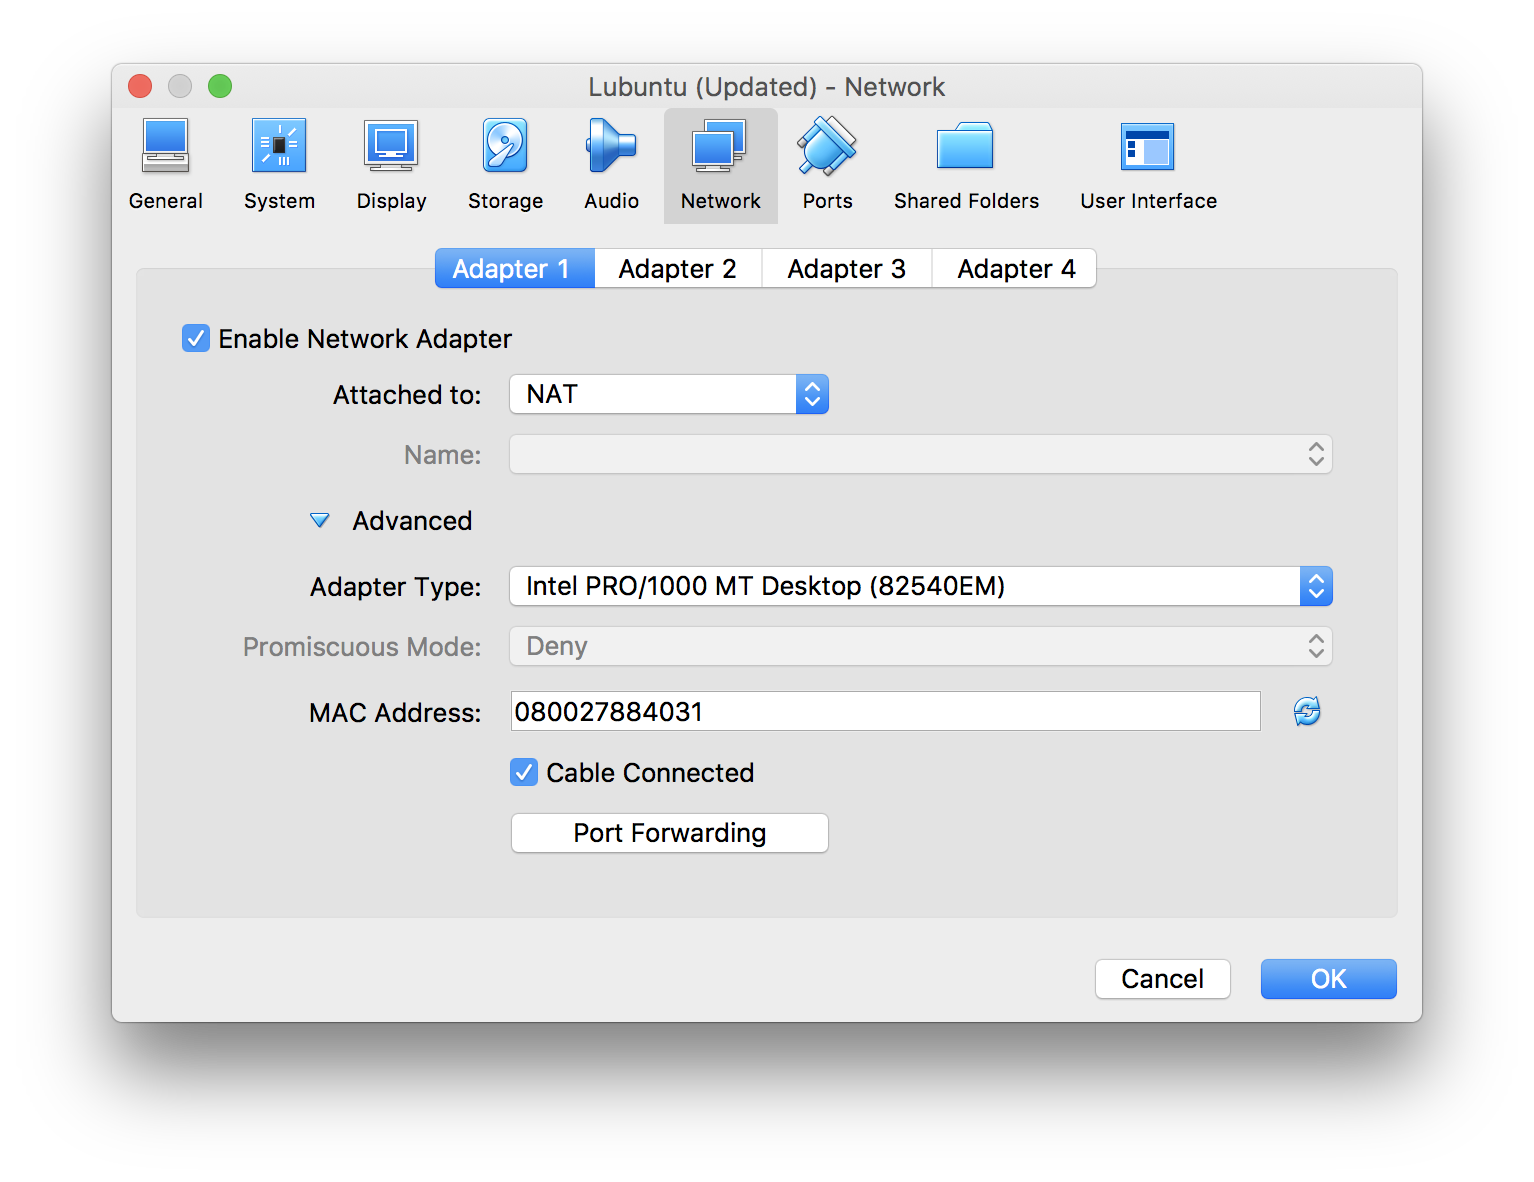
Expand the advanced settings.
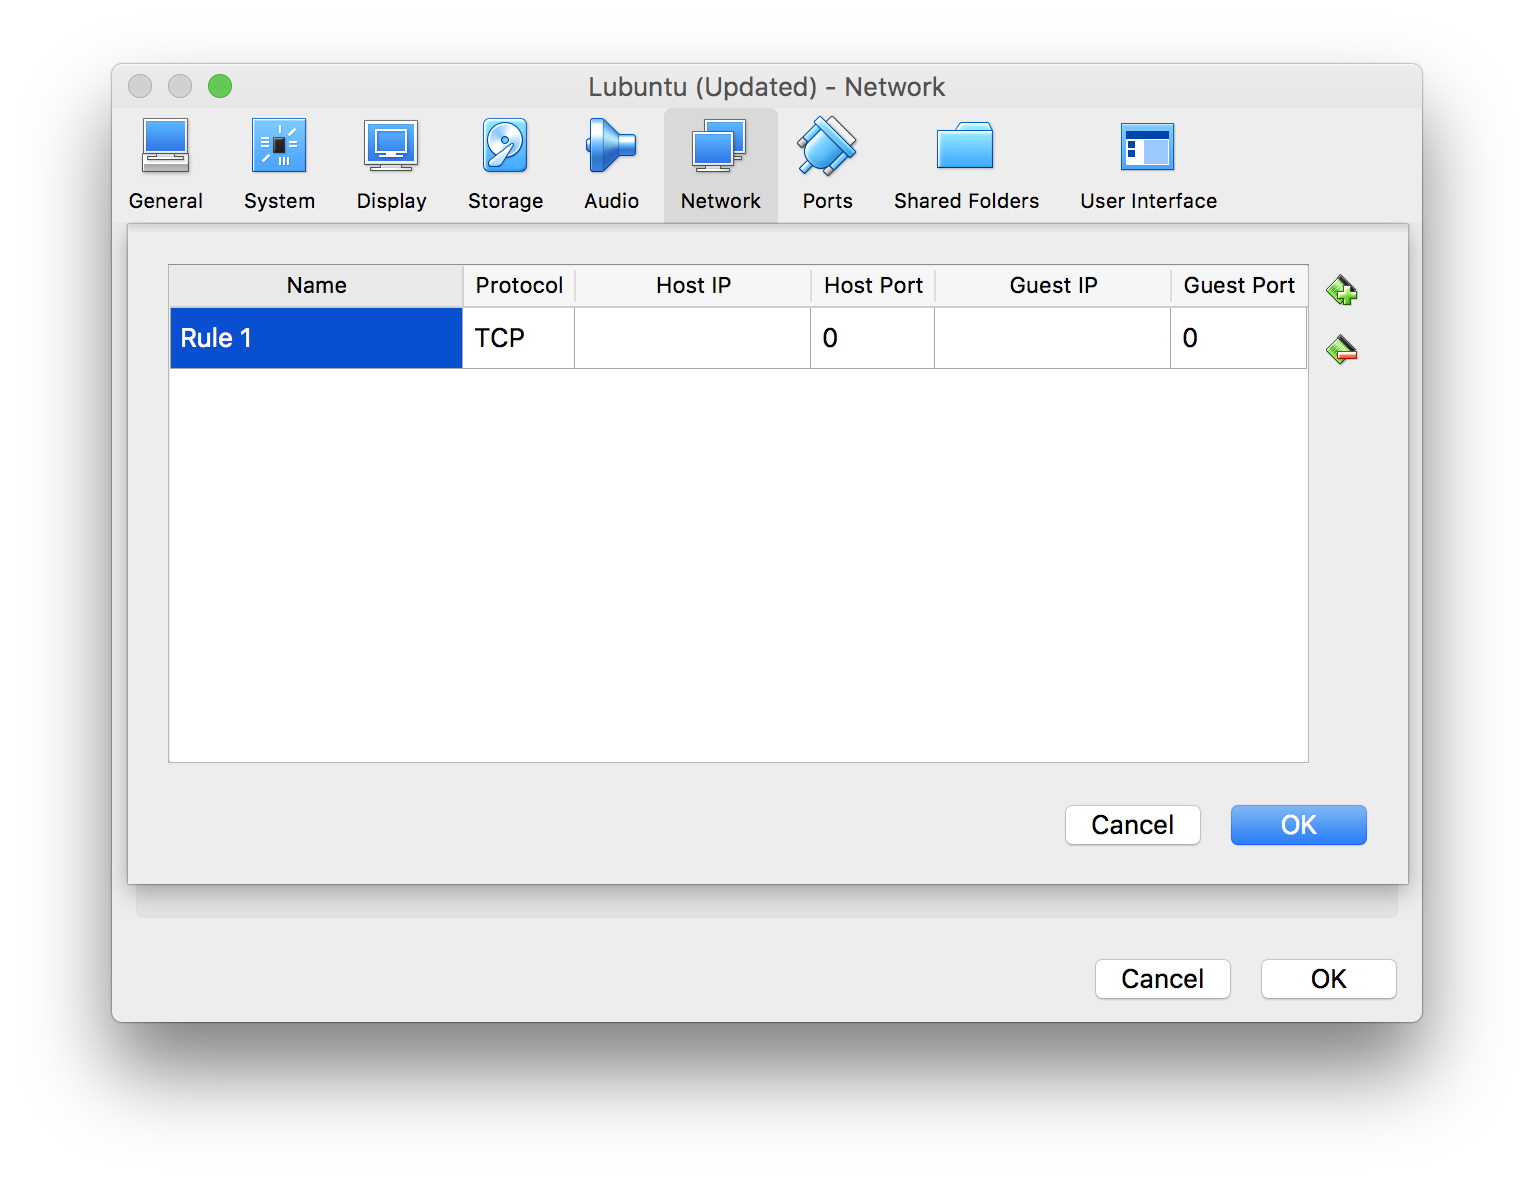
Click on the "Port Forwarding" button.
Add an entry.
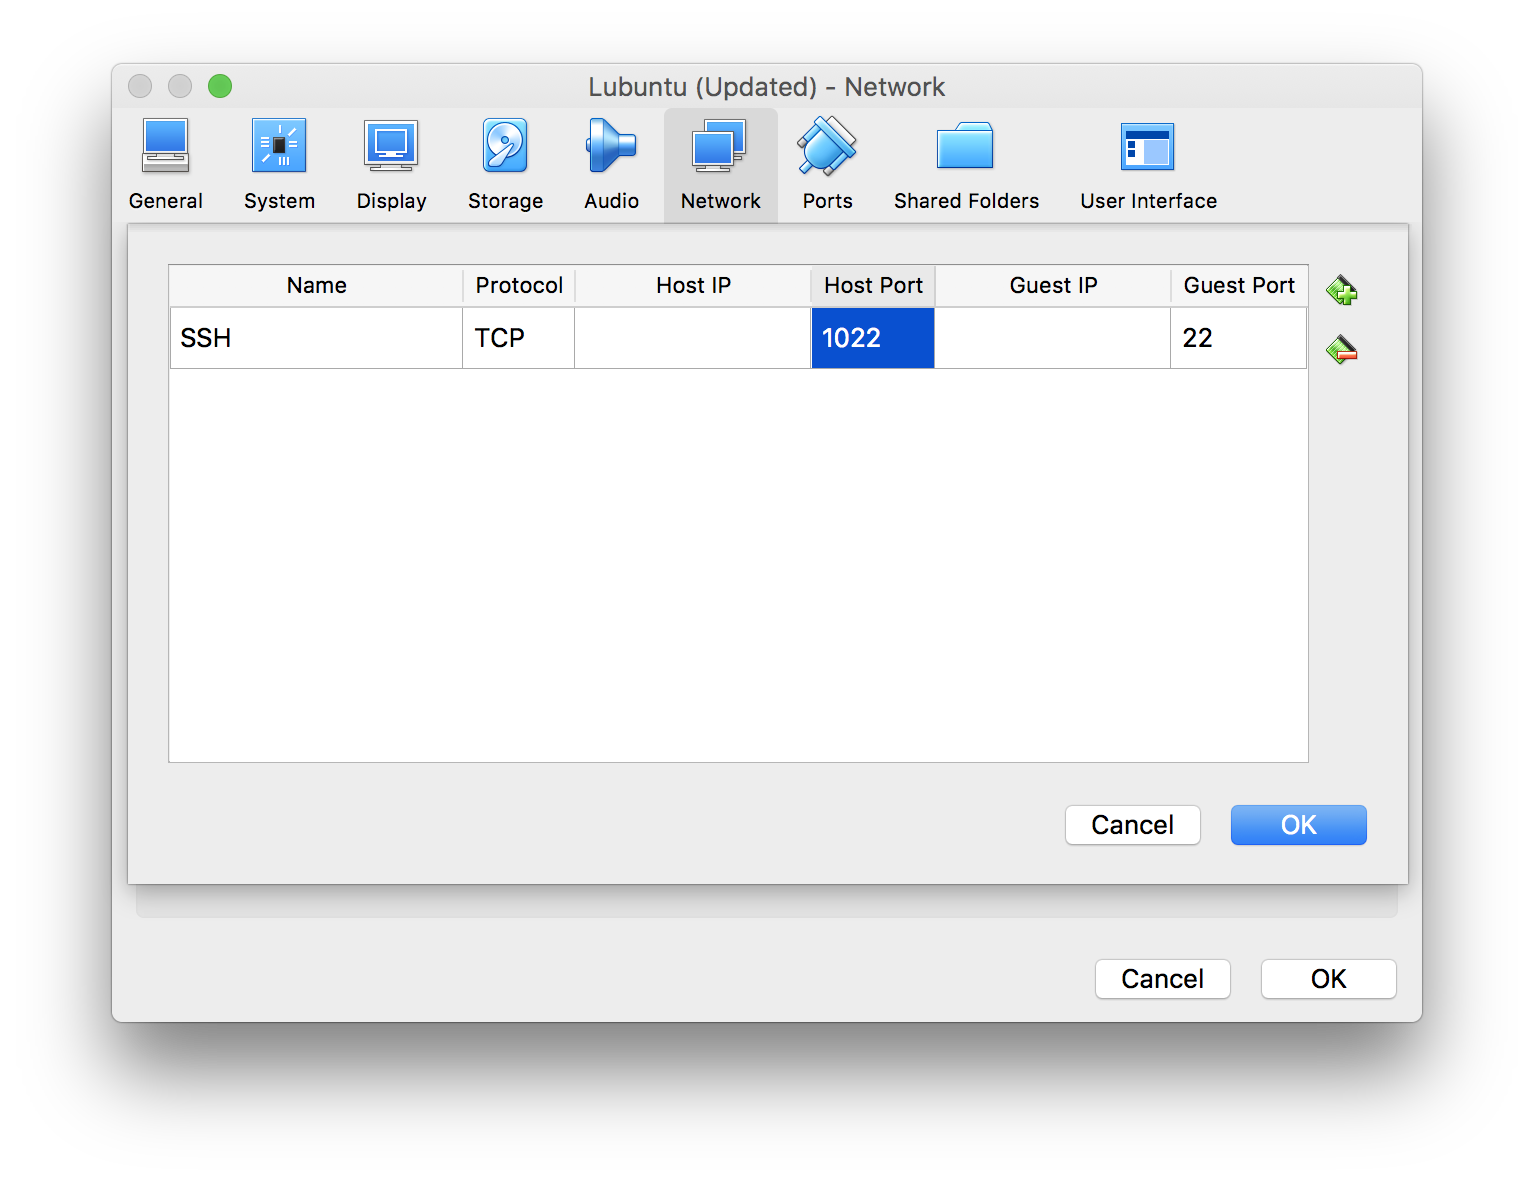
Give the entry a name. Let's set up SSH port forwarding first.
The host port can be any number from 1 to 65535. I'm prefixing the guest port with 10 to get my host port. They can also be the same port numbers, but it may conflict with ports open on your host machine. Leave the other fields as-is.
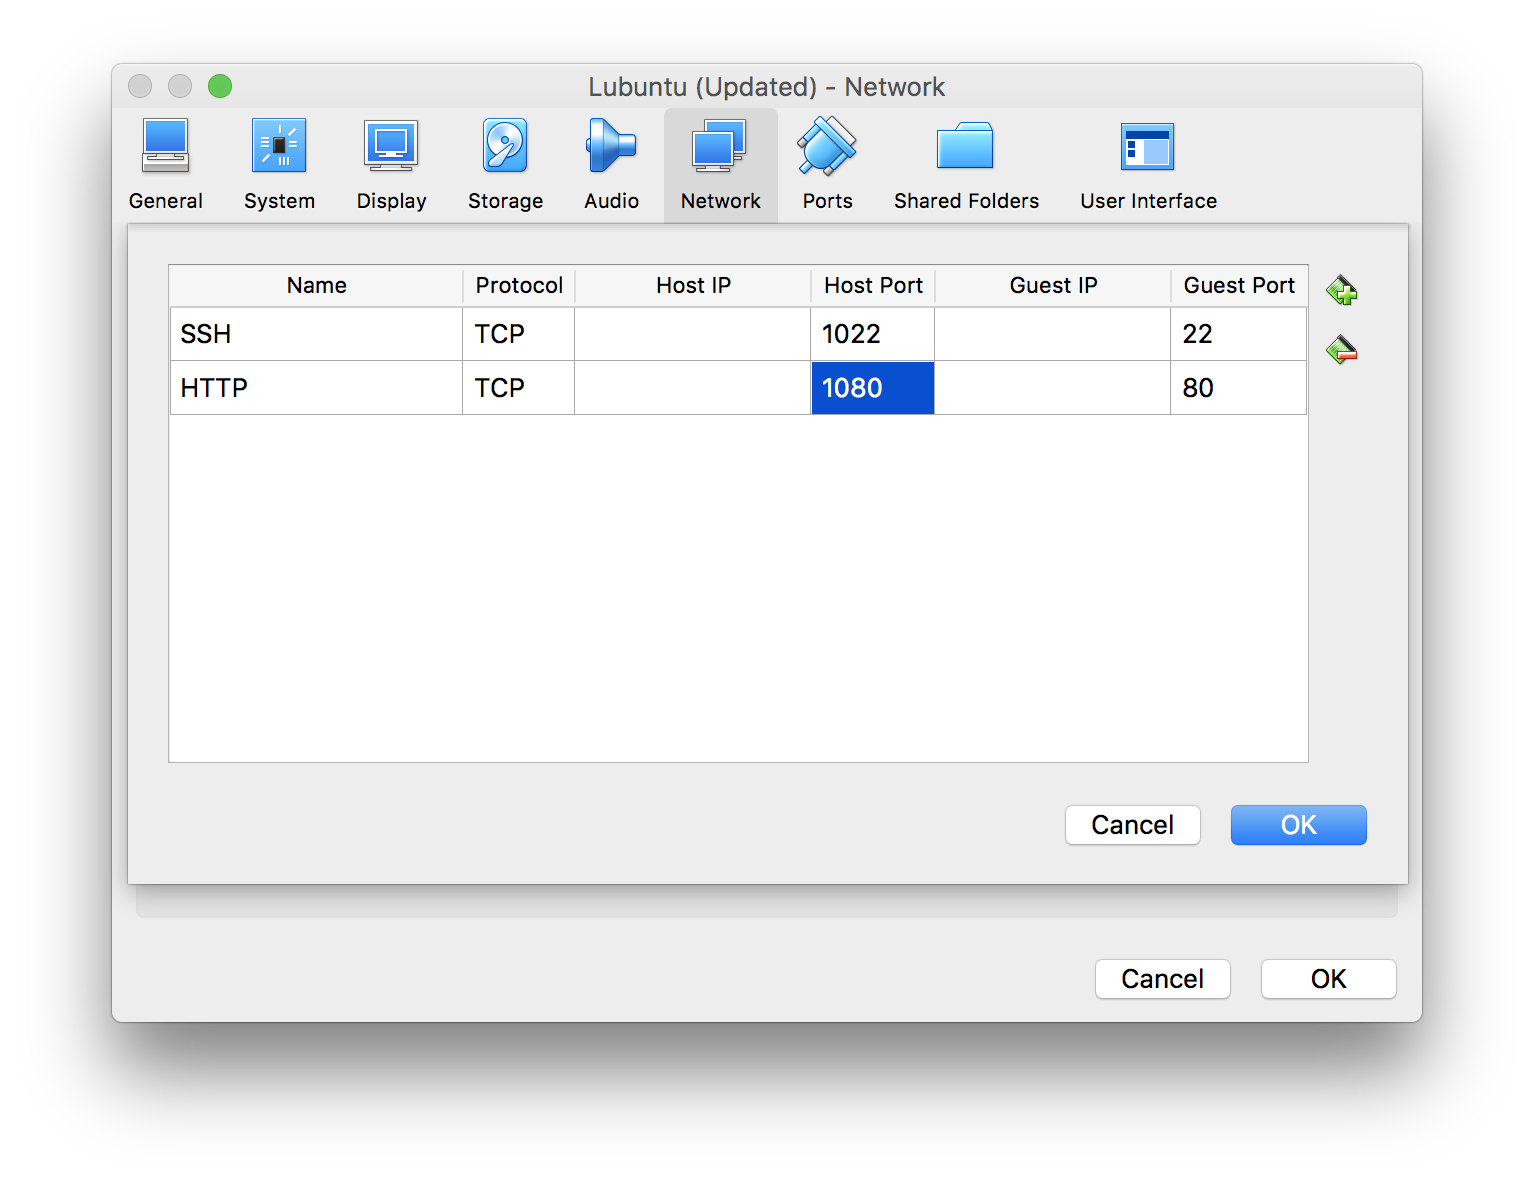
We should also forward the HTTP port.
Now, any incoming connection to your host machine would be forwarded to your guest machine. For example, if your virtual machine has Nginx or Apache installed and listening on the default port 80, you can access the website on your host machine by visiting http://localhost:1080/
The MakerForce Show is a podcast recorded, produced and edited by MakerForce. We talk about ideas, hardware, software and occasionally interview friends.
Trump just won. We go thorugh our experience at IDEA Hacks, and then mention Android's market share, last week's MacBook release, USB Type-C, touch, X, chips angled at not 45°, self-driving, electric cars and public transport.
Quite a while back, I was introduced to pfSense by a friend. At first looks, I didn't much get the benefits of using pfSense over manual iptables or a hardware router. The MakerForce server had been behind a consumer RT-N56U (quite a rock-solid access point cum router), with port forwards, and for a while, fully 1:1 NATed (or "DMZ"). It served us well for quite a while, but recently I noticed some occasional freezes. So, I decided to jump ship and revamp the networking at home.
I began by decommissioning the RT-N56U to just act as an access point. I have two NICs on my main box, and since I didn't have another box and was already running QEMU/KVM, virtualising pfSense was the best and only option.
The two NICs are important, because it allowed me to use one NIC for WAN, and the other for LAN. In virt-manager, I configured the WAN NIC to use macvtap to passthrough into pfSense, and then set up a bridge in the host networking side (I had problems when QEMU managed the bridge). The host bri
The MakerForce Show is a podcast recorded, produced and edited by MakerForce. We talk about ideas, hardware, software and occasionally interview friends.
In this (less technical) episode, we start off the podcast with a quick overview on MakerForce and each of us, then talk about the Google announcement, Arduino merger and Note 7 recall.
SVG line animations are awesome. Having images look as if they are being drawn, live, has a nice effect. CSS-Tricks has a nice article on creating line animations.
While working on a project, I came across this bug in the handling of negative stroke-dashoffset in Safari and Firefox. Here's a pen I forked from Chris Coyier:
The first one is an animation from stroke-dashoffsets: 0; to stroke-dashoffsets: 820; whereas the second animates to stroke-dashoffsets: -820;. Here's how it renders in Chrome:
You'd expect the lines to start undrawn, right? But here's how it renders in Safari (and Firefox):
Pretty unconventional behaviour, right? To make matters worse, let's reduce the dash lengths. Here's Chrome again:
Safari and Firefox doesn't even make the lines continuous, it loops them for every length of the dash:
A quick Google search does not reveal any bug reports, except for multiple stackoverflow.com answers. So I de
PCB production is the very backbone of the electronics hobby. To take a one-off design done on breadboards with Arduino or other dev boards to a all-in-one PCB is just an awesome experience that one can go through. At the heart of making PCBs are the PCB manufacturers. OSHPark, Seeedstudio or many other famous PCB manufacturers exist today and all of them provide high quality, low order quantity PCBs at an affordable price.
However, I realized that where the PCB industry was lacking was affordable PCB assembly especially when you are using pin-pitch components on the order of 0.5mm and BGA packages. That was of course until I found PCB:NG. PCB:NG is an awesome PCB producer based in USA much like OSHpark and Seeedstudio except it provides assembly services at a very competitive low price. The last time I was out in the market for assembled PCBs, I was tripped up by local PCB manufacturers having super high prices. Check this post out for more of that. However, when I went back searching
