Linux & Bash: Running PHP
In this blog post I'll guide you through installing HHVM (HipHop VM) to run Hack/PHP on a web server. I'll be using Nignx and Debian/Ubuntu. HHVM requires a 64-bit operating system, so be sure to download the 64-bit edition of Ubuntu.
Firstly, install nignx. nginx is a high-performance web server and load balancer. You will be using the load balancing feature in a future article, but for now, nginx will help to serve your static files (typically CSS and JS) and pass your dynamic files (PHP files, in this case) to HHVM to process.
sudo apt install nginx
Here, you are using Ubuntu's package manager apt to install the package nginx. You can search for packages on the command line by doing apt search <query>.
To ensure nginx starts on bootup, you need to enable it.
sudo systemctl enable nginx
sudo systemctl start nginx
The second program starts nginx immediately, thus you do not need to reboot right now.
You can visit http://localhost/ to check if nginx is installed and started:
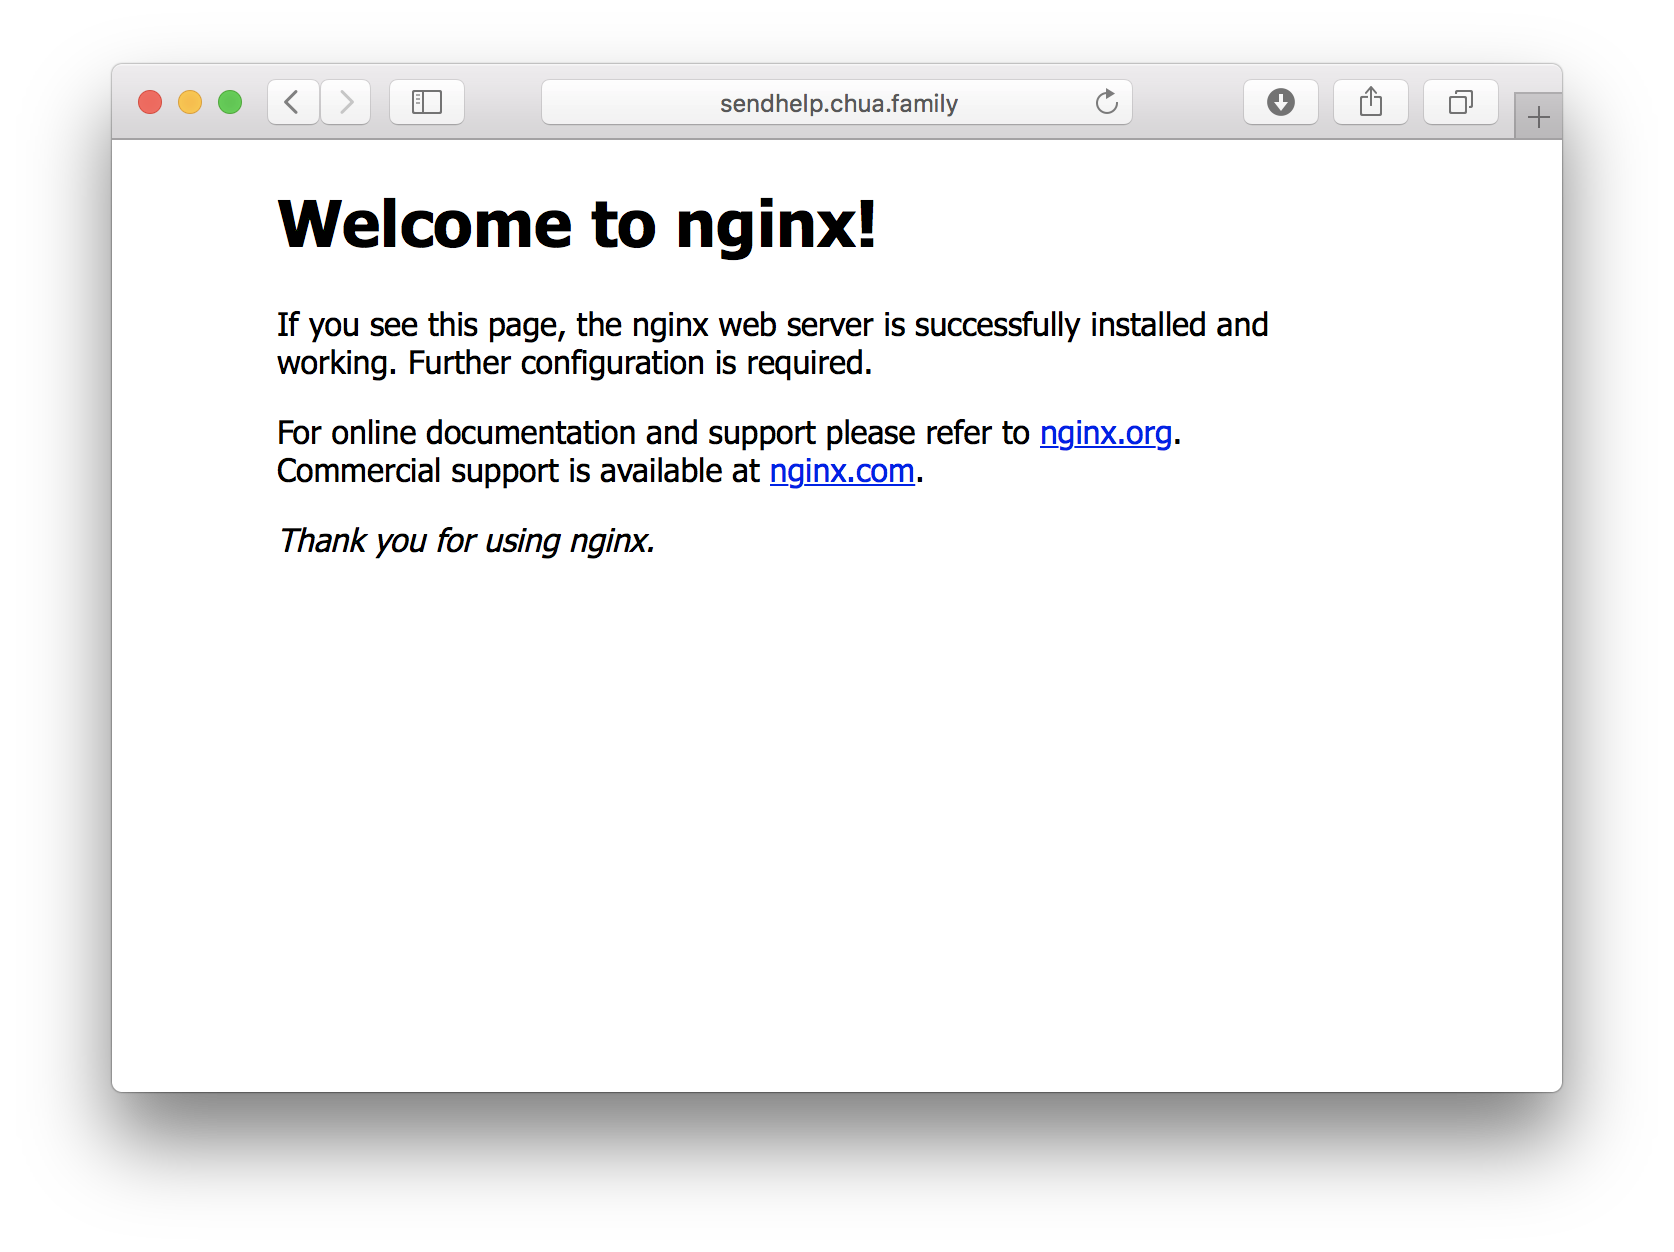
Your Linux machine is now a web server! You can replace the default page with our own. The default location that stores the files is /var/www/html/. The /var/ directory in Linux is for variable files, like database files, that are either changed by programs or by you.
cd /var/www/html/
ls
You can see that the package manager installs some files to show the default HTML page.
sudo nano index.html
This opens up the nano text editor to edit the file index.html. The index file is the file that is served up when a URL points to a folder. For example, http://localhost/some-folder/ would serve up /var/www/html/some-folder/index.html if it exists.
You'll notice the use of the sudo command here to open the file as root. This is because the directory is owned by the user root:
user@hostname:/var/www/html$ ls -la
total 16
drwxr-xr-x 2 root root 4096 Nov 11  2015 .
drwxr-xr-x 3 root root 4096 Oct  4  2015 ..
-rw-r--r-- 1 root root 3356 Nov 11  2015 index.lighttpd.html
-rw-r--r-- 1 root root  820 Oct  4  2015 index.nginx-debian.html
The entry for . refers to the current folder (/var/www/html/), while .. refers to the parent folder (/var/www/).
Enter some HTML into the editor, write to the file by pressing Ctrl-O then the enter key, and exit by pressing Ctrl-X. Reload the web browser
HipHop Virtual Machine (HHVM) is a just-in-time (JIT) PHP-compatible virtual machine that executes the PHP or Hack language, developed by Facebook. It performs faster than PHP's default interpreter due to it's JIT compilation of source code into HipHop bytecode. You can add the HHVM repository to Ubuntu with these commands:
sudo apt-key adv --recv-keys --keyserver hkp://keyserver.ubuntu.com:80 0x5a16e7281be7a449
sudo add-apt-repository "deb http://dl.hhvm.com/ubuntu $(lsb_release -sc) main"
The first command imports public keys that are used to sign the packages published in the repository.
sudo apt update
This updates the local database of packages with all remote repositories. Now you can install HHVM with:
sudo apt install hhvm
By default, HHVM should be running and enabled. You can check that HHVM is running with the command:
sudo systemctl status hhvm
# if not running:
# sudo systemctl start hhvm
You should also ensure that HHVM starts on bootup.
sudo systemctl enable hhvm
HHVM comes with an autoconfiguration script. It would install relevant configuration into nginx.
sudo /usr/share/hhvm/install_fastcgi.sh
Now you can open the configuration file for the default site /etc/nginx/sites-enabled/default, and at line 42 you will see that the new line:
include hhvm.conf;
This includes the file at /etc/nginx/hhvm.conf. You can take a look at the file:
user@hostname:~$ cat /etc/nginx/hhvm.conf
location ~ \.(hh|php)$ {
    fastcgi_keep_conn on;
    fastcgi_pass   127.0.0.1:9000;
    fastcgi_index  index.php;
    fastcgi_param  SCRIPT_FILENAME $document_root$fastcgi_script_name;
    include        fastcgi_params;
}
FastCGI is a nginx module that passes scripts to a FastCGI-compatible backend. In this case, we are passing any files that end with the .hh or .php extension to the HHVM FastCGI service running on port 9000.
Now, you can test that PHP works by creating a new PHP file in the web root, /var/www/html/.
sudo nano /var/www/html/info.php
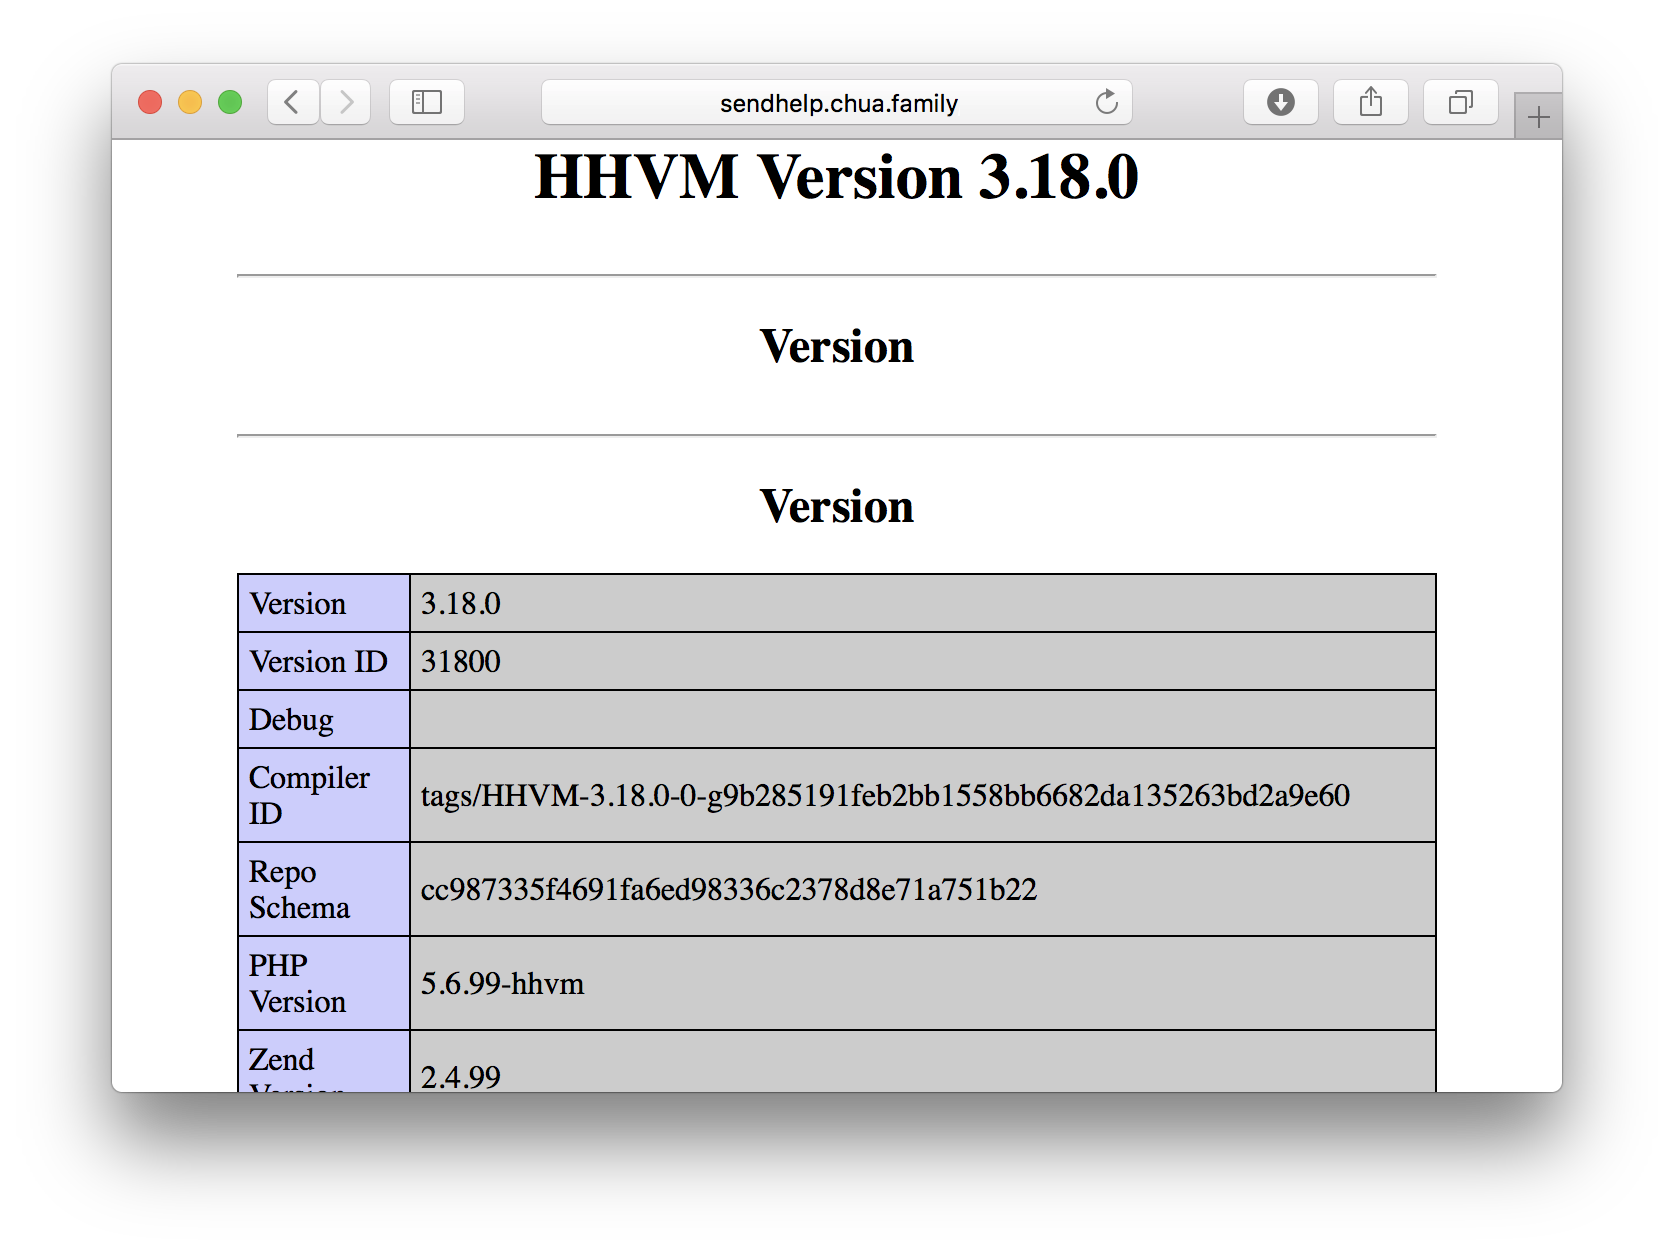
You can call the phpinfo() function to get information about your PHP environment.
<?php
phpinfo();
?>
If you try to access the page right now, you may run into a 502 error. This is because the /var/www/ folder is owned by root and HHVM needs to write to a file in the folder to run. You can fix the file permissions of /var/www/:
sudo chown -R www-data:www-data /var/www
www-data is the user that HHVM runs as, so by changing the owner of /var/www to www-data, HHVM can write that file.
You should restart nginx and HHVM just to be sure:
sudo systemctl restart nginx
sudo systemctl restart hhvm
You can now visit http://localhost/info.php to check that HHVM was installed and nginx was configured.
Great, you have successfully installed HHVM and nginx!