In this blog post we will be setting up a systemd unit for our webapp. systemd helps manage background system services and mount points. A systemd unit is a definition for that service. systemd also can do dependency management.
There are many types of units in systemd, but I will go through the most relevant unit, the service unit.
Service units define how to start, stop and reload the process, when to restart the process in the case of an error, dependencies the service requires to have started, and many other options.
Take a look at the manual page for systemd service unit files:
man systemd.service
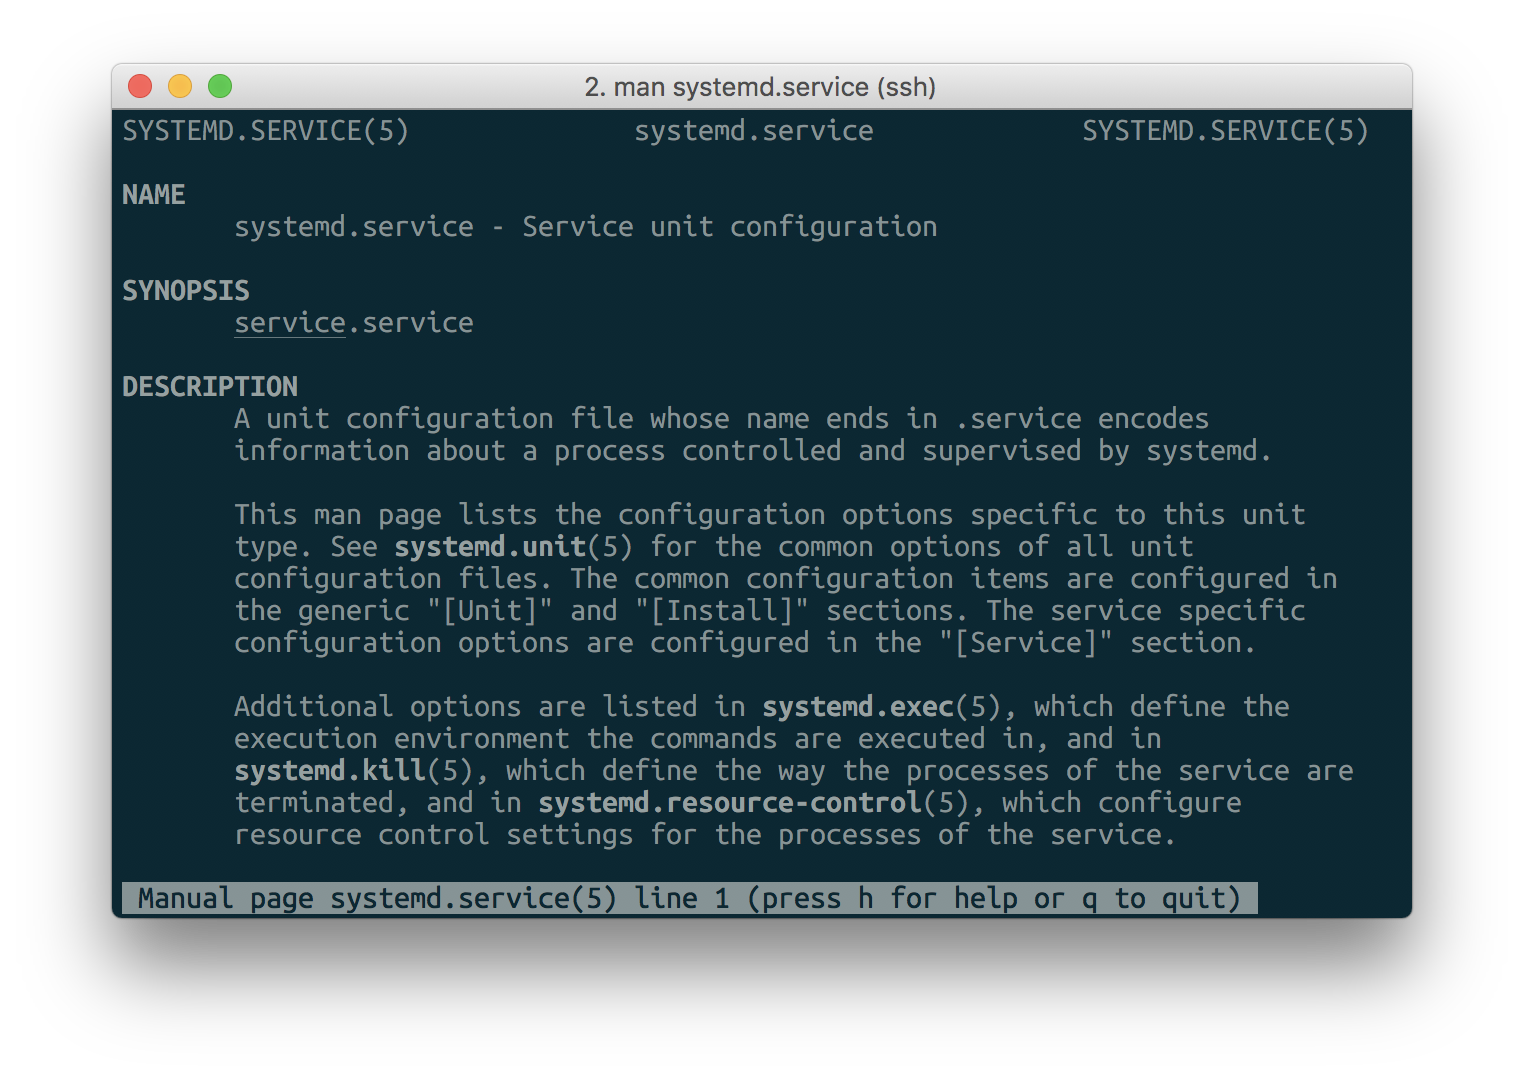
Unit files are placed in /etc/systemd/system/, and there are three main sections [Unit], [Install] and [Service].
[Unit] defines information about the unit that is independent of the type of unit. This includes things like description, dependencies. This is an example from MariaDB:
# /lib/systemd/system/mariadb.service
# ...

[Unit]
Description=MariaDB database server
After=network.tar
In this blog post we will be setting up nginx to reverse proxy your webapp. You'll need nginx set up, and your webapp running and listening on a known port.
Let's edit the default site. Here's the default configuration, with less comments:
sudo nano /etc/nginx/sites-enabled/default
server {

    root /var/www/html;

    # Add index.php to the list if you are using PHP
    index index.php index.html index.htm index.nginx-debian.html;

    server_name _;
    include hhvm.conf;

    location / {
        # First attempt to serve request as file, then
        # as directory, then fall back to displaying a 404.
        try_files $uri $uri/ /index.php?$args;
    }

}
Reverse proxying in nginx is using the directive (configuration option) proxy_pass. The documentation describes the syntax as:
Syntax: proxy_pass URL;
Context: location, if in location, limit_except
The context is the blocks that the directive can be used in. The location block specifies location-specific directives. An example
Now that we have nginx, HHVM and MariaDB installed, we can get into installing Wordpress! Wordpress is a comprehensive blogging platform and content management system (CMS) written in PHP. (This blog runs on Ghost, which is good if you're only blogging.) If you're building a content-driven website, Wordpress is something to consider.
As mentioned in the previous posts, HHVM and nginx gives us a faster-performing PHP webserver, as compared to a default LAMP installation. With some more effort, HHVM and nginx can be tuned even further for better performance, but that's an article for another day.
Wordpress is known for it's ease of installation. First, let's download Wordpress:
cd ~  # Enter into our home directory
wget https://wordpress.org/latest.zip  # Download the file at the URL
Now, let's unzip the archive.
user@hostname:~$ unzip latest.zip
The program 'unzip' is currently not installed. You can install it by typing:
sudo apt install unzip
Whoops, the program unzip is not insta
In this blog post we will be installing MariaDB, continuing off the previous blog post where we installed HHVM and nginx. MariaDB is a fork of MySQL dedicated to keep MariaDB open. It is fully compatible with MySQL, except for the introduction of extra features.
MariaDB, like HHVM, is available in an external repository.
sudo apt-key adv --recv-keys --keyserver hkp://keyserver.ubuntu.com:80 0xF1656F24C74CD1D8
sudo add-apt-repository "deb http://sgp1.mirrors.digitalocean.com/mariadb/repo/10.1/ubuntu $(lsb_release -sc) main"
As mentioned in the previous article, this imports public keys that are used to sign the packages published in the repository, and then adds the repository to the list of repositories for Ubuntu to look up.
sudo apt update
sudo apt install mariadb-server
During the installation, the command will prompt you to set the password for the root database user. Set one and remember it. DigitalOcean has an article on changing it if you lost access as the root use
In this blog post I'll guide you through installing HHVM (HipHop VM) to run Hack/PHP on a web server. I'll be using Nignx and Debian/Ubuntu. HHVM requires a 64-bit operating system, so be sure to download the 64-bit edition of Ubuntu.
Firstly, install nignx. nginx is a high-performance web server and load balancer. You will be using the load balancing feature in a future article, but for now, nginx will help to serve your static files (typically CSS and JS) and pass your dynamic files (PHP files, in this case) to HHVM to process.
sudo apt install nginx
Here, you are using Ubuntu's package manager apt to install the package nginx. You can search for packages on the command line by doing apt search <query>.
To ensure nginx starts on bootup, you need to enable it.
sudo systemctl enable nginx
sudo systemctl start nginx
The second program starts nginx immediately, thus you do not need to reboot right now.
You can visit http://localhost/ to check if nginx is installed and started:
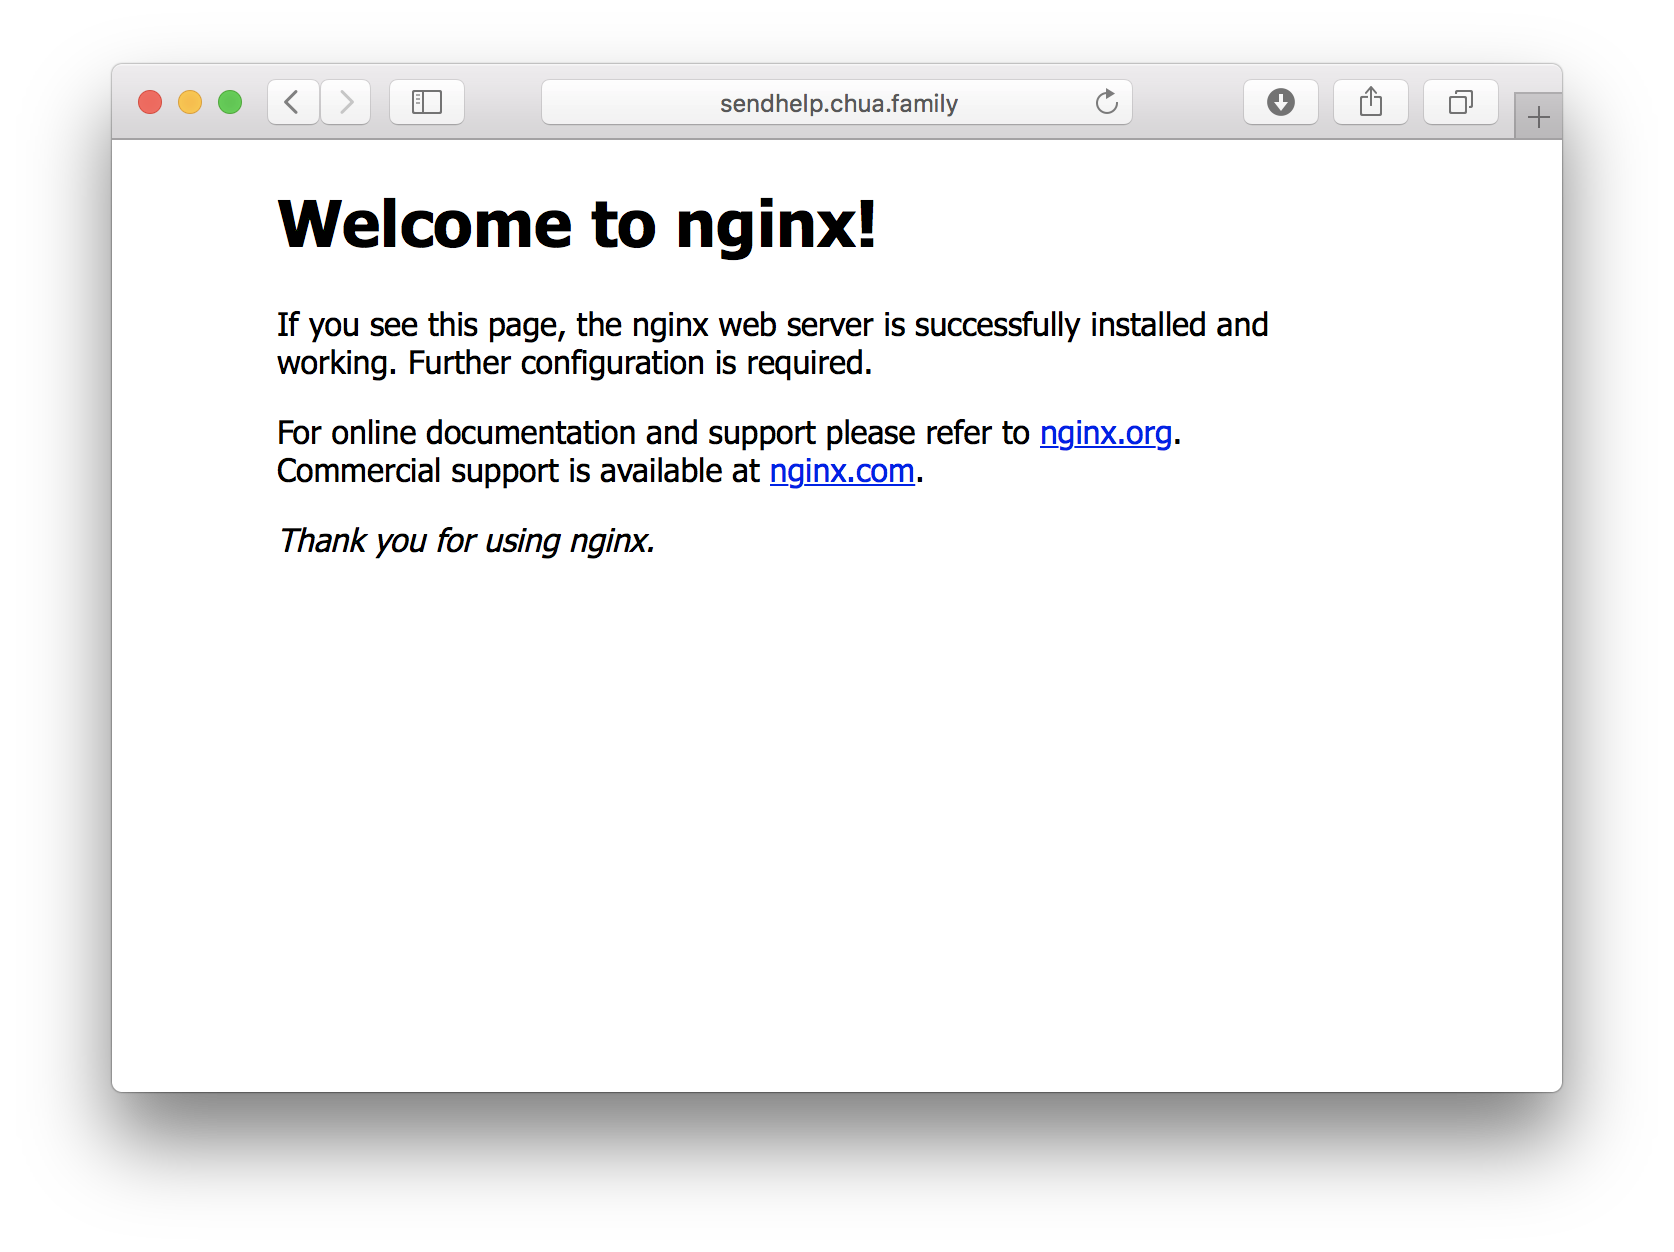
Y
In this blog post, I'll guide you through setting up a Git remote repository in a Linux server. This guide assumes that you have SSH set up, and understand the basics of Git.
Git remotes are just minimal Git repositories without the working tree. The working tree enables you to edit the files within the repository, while the actual revision history is hidden in the .git folder. Minimal Git repositories, formally called bare repositories, are created as so:
mkdir ~/magician.git
cd ~/magician.git
git init --bare
You can have a look at the contents of the bare repository:
user@hostname:~/magician.git$ ls
HEAD        description info        refs
config      hooks       objects
Bare repositories are useless on their own. You have to clone them to make them useful:
cd ~
git clone ~/magician.git
cd magician
Now you can make changes to your repository. For now let's just create the file hello-world.txt:
touch hello-world.txt
git add hello-world.txt
git commit -m "Added first file"
In this blog post I'll go through the basics of using SSH.
SSH stands for Secure Shell. It is a "cryptographic network protocol for operating network services securely over an unsecured network." Wikipedia It is modernly used to connect to Linux servers for management and occasionally used by programs for secure connections between machines.
SSH is a service that runs on Linux. Most Linux distributions don't come with SSH installed by default. You can install it in Ubuntu with the following command:
sudo apt intall openssh-server
sudo systemctl enable ssh # ensures starts on boot
sudo systemctl start ssh
Now that SSH is up, we can try SSHing into our Linux system from another machine on the same network. If the machine is a physical one, you need to obtain the local IP address of the machine. If it's virtual, you can either port forward it or obtain the local IP address of the virtual interface.
Windows
The most common SSH client for windows is PuTTY. You can get it by visit
In this blog post, I'll guide you through port-forwarding services in VirtualBox to access services like SSH and Nginx from your host. It's pretty simple.
Open up the settings to your virtual machine.
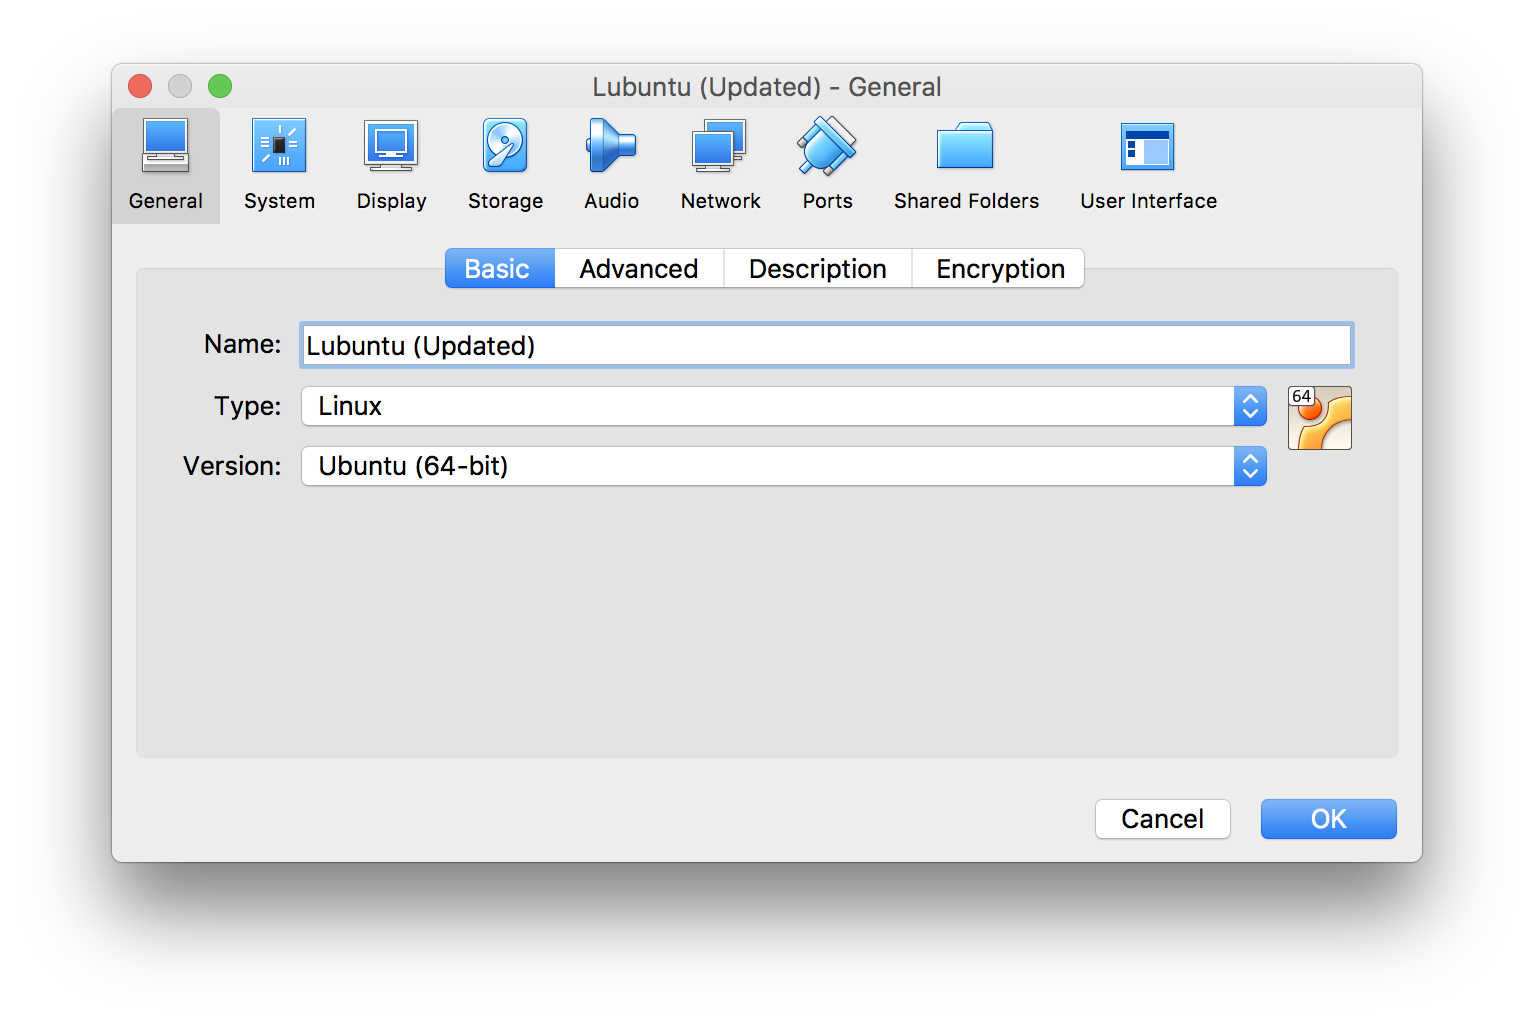
Go to "Network".
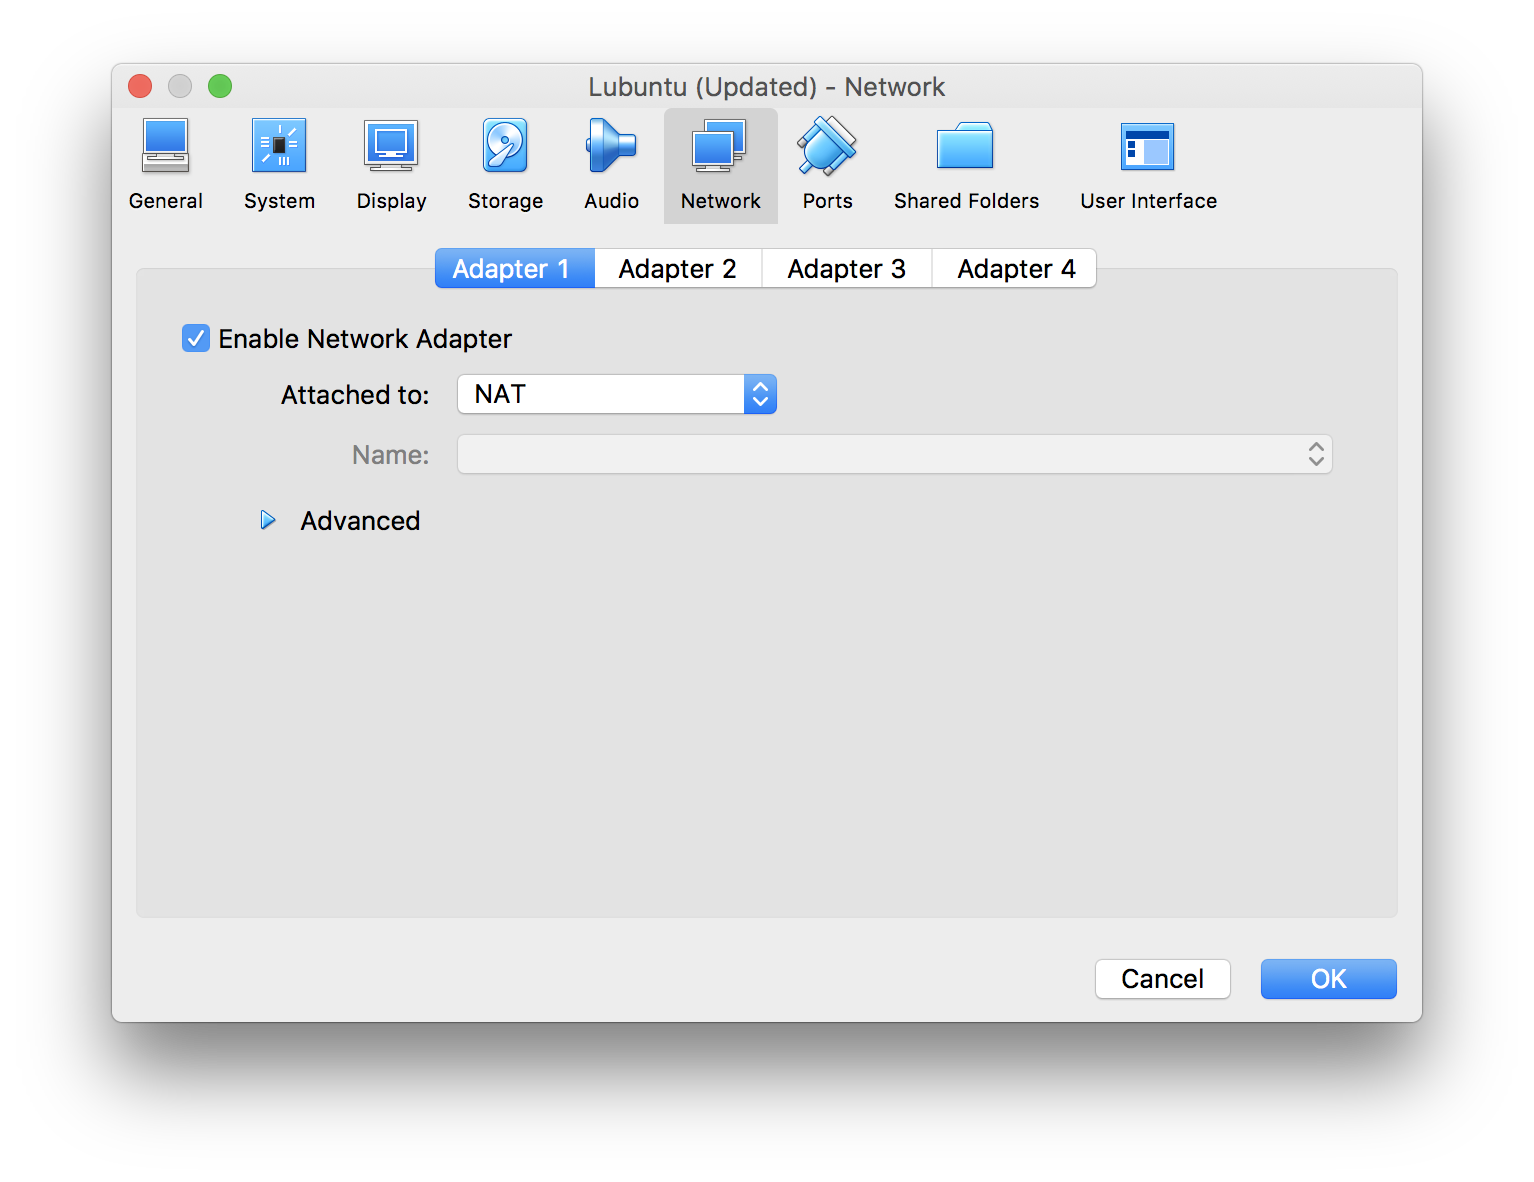
Expand the advanced settings.
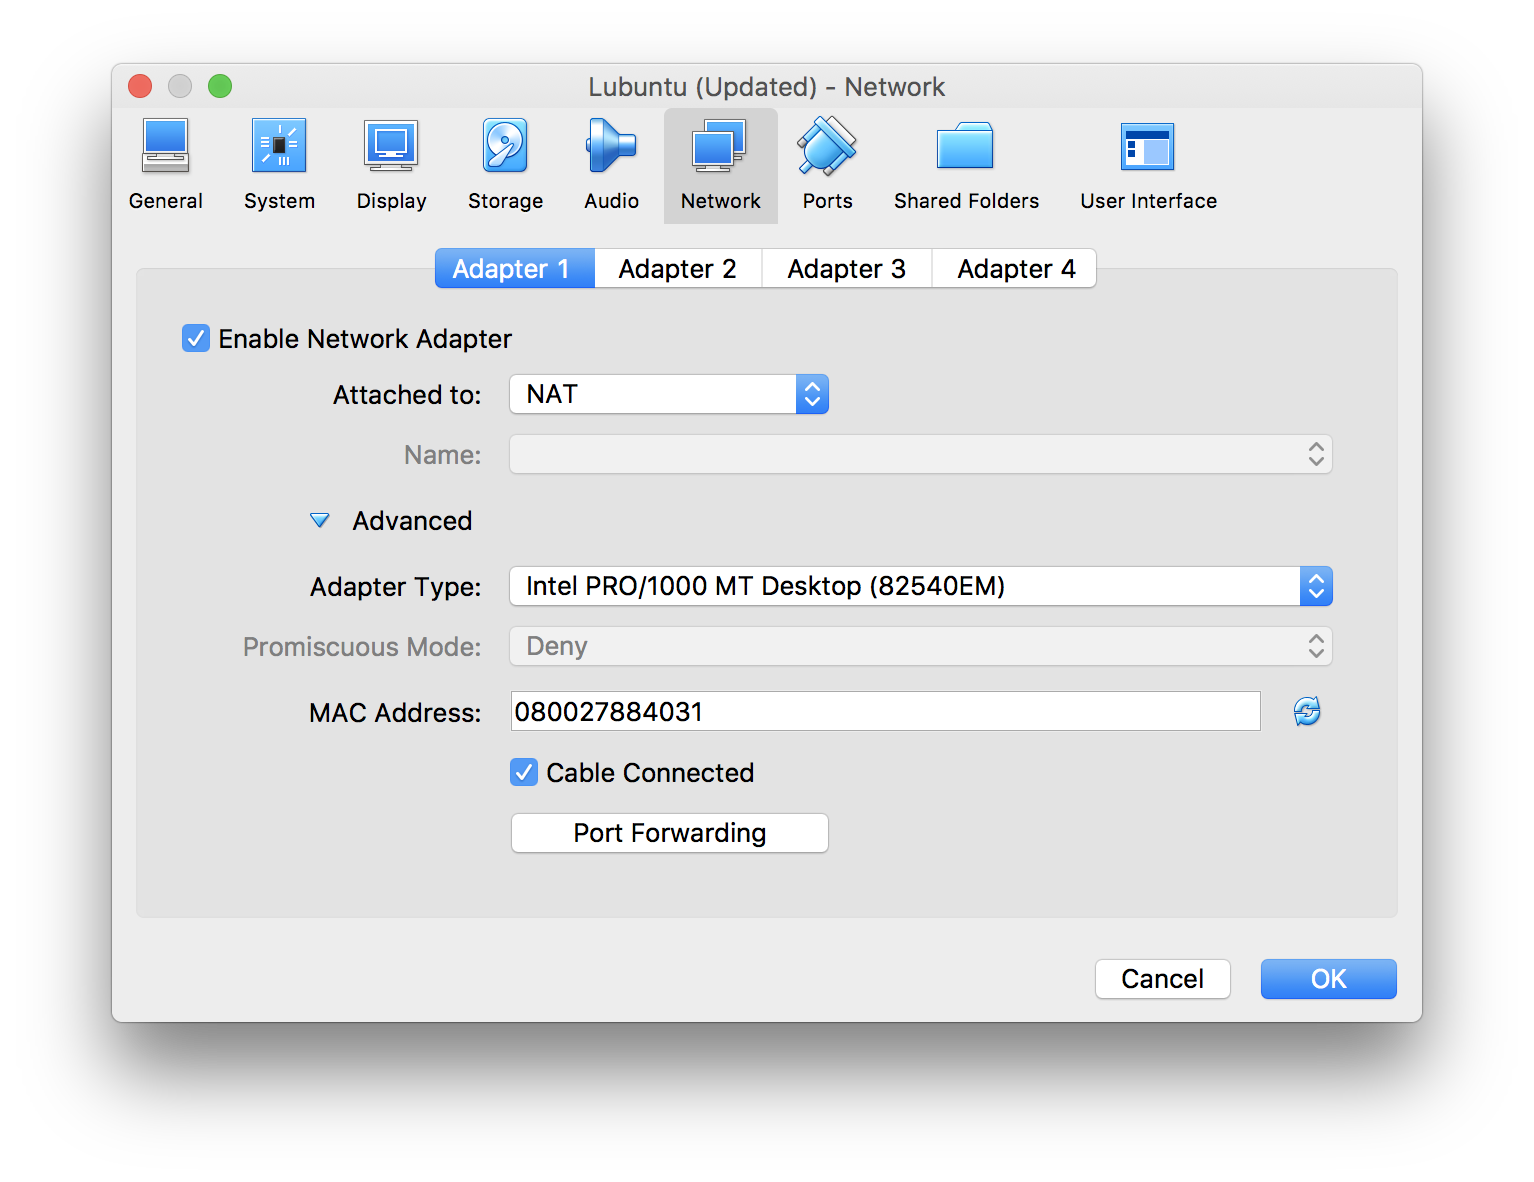
Click on the "Port Forwarding" button.

Add an entry.
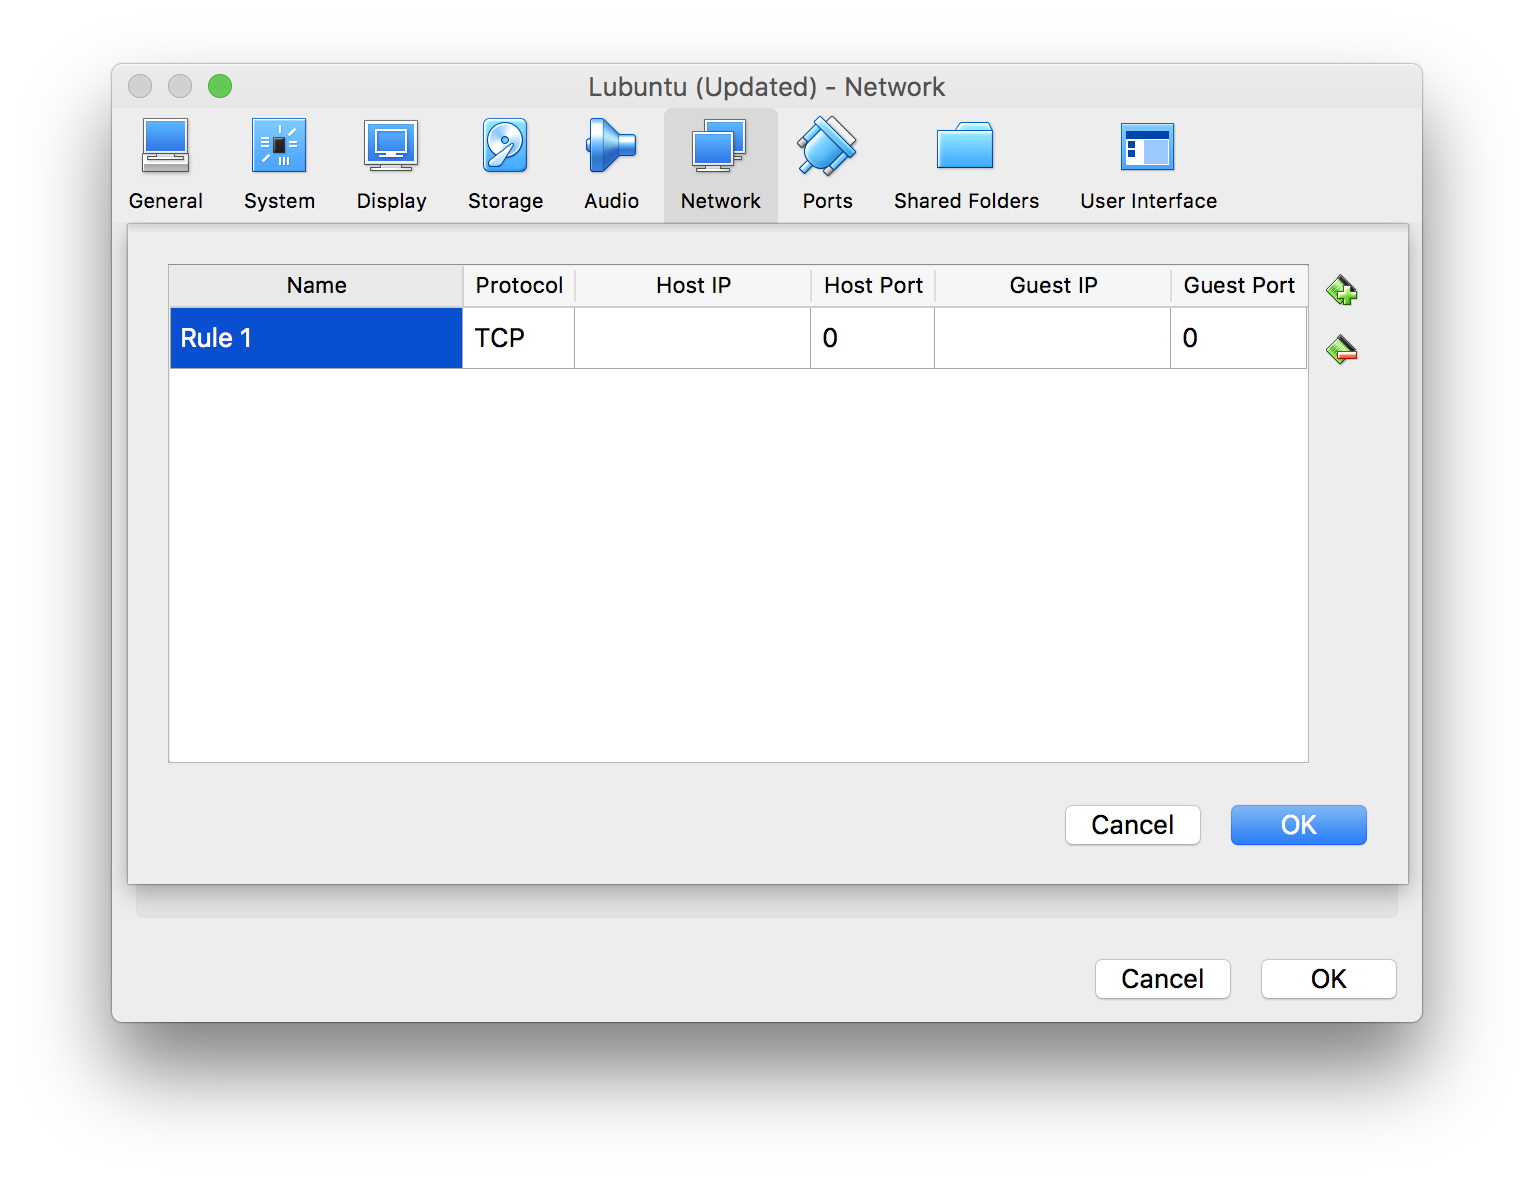
Give the entry a name. Let's set up SSH port forwarding first.
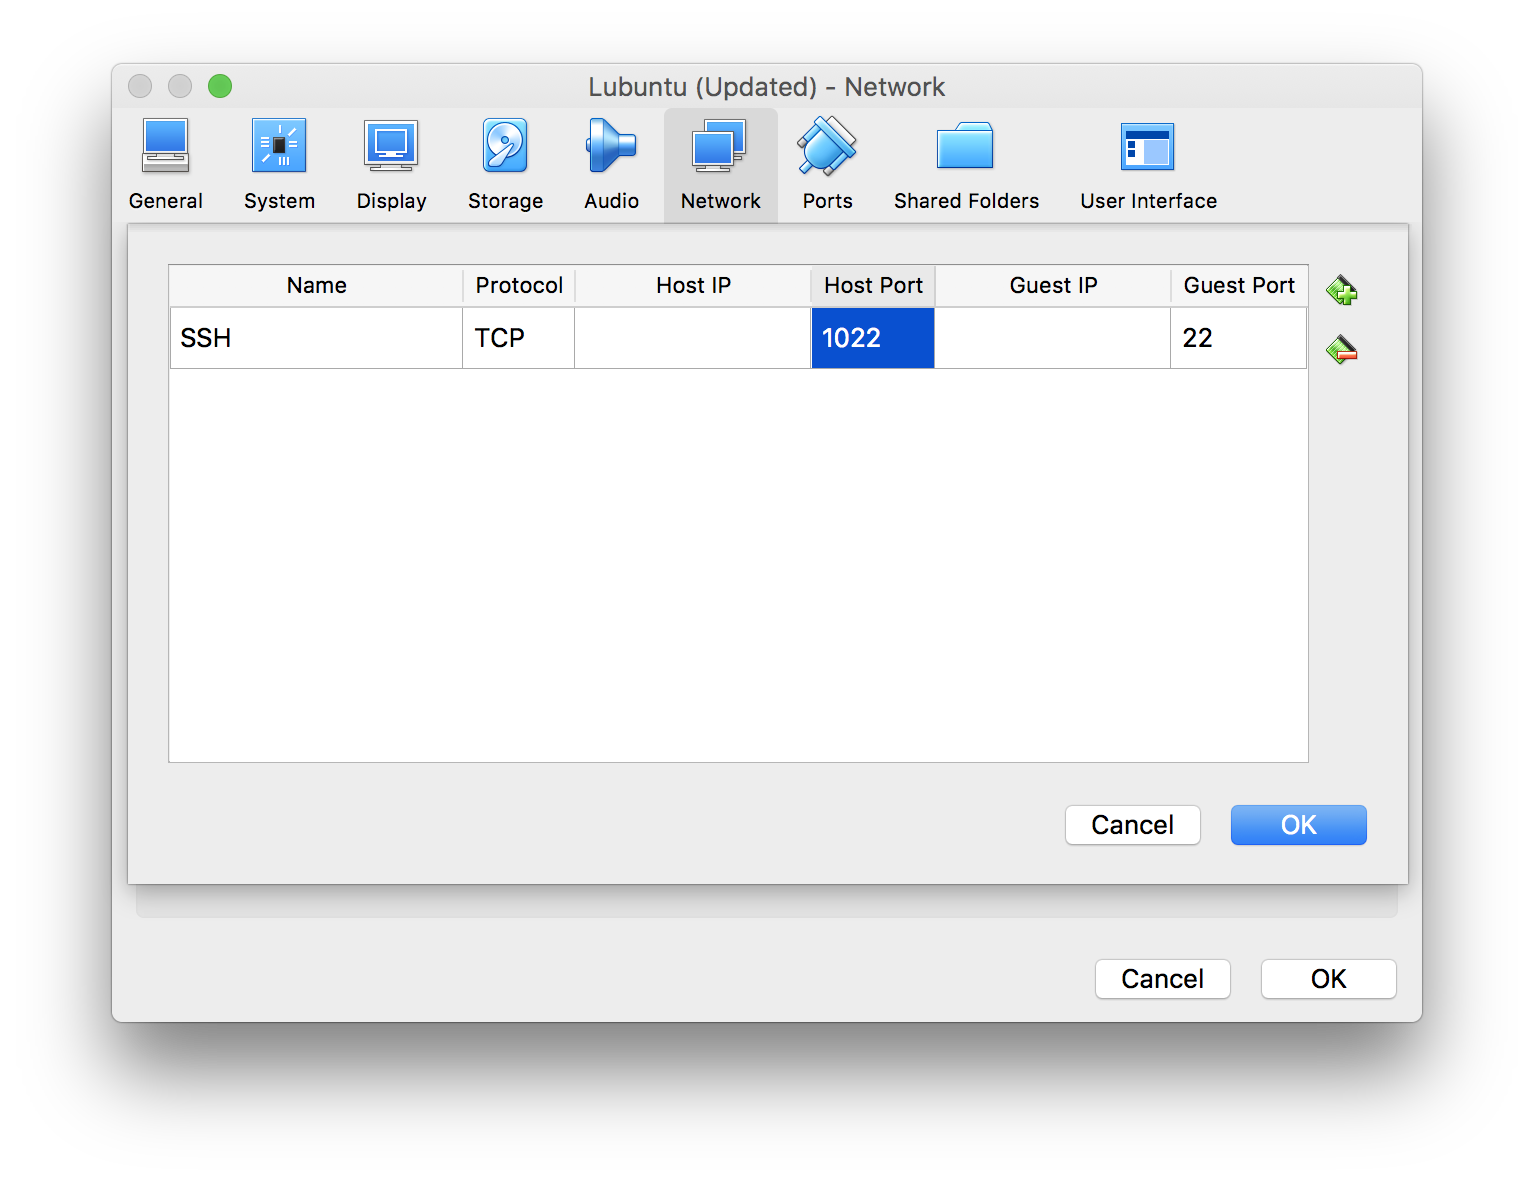
The host port can be any number from 1 to 65535. I'm prefixing the guest port with 10 to get my host port. They can also be the same port numbers, but it may conflict with ports open on your host machine. Leave the other fields as-is.
We should also forward the HTTP port.
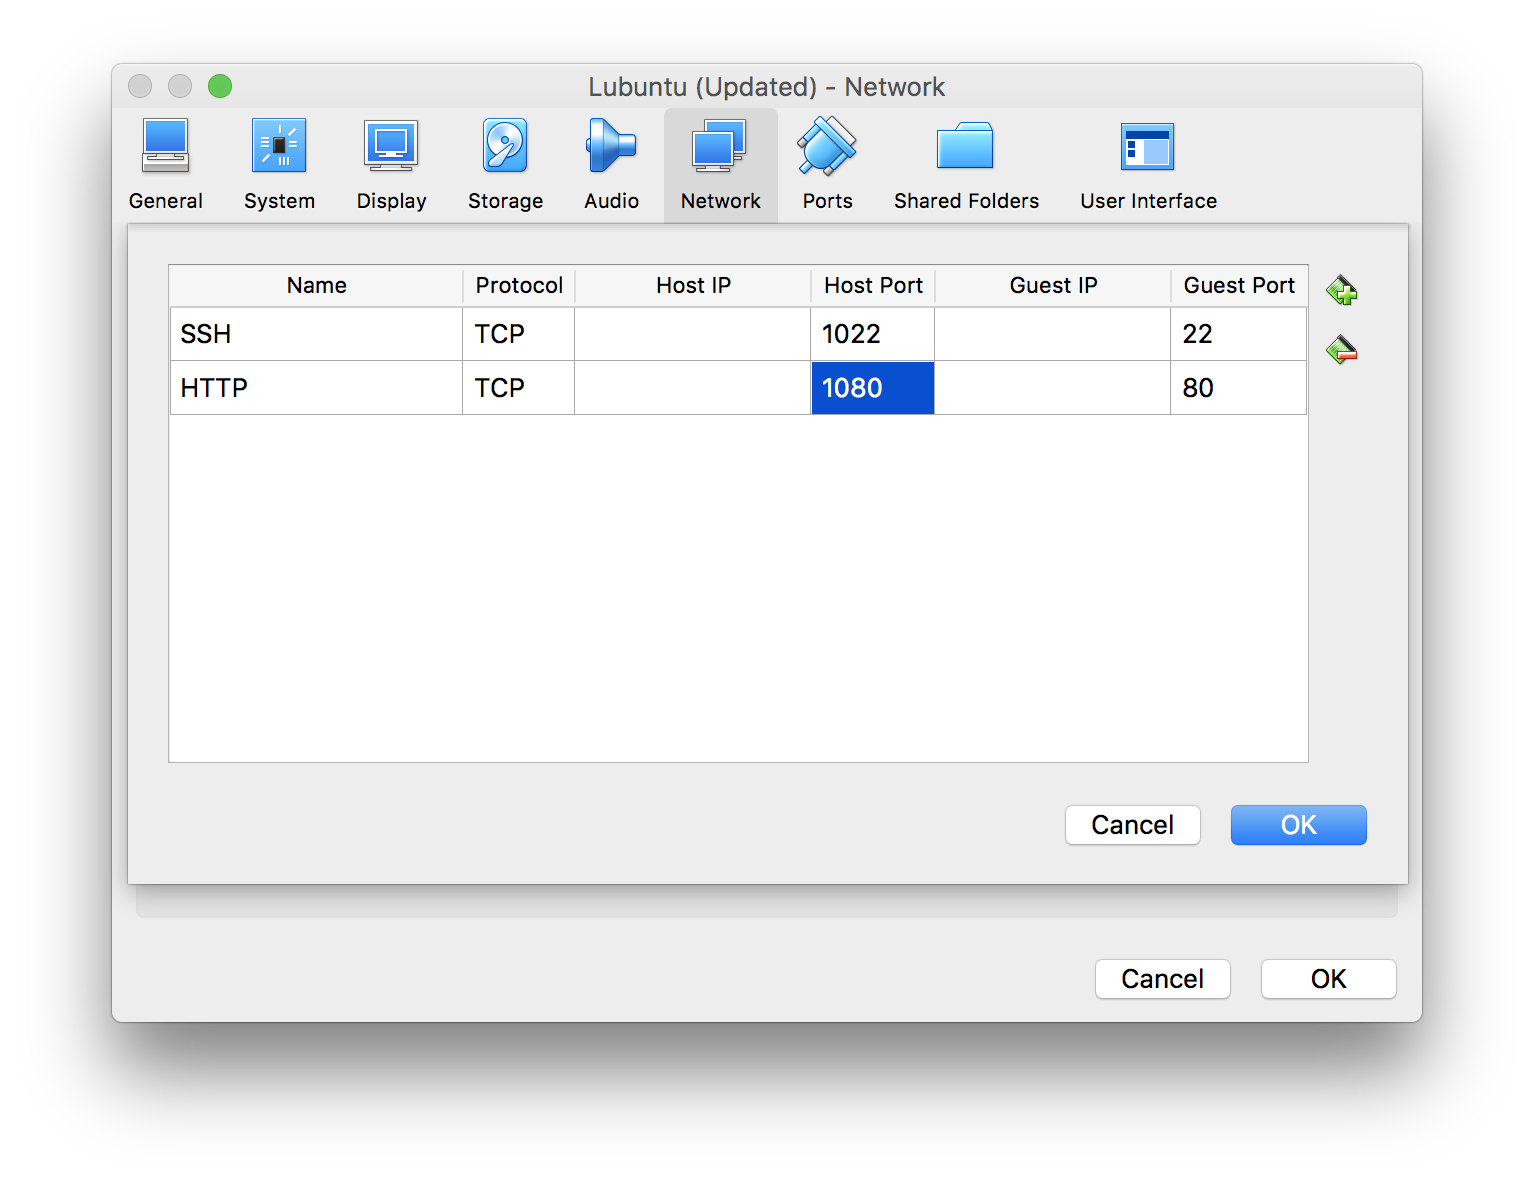
Now, any incoming connection to your host machine would be forwarded to your guest machine. For example, if your virtual machine has Nginx or Apache installed and listening on the default port 80, you can access the website on your host machine by visiting http://localhost:1080/