A lot of our Internet depends on domain names. It's the one source we rely on for verifying authenticity of a website. HTTPS/TLS relies upon users checking the domain of the link they click. I really doubt most users will do so.
This is why Chromium has written guidelines for presenting URLs correctly, to reduce the ability of attacker to present to users a trustworthy-looking URL. There is also an extended document in Chromium source code. However, Chrome hasn't implemented it yet. Disappointing...
Source: Google Chromium Project. The guidelines recommends browsers to show the effective top-level domain, which they call "eTLD".
Using long URLs that confuse and mislead users is one thing, but someone paying slight attention to the URL may notice. An attacker can go even further by obtaining domains that remove a dot or replace a dot with a dash. Most organisations will not spend the effort to buy up all these variations of their domain, therefore it's possible to register one of them and
Recently, as I was scrolling Twitter, I came across this tweet:
I've built a tiny XSS challenge here https://t.co/dqoCAu6W0N I'm curious a) if this is an attack vector people are aware of, b) if you think it's plausible (or know examples) where this happens / has happened in the wild #xss feedback welcome!
The page he links to demonstrates a very simple vulnerability that is frequently overlooked. This is the source code from his sample modified for brevity:
At first glance, most will dismiss this as secure due to the escaping performed. However, HTML links are able to execute JavaScript with the javascript: prefix. This is perfectly fine text and will not get escaped by htmlspecialchars. An example of attack input in the above code will be when link is set to javascript:alert(1).
This is frequently overlooked because it is uncommon for link
Building your own Linux OS from scratch is no dark magic, believe me! As long as you feel comfortable using a command line, it isn't such a daunting task, only requiring a fair amount of patience.
We'll be setting up an environment, compiling the kernel, userspace tools, a root filesystem and then test booting it. I'll assume you already run Linux on a machine, or in a Virtual Machine. Let's dive right in!
Environment
We'll first install the programs necessary for building. All these tools should be available in the major Linux distributions, but I'll only give the commands to install them on Debian/Ubuntu and Alpine Linux.
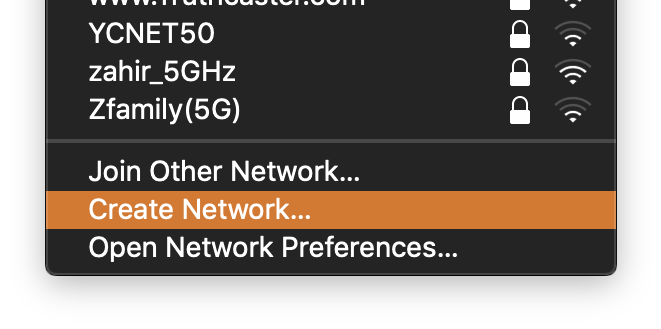
Ad-Hoc networks are useful when you just need a connection between a few machines with Wireless networking and no routers. It's an underused feature, but sometimes may be useful.
Setting up an Ad-Hoc network is pretty simple. In macOS, open the wireless panel in the menu bar and select "Create Network..."
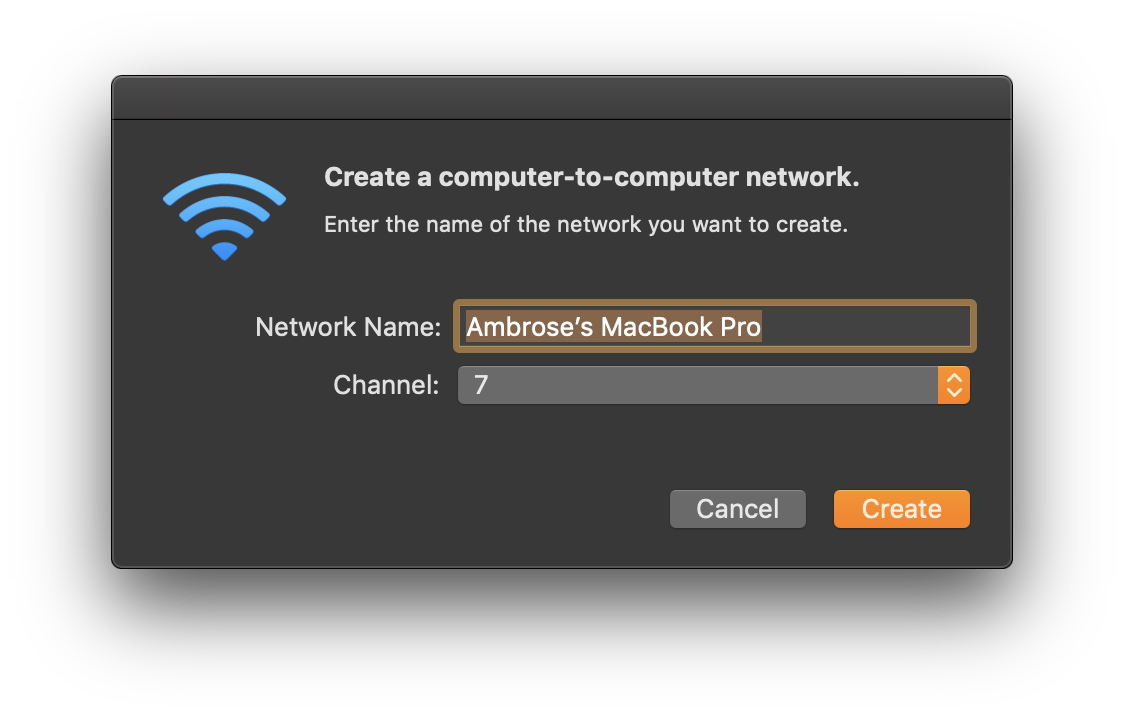
After that, set your network name and choose any channel.
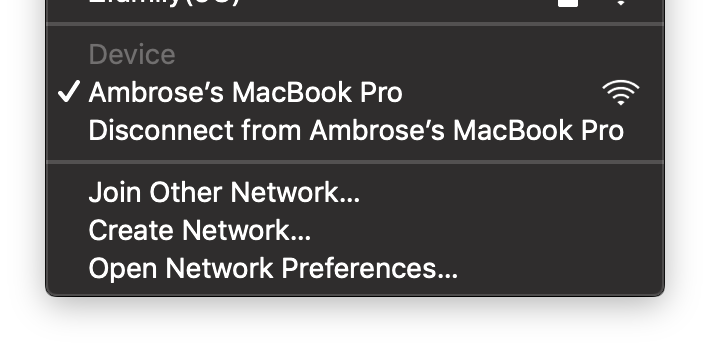
Your status bar should show this icon and you'll be connected to your Ad-Hoc network.
Let's also configure it in Ubuntu 18.04 using netplan and iw.
It is not hard to get your hands dirty on computer networking basics and operating networking equipment. I've been running my own home network for the past 4 years and messing around with IPv6, VLANs and multiple networks, all without expensive racked routers or switches.
Router
The most important device you'll need is a router. Any computer with at least one Ethernet port is already a router. You can even use an old laptop as a router. (It comes with a free keyboard and mouse too!)
Alternatively, if you have an old consumer router and access point combination (wireless router) that comes from your ISP, it too can be used as an advanced router.
Usually, your computer or wireless router won't support advanced features like VLANs and have restrictive configuration options, so software is the next step in getting these devices bend to your will. There are a ton of router operating systems that you can install onto devices, or if you want to spend the extra effort, you can also use a Linux dis
With the new infrastructure, I wanted the entire setup to be reproducible from a set of configuration files and scripts. This would mean that I can restore a fresh state anytime in the future, and provide a way to track changes in configuration. This also means that I can quickly spawn another Kubernetes setup to test new features safely.
Before I created installation automation scripts, I spent a while learning about how Kubernetes works by manually running the generic multi-node scripts Kubernetes provides, and failing repeatedly. A while back Sudharshan gave me one of his old OEM desktops, and it became really useful for testing Kubernetes installs. CoreOS is best installed using a Ignition configuration file. It's a JSON file with a specific format that CoreOS would read on the first boot and install the appropriate files or configurations specified. Usually, it is preferred to write these files in YML and then transpile them to JSON with a special tool. A great thing about CoreOS
Caddy is a easy-to-use web server and reverse proxy. You can use it to enable HTTPS on your self-hosted app with little effort.
To start off, first download caddy for your platform. Place the executable in a nice folder. We'll call that your working directory.
Now in the same folder, you will need to write a Caddyfile, which is just a text file. Open your text editor and paste this:
:2015 {
    proxy / localhost:8080
}
Save it as Caddyfile without any file extension.
This will start a normal HTTP server at port 2015 and proxy all requests to your app at port 8080.
Now, in the terminal or command prompt, cd into the working directory and run Caddy. On Windows you would type caddy.exe and on macOS or Linux ./caddy
You can now visit localhost:2015 to check that everything works.
Next, you have to get a domain to point to your server. You can get free domains from freenom.tk, or use your dynamic DNS provider. You can test that your domain works by visiting your-domain.com:2015 over mobile
Previously, DNS has been a pain to maintain. I was using a cloud DNS service, so for every subdomain, I would have to log on to CloudNS and use their web interface to update DNS records. This made it hard to switch DNS providers and easily edit records. And their three domain limit made it impossible to add my other domains, thus I had to run another DNS server. I made the decision to run BIND, but I had to run a service to update my zone files when my IP address changes because I didn't purchase a static IP.
To simplify my complex setup, I decided to host all my DNS locally and solve the dynamic IP problem at once. I made the switch from BIND to CoreDNS due to its extensibility. To ensure that parent DNS servers are always pointing to the right IP, I got a couple of free domains (an example is "ns.makerforce-infrastructure.gq") and pointed it to HE's DNS service, where I set up dynamic DNS updates. In my local zone files, I could also use CNAME records to point to the same d
After getting the hardware and installing embedded pfSense to a flash drive is configuration. My initial intention was to have my servers and home network (which guests use) on separate VLANs. However, I quickly realised that enabling VLANs caused poorer network performance, so I went back to a single network and used static DHCP allocations.
But I was still getting lower than 500Mbps speeds. My CPU was running at a 100%. While messing with settings, I found an odd solution: Enabling PowerD in System > Advanced > Miscellaneous. With it enabled, I could finally get close-to-gigabit speeds on wired clients!
My guess would be that PowerD allowed the CPU to run at higher clock rates.
After using this machine for a few days, I'm satisfied at the performance it delivers, for only $120 SGD! I'd recommend this to you for building a home server or router as a low-cost, low-power setup.
The case for this PC is not rackmounted, so I created a small shelf using a slab of wood and L brackets
October last year, I switched my routing to a virtual machine running pfSense, in the hopes of having better control over my home network. Turns out, many hiccups have occurred since the move. Issues with OpenVPN (which I have since disabled), Linux bridges being reassigned after software updates and other seemingly random issues. The virtual network card also caused a reduction in maximum throughput, saturating at 200Mbps instead of the 800Mpbs previously on the RT-N56U.
Since then, I've also been wanting to make the switch from services (like this blog and GitLab) running in user accounts and virtual machines to containers. Containers are isolated environments for processes to run in, providing the isolation of a virtual machine with close to native performance.
So here's the start to a series on the upgrade of our infrastructure to a new setup powered by containers! I'll also be documenting progress and code on GitHub.
To start off the upgrade, I needed a better router (because my sibl
In this blog post we will be setting up nginx to reverse proxy your webapp. You'll need nginx set up, and your webapp running and listening on a known port.
Let's edit the default site. Here's the default configuration, with less comments:
sudo nano /etc/nginx/sites-enabled/default
server {

    root /var/www/html;

    # Add index.php to the list if you are using PHP
    index index.php index.html index.htm index.nginx-debian.html;

    server_name _;
    include hhvm.conf;

    location / {
        # First attempt to serve request as file, then
        # as directory, then fall back to displaying a 404.
        try_files $uri $uri/ /index.php?$args;
    }

}
Reverse proxying in nginx is using the directive (configuration option) proxy_pass. The documentation describes the syntax as:
Syntax: proxy_pass URL;
Context: location, if in location, limit_except
The context is the blocks that the directive can be used in. The location block specifies location-specific directives. An example
In this blog post we will be setting up a systemd unit for our webapp. systemd helps manage background system services and mount points. A systemd unit is a definition for that service. systemd also can do dependency management.
There are many types of units in systemd, but I will go through the most relevant unit, the service unit.
Service units define how to start, stop and reload the process, when to restart the process in the case of an error, dependencies the service requires to have started, and many other options.
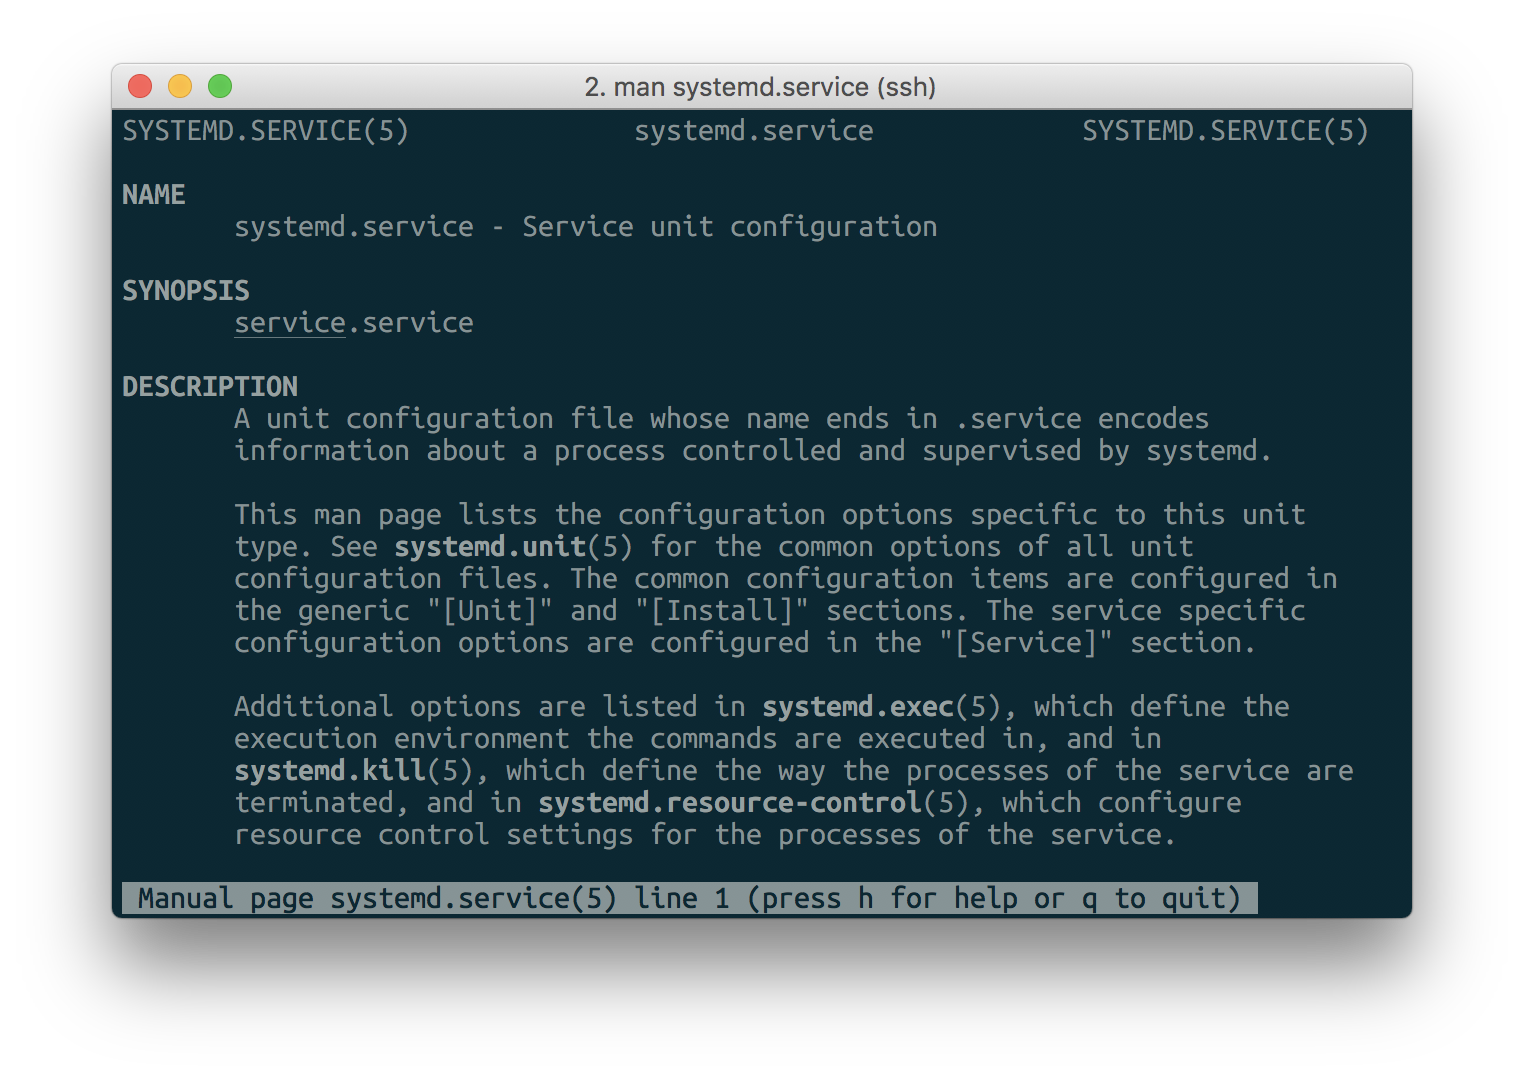
Take a look at the manual page for systemd service unit files:
man systemd.service
Unit files are placed in /etc/systemd/system/, and there are three main sections [Unit], [Install] and [Service].
[Unit] defines information about the unit that is independent of the type of unit. This includes things like description, dependencies. This is an example from MariaDB:
# /lib/systemd/system/mariadb.service
# ...

[Unit]
Description=MariaDB database server
After=network.tar