Faking Refraction in ThreeJS
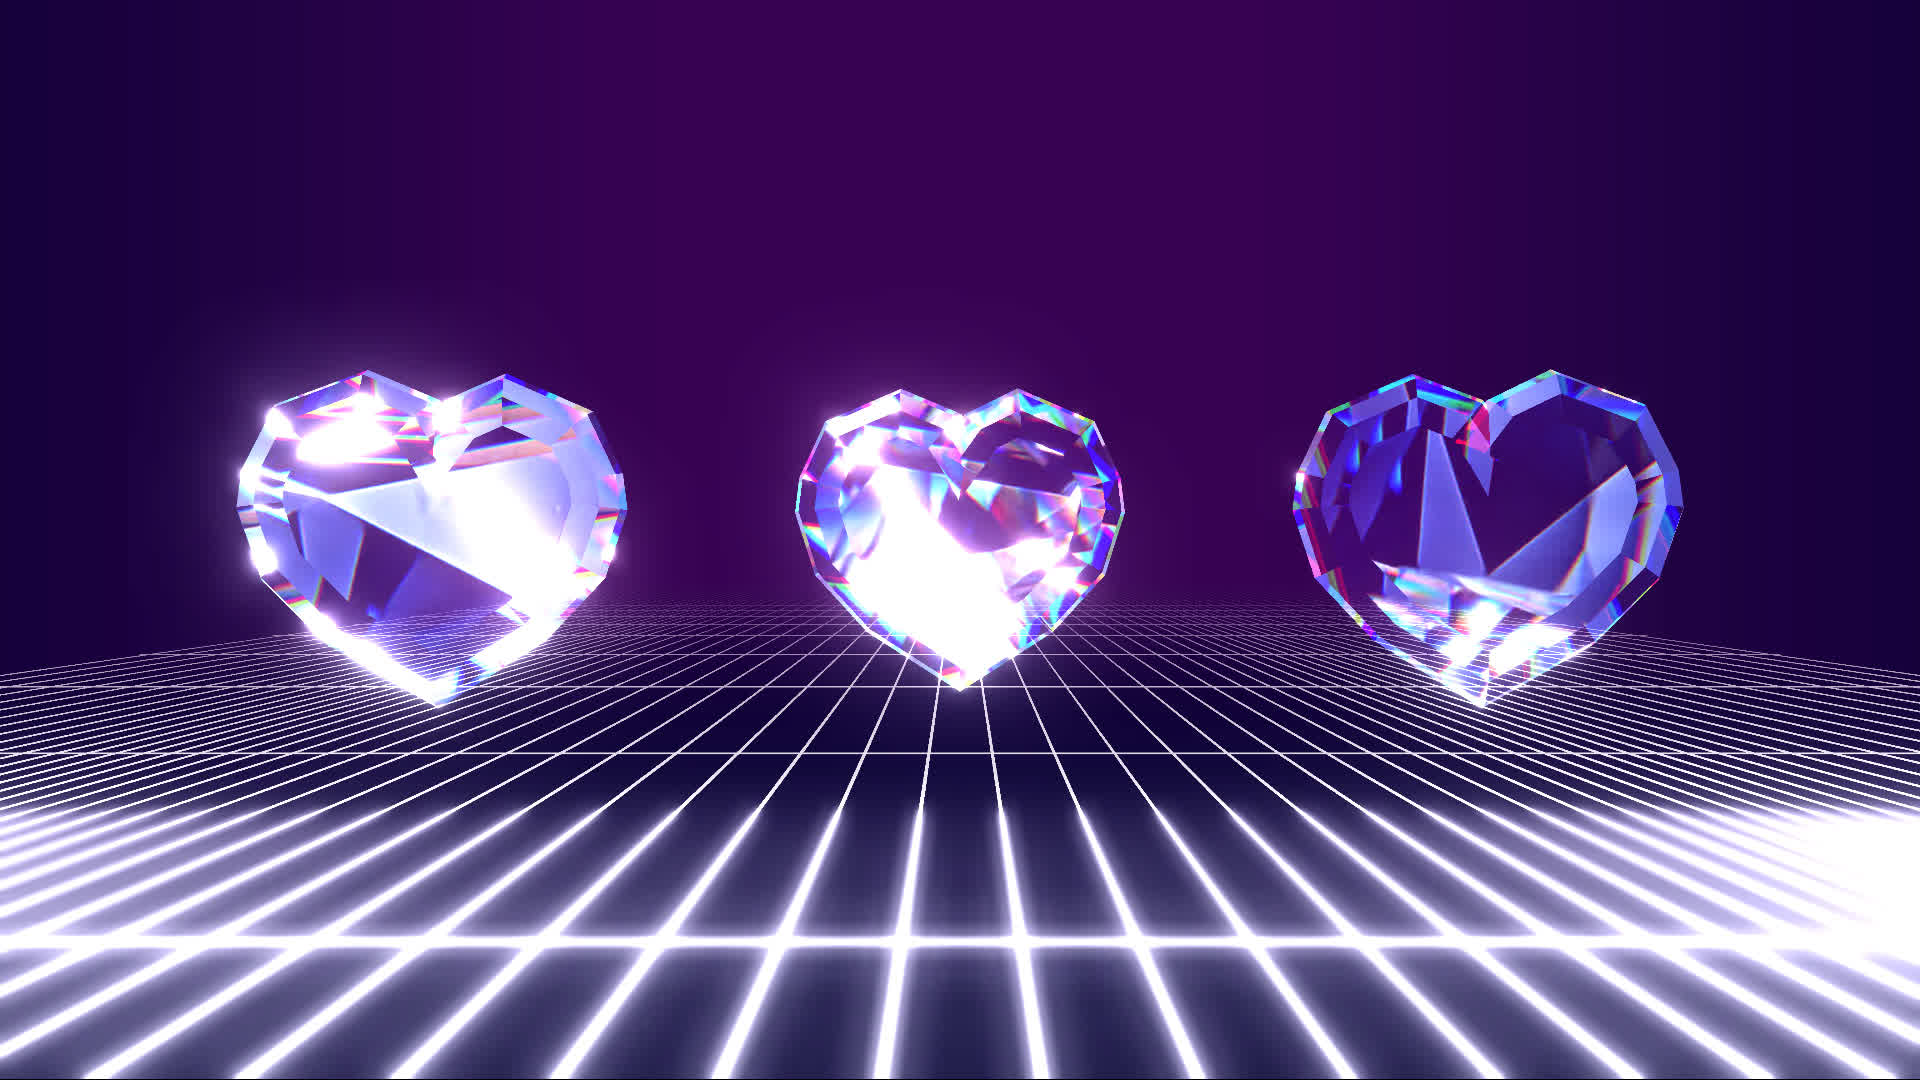
In this post I'll describe how to achieve a crystal-like refraction effect within only ThreeJS. Below is a demo of the effect that's to be achieved. You can use your mouse to change your angle and position (right-drag to rotate, left-drag to move and scroll to zoom in and out). You might need to wait a while for the texture to load.
Faking Internal Refraction
ThreeJS does have a default material to enable refraction which involves setting the .envMap variable to a texture and setting .refractionRatio smaller than 1.
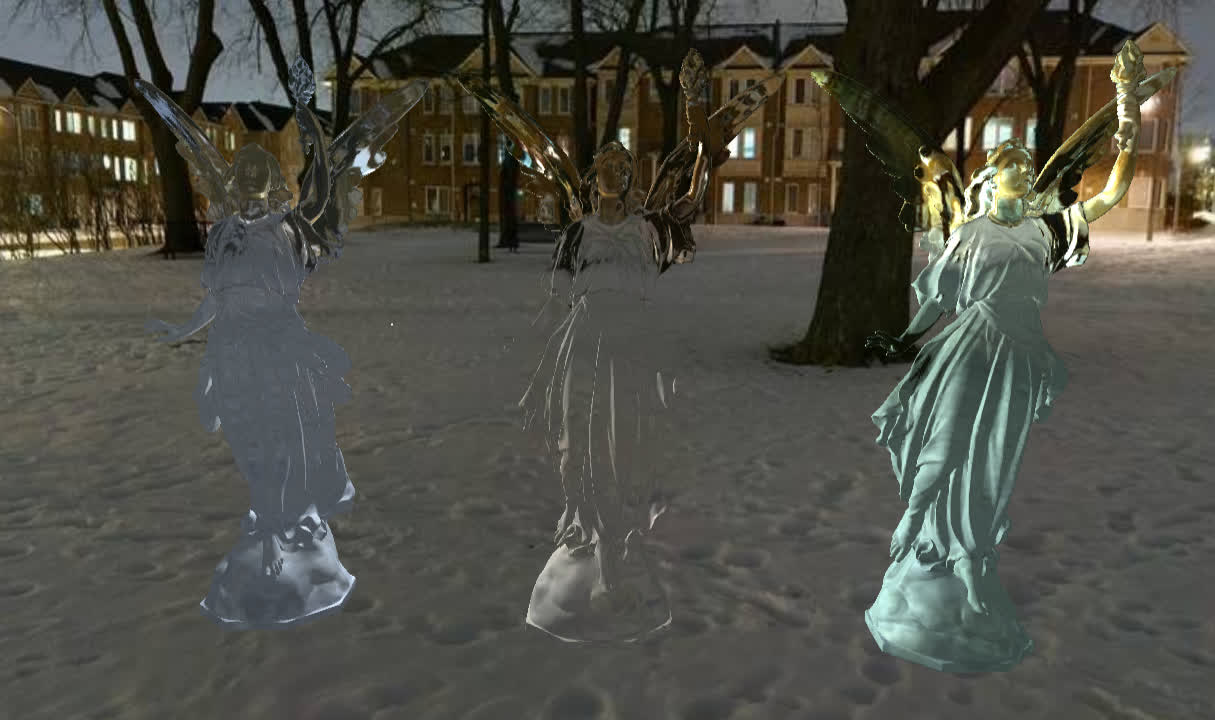
However, this effect fails to replicate the internal refractions in a crystal which causes the many facets within the object.
My solution to this is to simply use a texture:
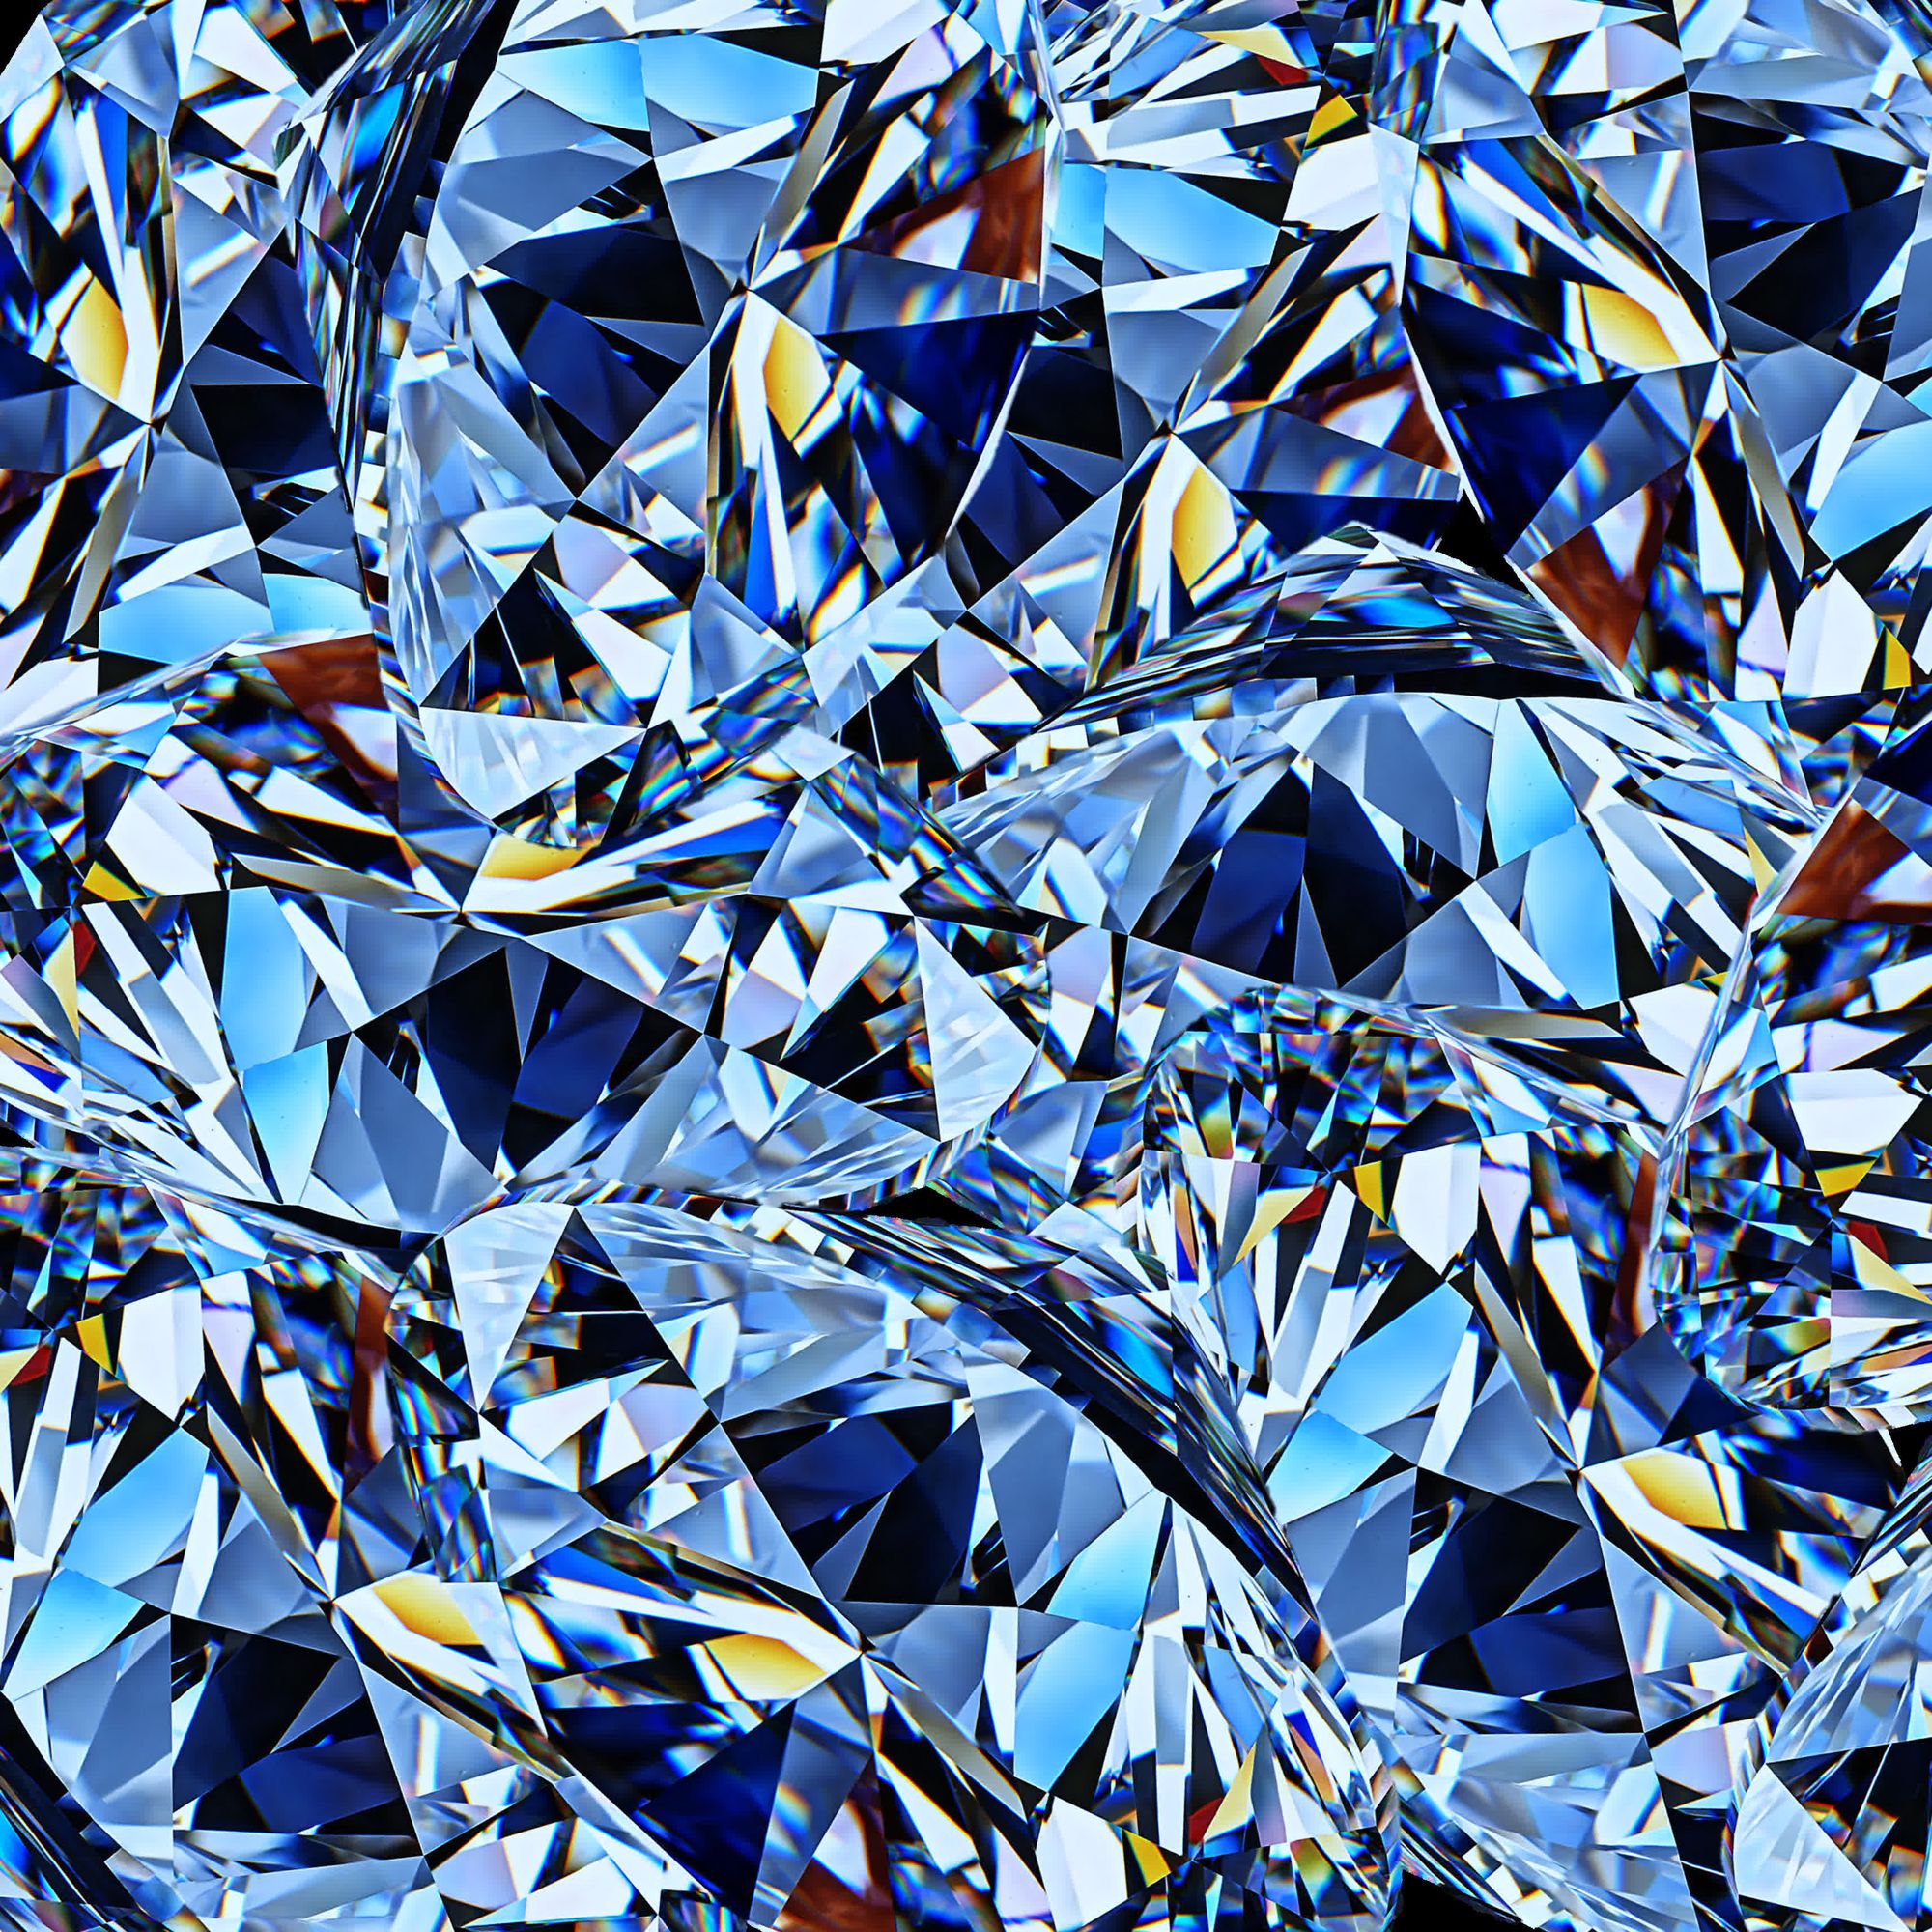
I created this texture by taking a picture of a diamond and pasting it haphazardly till it covered a square. This texture will be used as the environment map of the material as the background of the refraction:
const material = new THREE.MeshBasicMaterial(
    {
        color: 0xffffff,
        envMap: texture,
        transparent: true,
        refractionRatio: 0.9,
        blending: THREE.AdditiveBlending,
    });
.transparent: true and blending: THREE.AdditiveBlending is set so that the actual environment background can be seen through the crystal. Below show why these attributes should be set: The former looks more natural and blends in with the background.
Faking Chromatic Aberration
At this point is already does a pretty good job but it still feels a little flat IMO. That's because on actual crystals, you'd see sharp flashes of colours at the edges of the facets:

This is due to an effect called chromatic aberration where white light splits into its colourful components due to small difference in refractive index for different wavelengths.
We can replicate this by creating three materials, each representing the Red, Green and Blue channels. For each channel, set the refractive index to differ slightly.
const materialr = new THREE.MeshBasicMaterial(
{
color: 0xee0000,
envMap: texture,
transparent: true,
refractionRatio: 0.9,
blending: THREE.AdditiveBlending,
});
const materialg = new THREE.MeshBasicMaterial(
{
color: 0x00ff00,
envMap: texture,
transparent: true,
refractionRatio: 0.9-0.005,
blending: THREE.AdditiveBlending,
});
const materialb = new THREE.MeshBasicMaterial(
{
color: 0x0000dd,
envMap: texture,
transparent: true,
refractionRatio: 0.9-0.01,
blending: THREE.AdditiveBlending,
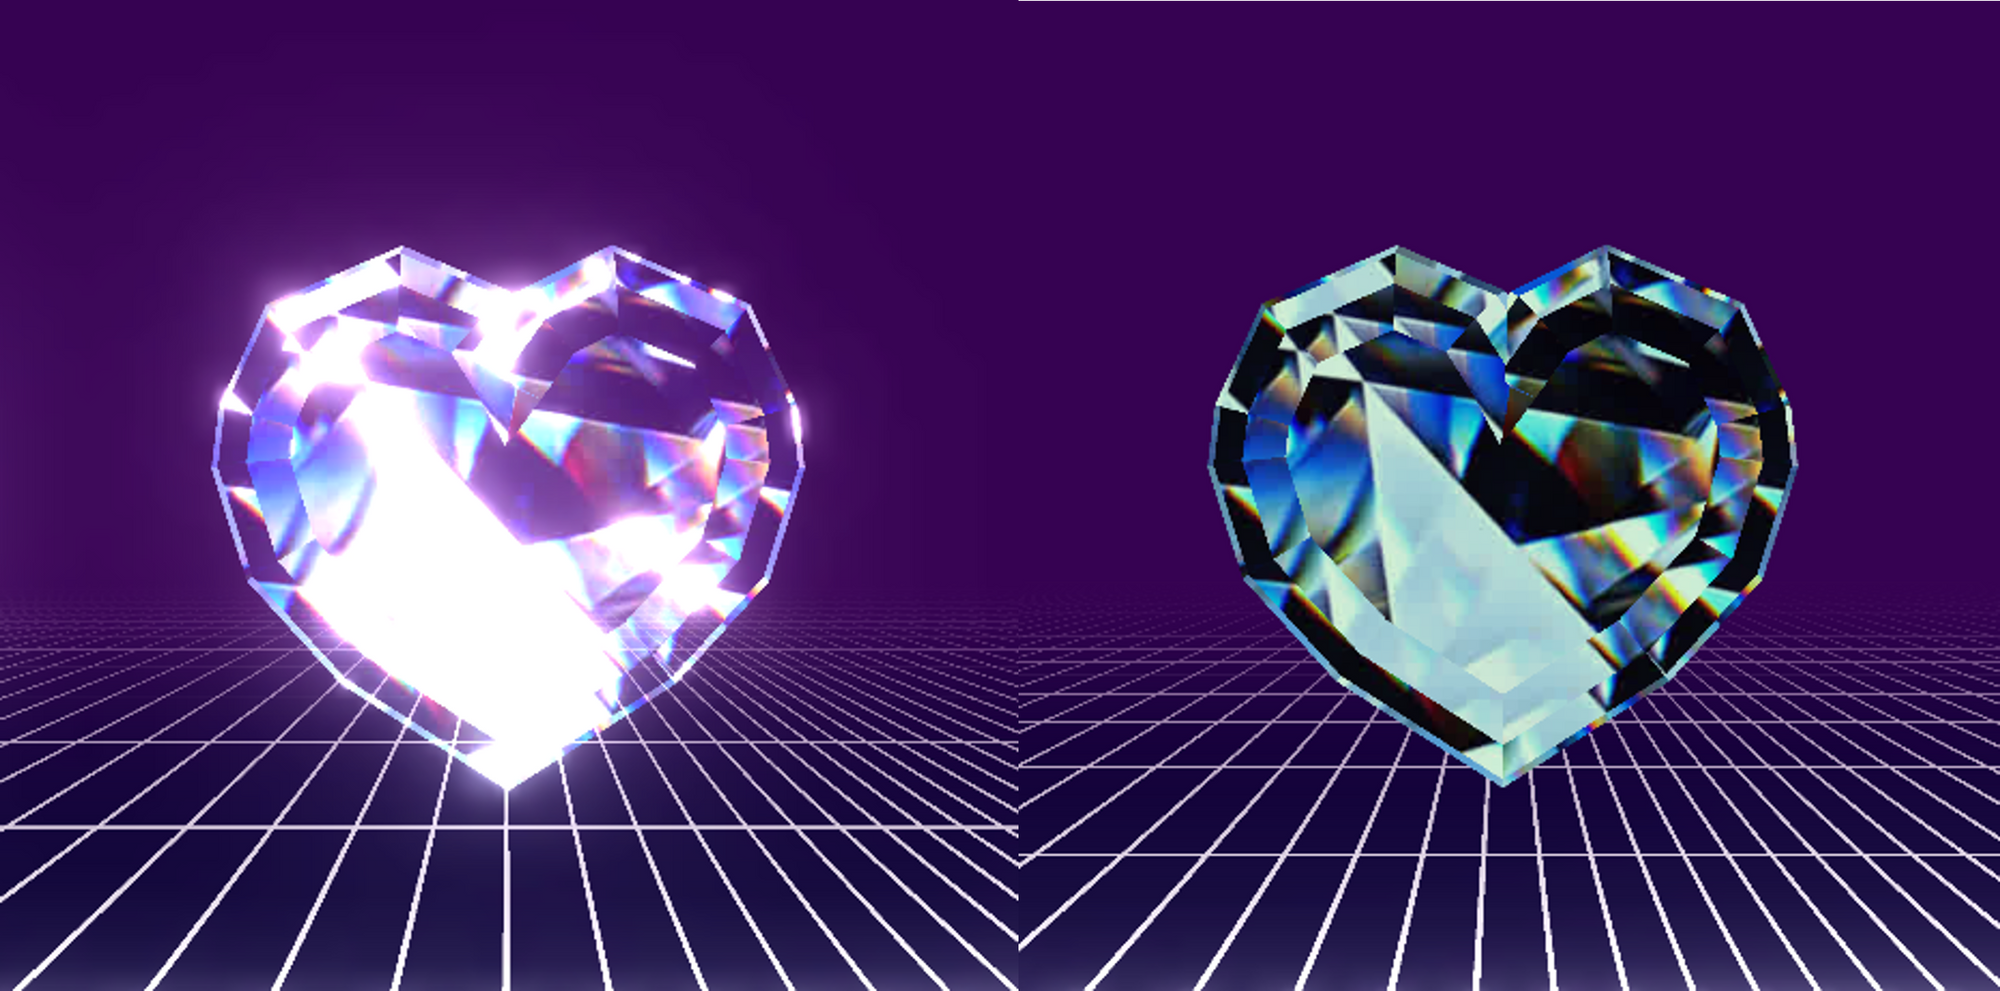
});Next we can create three copies of the crystal geometry and apply each material to each copy, and thereafter combine them into one object:
const heartr = new THREE.Mesh(geometry, materialr);
const heartb = new THREE.Mesh(heartr.geometry, materialg);
const heartg = new THREE.Mesh(heartr.geometry, materialb);
const heart = new THREE.Group();
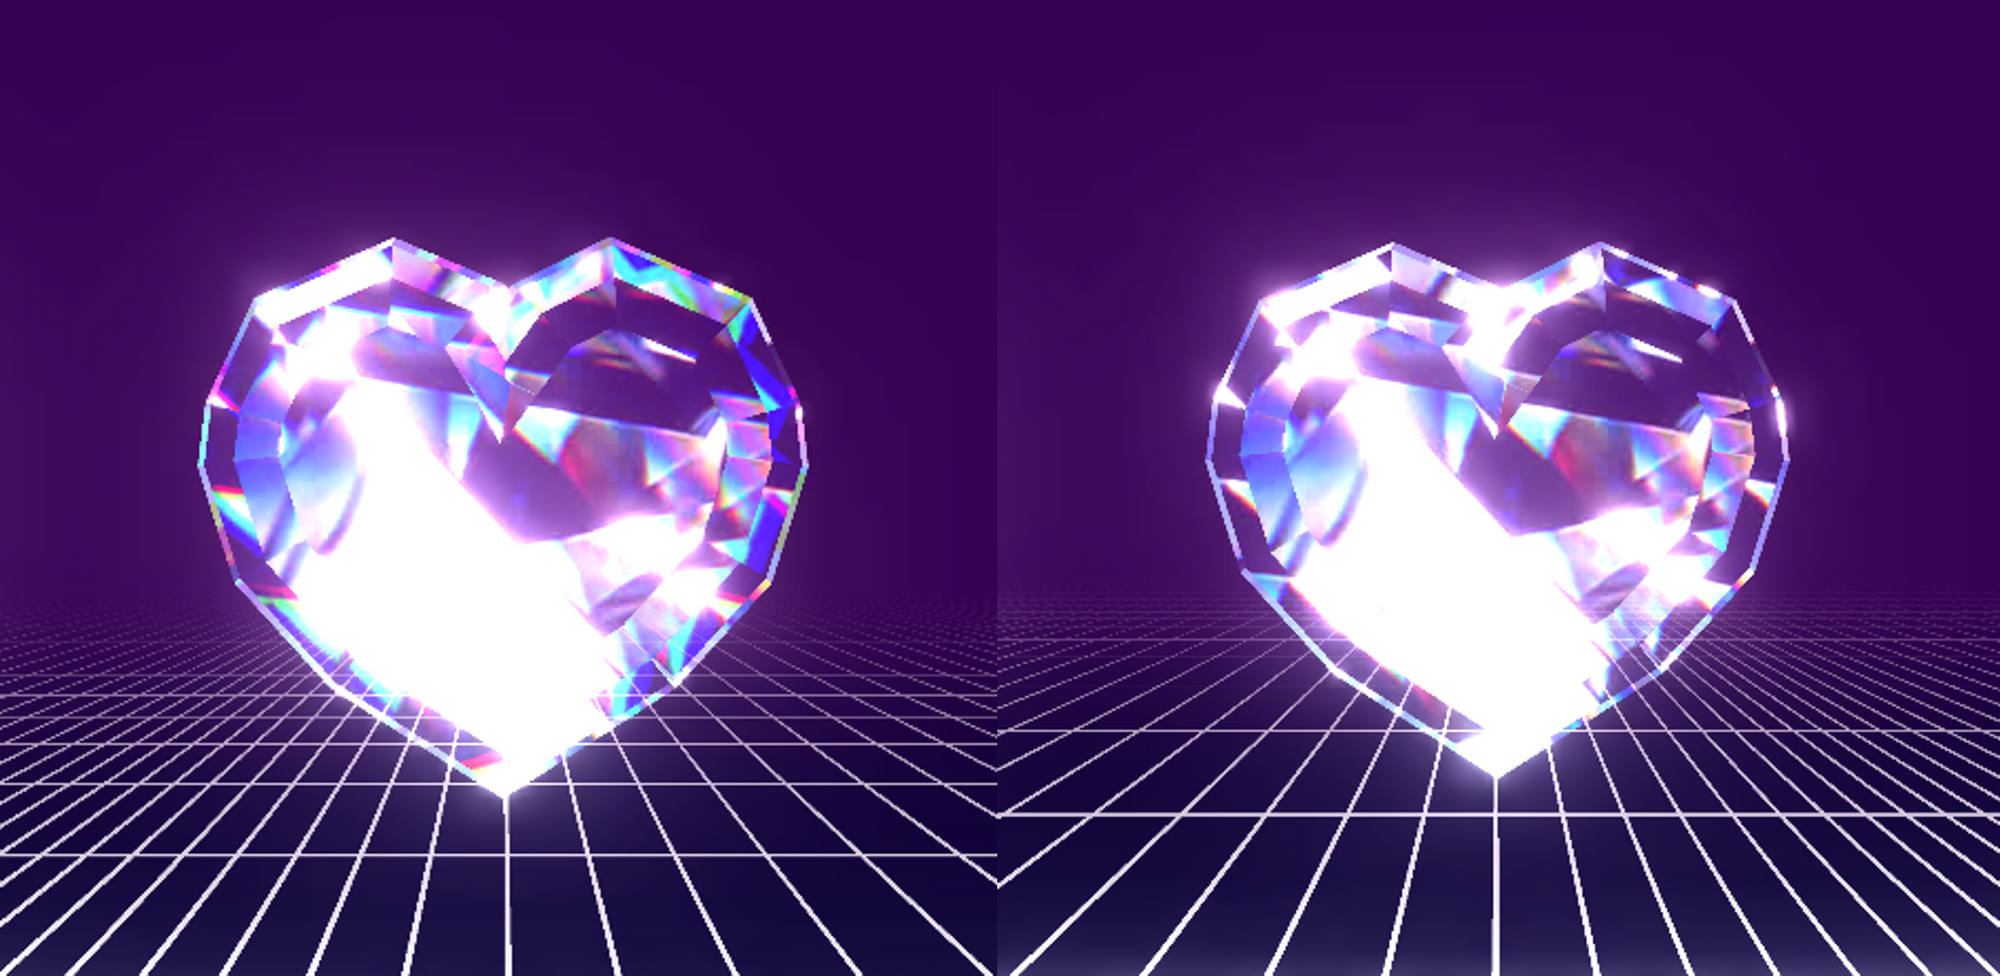
heart.add(heartr); heart.add(heartg); heart.add(heartb); Below is a comparison. The left, with chromatic aberration, has brighter flashes of colour than the right.
And done! For all the images here, I added some post processing effects like Bloom to bring out the flashes of light even more, and FXAA to deal with some aliasing of the crystal texture.